3
u
Attach the antistatic wrist strap to its connector on the antistatic mat. Ensure that the
metal conductor bead in the elastic sleeve of the antistatic strap contacts bare skin.
u
Handle all printed circuit boards as little as possible and by the edges only.
u
Leave new parts in their protective packaging until you install them.
Opening and Closing the Case
Opening the system for service or upgrades consists of two simple steps. Remove the top
cover first, then remove the left side panel. No tools are needed. You need only remove the
top cover and left side panel for most routine service procedures. See Chapter 2, “Servicing
the System,” for additional details on removing and replacing case components.
CAUTION
Before you open the case, shut down the system and turn off power to the system and
external devices (including peripheral drives and display). Use caution to avoid injury when
lifting the computer or removing covers and other hardware.
NOTE
Removing the right side panel is necessary only for servicing internal bay disk drives, the
plastic cowling on the right panel, or the face panel.
To open the case:
1. Ensure the system is shut down and that you have disconnected the system and any
attached external devices from AC power.
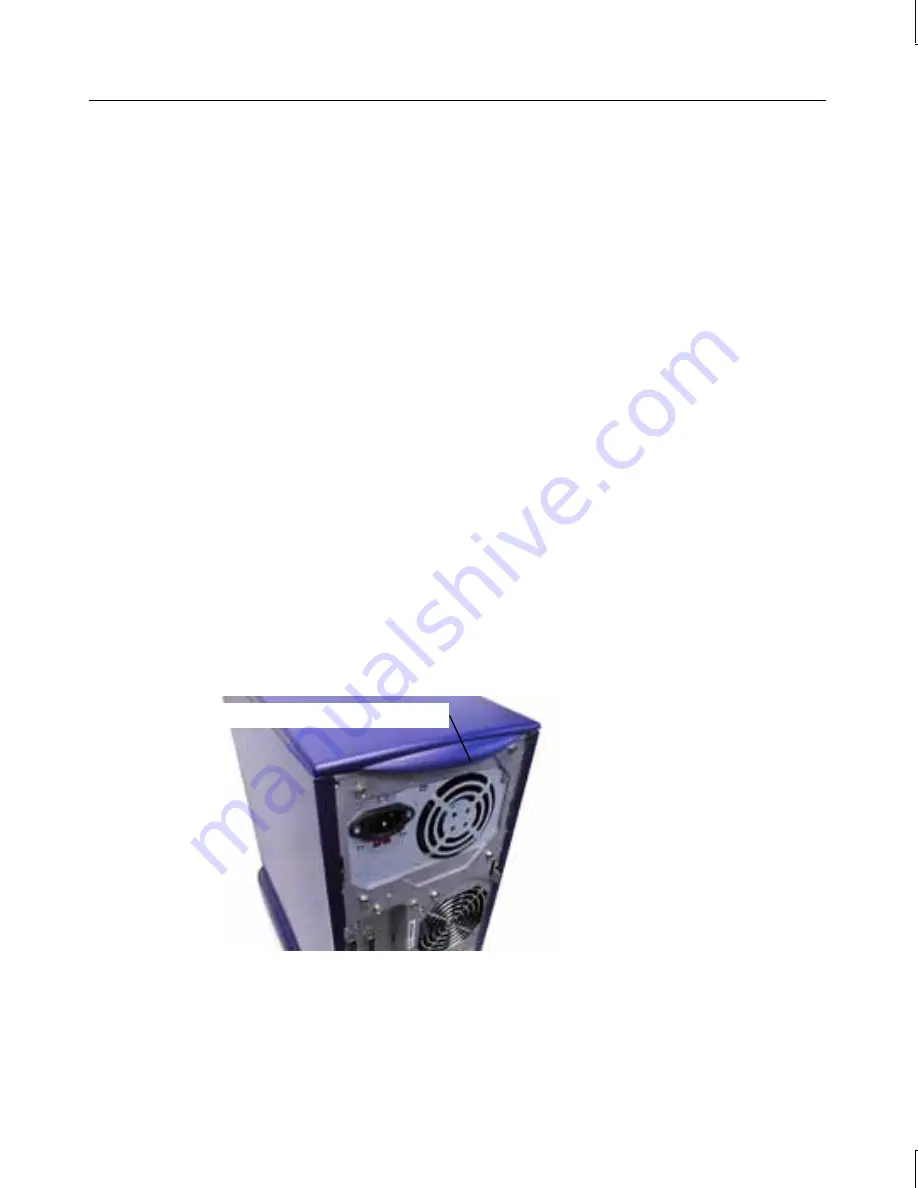
2. Grasp the lip on the top cover at the rear of the system and press up on the release. See
the following figure.
Press up on release located under lip
3. Keep pressing the release, slide the top cover back until it stops, remove it from the
chassis, and set it aside.
4. Grasp the cowling at the bottom of the left side panel and lift.
5. Slide the left side panel back until it stops, remove it from the chassis, and set it aside.
Summary of Contents for TDZ 2000 GX1
Page 1: ...TDZ 2000 GX1 System Reference August 1998 DHA030900 ...
Page 4: ......
Page 16: ...6 ...
Page 34: ...24 ...
Page 66: ...56 ...


