37
4. WEB CONFIGURATION
This section introduces the configuration and functions of the Web-based management from Managed Switch.
About Web-based Management
The Managed Switch offers management features that allow users to manage the Managed Switch from anywhere on the network
through a standard browser such as Microsoft Internet Explorer.
The Web-based Management supports Internet Explorer 7.0. It is based on Java Applets with an aim to reduce network bandwidth
consumption, enhance access speed and present an easy viewing screen.
By default, IE7.0 or later version does not allow Java Applets to open sockets. The user has to explicitly
modify the browser setting to enable Java Applets to use network ports.
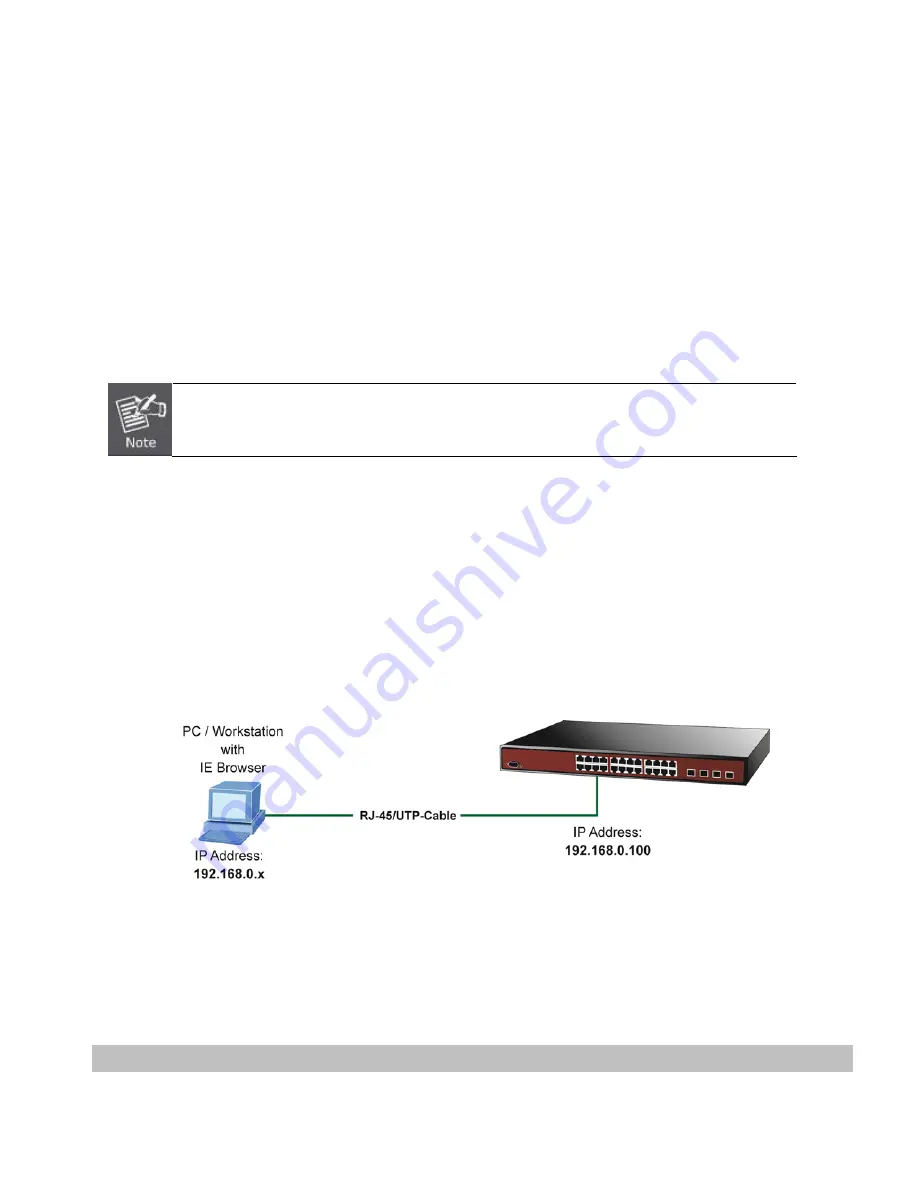
The Managed Switch can be configured through an Ethernet connection, making sure the manager PC must be set on the same IP
subnet address with the Managed Switch.
For example, the default IP address of the Managed Switch is
192.168.0.100
, then the manager PC should be set at
192.168.0.x
(where x is a number between 1 and 254, except 100), and the default subnet mask is 255.255.255.0.
If you have changed the default IP address of the Managed Switch to 192.168.1.1 with subnet mask 255.255.255.0 via console,
then the manager PC should be set at 192.168.1.x (where x is a number between 2 and 254) to do the relative configuration on
manager PC.
Figure 4-1-1:
Web Management
Logging on the Managed Switch
1.
Use Internet Explorer 7.0 or above Web browser. Enter the factory-default IP address to access the Web interface. The
factory-default IP Address is shown as follows:
http://192.168.0.100
Summary of Contents for NS3702-24P-4S
Page 1: ...NS3702 24P 4S User Manual P N 1072832 REV 00 01 ISS 14JUL14 ...
Page 102: ...102 Figure 4 5 4 LACP Port Configuration Page Screenshot ...
Page 119: ...119 Figure 4 6 4 VLAN Membership Status for Static User Page Screenshot ...
Page 124: ...124 Figure 4 6 6 Private VLAN Membership Configuration page screenshot ...
Page 140: ...140 Figure 4 6 21 Group Name to VLAN Mapping Table Page Screenshot ...
Page 164: ...164 Figure 4 8 2 Multicast Flooding ...
Page 184: ...184 Figure 4 8 15 MLD Snooping Port Group Filtering Configuration Page Screenshot ...
Page 204: ...204 Figure 4 9 6 QoS Egress Port Tag Remarking Page Screenshot ...
Page 209: ...209 QoS Class QoS Class value can be any of 0 7 DPL Drop Precedence Level 0 1 ...
Page 251: ...251 Figure 4 11 3 Authentication Method Configuration Page Screenshot ...
Page 286: ...286 Figure 4 11 11 RADIUS Server Configuration Screenshot ...
Page 290: ...290 Figure 4 11 17 Add User Properties Screen Figure 4 11 18 Add User Properties Screen ...
Page 298: ...298 non committed changes will be lost ...
Page 349: ...349 Figure 4 16 2 PoE Configuration Screenshot ...


