INSTALACION
1.1
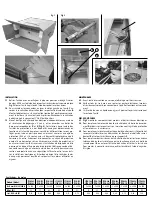
Desembalar el aparato y fijarlo en posición utilizando tirantes de suspensión
M10, arandelas y tuercas según se indica en la
Fig. 1
.
1.2
Para conectar la línea del refrigerante, desmontar la tapa lateral del lado izquier-
do (vista la unidad desde el frontal). Conectar la línea de aspiración
A
respetando
el diámetro del colector de la batería
B
. Montar la válvula termostática en la línea
del líquido
C
y situar el bulbo correctamente en la línea de aspiración. Montar
la tubería de drenaje del condensado a la conexión roscada de la bandeja, de
diámetros 1” GAS.
1.3
Llevar líneas eléctricas de alimentación independientes a motores y resisten-
cias de desescarche -si las hubiere- y conectar a sus respectivas cajas de bornas
D
y
E
(
Fig. 2
). La instalación deberá incluir fusibles de protección o dispositivos
análogos, dimensionados en función de la intensidad del motor. Los cables de
alimentación irán protegidos bajo tubo plástico o de acero con un grado mínimo
de protección IP-34, y cuando sean de acero deberán estar protegidos contra la
corrosión. Además deberán conectarse al circuito de protección, si bien no debe-
rán utilizarse como circuitos de protección ni asegurar la continuidad del mismo
a través de éstos. La instalación eléctrica deberá estar provista de un dispositivo
apropiado que permita conectar y desconectar en carga en una sola maniobra y
deberá ser de corte omnipolar y con una separación suficiente entre contactos.
Ambas instalaciones eléctrica y frigorífica deberán ser realizadas por personal
cualificado y respetarán las normas oficiales en vigor.
MANTENIMIENTO
2.1
Antes de iniciar cualquier intervención, desconectar todas las alimentaciones
eléctricas del aparato.
2.2
Controlar el buen funcionamiento de todos los elementos eléctricos (motores y
resistencias cada 3 meses).
2.3
Emplear agua o líquidos no agresivos para limpiar la batería y la envolvente, cui-
dando no gotear o humedecer las partes eléctricas.
PIEZAS DE REPUESTO
3.1
En la
Fig. 3
se indican motores y resistencias eléctricas.
3.2
Sustitución del motor: Desconectar la alimentación eléctrica de su caja de bornas
D
. Destornillar los cuatro tornillos de la rejilla.
3.3
Sustitución de resistencia eléctrica de bandeja: desmontar la bandeja principal y
tapa lateral derecha, desconectar sus terminales de su caja de bornas
E
y retirar
la resistencia de sus soportes
F
.
3.4
Sustitución de resistencias eléctricas del paquete aleteado: retirar las tapas late-
rales, desconectar la resistencia averiada de su caja de bornas
E
, quitar su anillo
de retención, desmontar la resistencia. Para montar la nueva, enfilar los termina-
les con una guía rígida.
INSTALLATION
1.1
Remove the unit from the packing and mount on the ceiling using the M10
hangers, washers and nuts as shown in
Fig. 1
.
1.2
To attach the refrigerant connections, remove left hand side panel (view-
ing unit from front) and use the same size pipework
B
. The expansion
valve must be connected to the liquid line
C
and the bulb must be at-
tached to the suction line
A
. Replace panel. Connect the water drain pipe
to the drip-tray drain connection 1” GAS diameter.
1.3
Take the independent electrical feed lines to the motors and defrost
heaters -if included- and connect to their respective terminals
D
and
E
(
Fig. 2
). The installation must include protective fuses or similar devic-
es sized according to motor current. The feed cables must be protected
by plastic or steel tubing of IP-34 minimum protection rating; steel tubes
must be corrosion protected. They should also be connected to the pro-
tection circuit but must not be used as part of the circuit or to ensure its
continuity. The electrical installation must have an appropriate device to
allow its connection and disconnection under load with a single opera-
tion. It must have omnipolarity and a sufficient distance between con-
tacts. Both electrical and refrigeration installations must be performed
by qualified professionals and respect official standards.
MAINTENANCE
2.1
Before working on the unit switch off the power supply.
2.2
Check every three months all electrical components for faults (motors
and resistances).
2.3
Use water or non-aggressive cleaner to clean coil-block and casing care-
ful not to wet electrical connections.
SPARE PARTS
3.1
Refer to
Fig. 3
for component parts.
3.2
To replace the motor disconnect the electrical connections on the front
of the fan -motor box
D
- and, by undoing the retaining screws remove
complete fan assembly. To replace repeat procedure.
3.3
To replace drip-tray heating element, remove drip-tray using bolts un-
derneath disconnect the electrical defrost connection box
E
inside the
right hand side of the unit remove the heater from the support clips
F
. To
replace repeat the procedure.
3.4
To replace the coil-block heating elements, remove both side panels and
disconnect the electric defrost connection box
E
. Remove the fixing clips
from the element and remove from the left hand side to replace insert the
new elements from the left. The cables must be pulled through from the
right hand side before replacing the fixing clips. Reconnect and reassemble.
Manual de instalación
y mantenimiento
Installation and maintenace instructions
Instruction pour le montage et l´entretien
Montage und wartungsanleitung
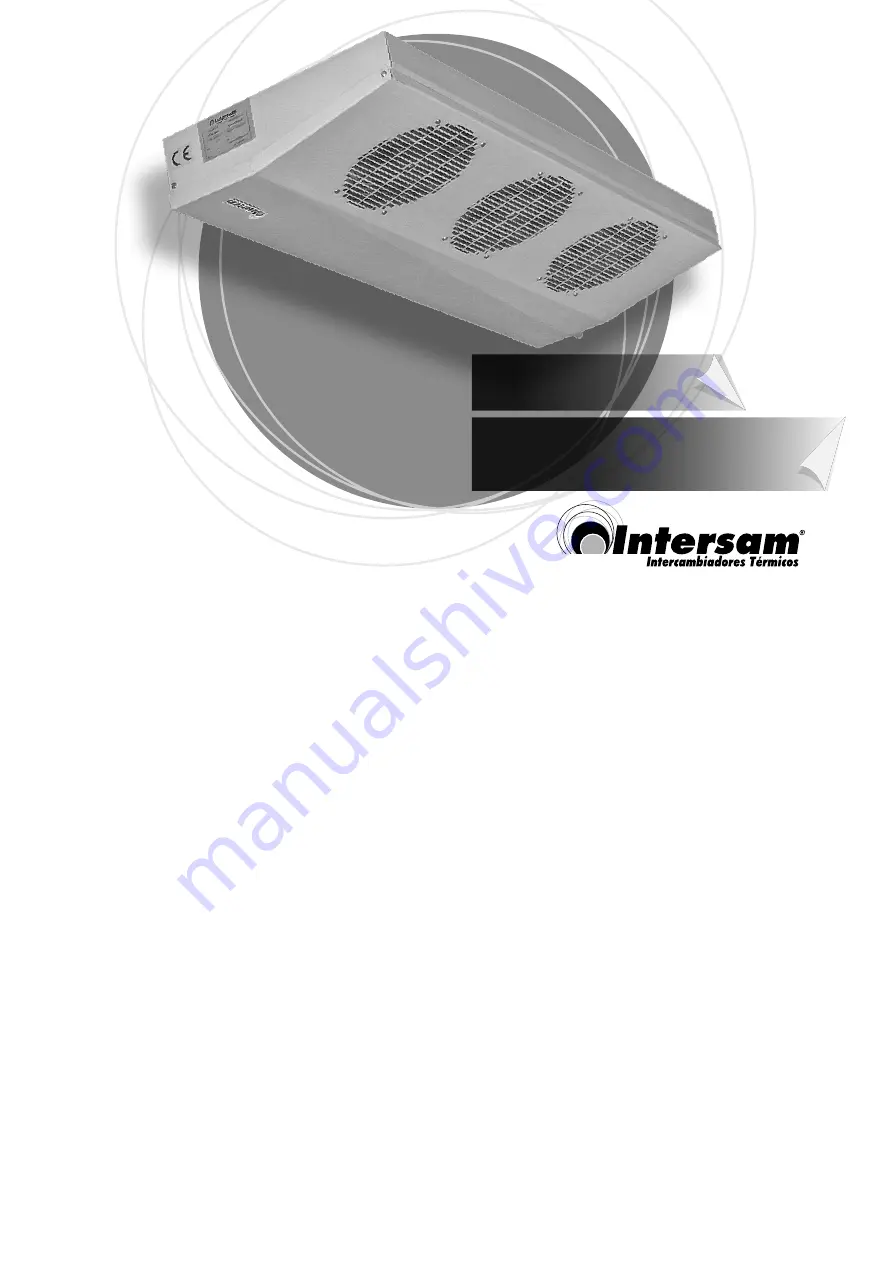
miniflat/minitop units coolers
minitec/miniplafón evaporadores
ITC
•
ITP
series


