INSTALLATION
19
3
2
1
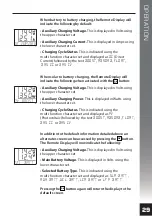
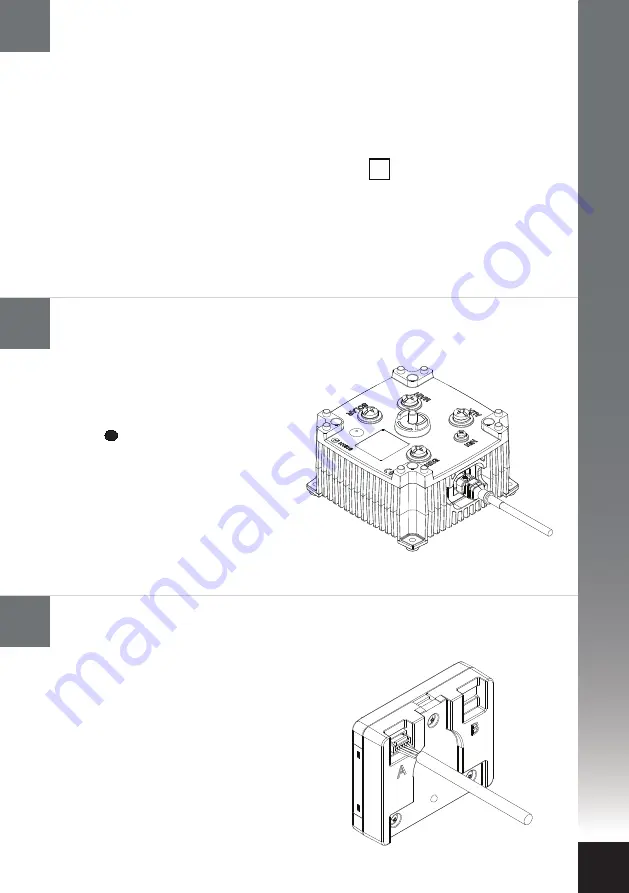
The Remote Display end of the Data Cable
is fitted with an unsealed connector plug.
The plug is fitted with a plastic ‘clamshell’
(for protection) which can now be
removed for installation. The plug should
be gently pushed into the mating
connector socket until it ‘clicks’ into
position. To remove the connector press
the tab/latch and pull out. When using one
Charging Device either socket can be
utilised.
Connect the Data Cable to the Remote Display
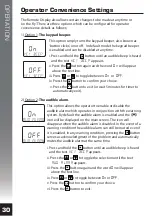
The Charging Device end of the Data
Cable is fitted with a sealed 6-way
connector plug. The plug is marked with
a spot
of identifying colour indicating
the top of the connector. The plug should
be gently pushed into the mating
connector socket until it ‘clicks’ into
position. To check the latch has engaged
gently pull the connector – it should not
move. If there is a need to remove the
connector, please see page 24 for
instructions, do not just pull out.
Connect the Data Cable to the Charging Device
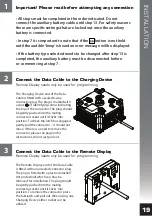
• All steps must be completed in the order indicated. Do not
connect the auxiliary battery cable until step 13. For safety reasons
there are specific settings that are locked out once the auxiliary
battery is connected.
• In step 7 it is important to note that if the
button is not held
until the audible ‘beep’ is heard an error message will be displayed.
• If the battery type selected needs to be changed after step 13 is
completed, the auxiliary battery must be disconnected before
re-commencing at step 7.
Important! Please read before attempting any connection
OK
Remote Display needs only be used for programming
Remote Display needs only be used for programming


