Operation Manual 5280 EPSP
56
DANGER!
Risk of injury!
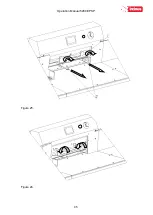
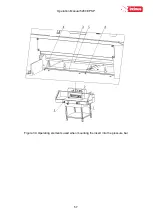
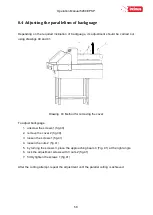
In order to mount the insert in the pressure bar:
8.3.1
Pressing buttons 1 (fig. 39) cause the pressure beam 5 to move down.
8.3.2
When the pressure bar 5 lowers by approx. 2 cm, revealing the holes for the screws 4,
release the right button 1 (left button 1 still pressed)
8.3.3
Press the 2 "O" button to deactivate the control.
8.3.4
Insert the insert into the pressure bar so that the insert pins hit the holes in the beam
and the insert adheres the entire surface to the bottom surface of the beam.
8.3.5
Use a 3-mm hexagonal wrench to screw in the 4 threaded screws firmly
holes in the pressure bar, causing the insert to be blocked in the clamping beam.
8.3.6
Press button 2 "I" activating the control system
8.3.7
Press buttons 1 to bring the pressure bar back up
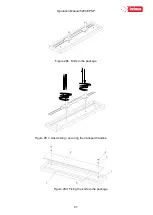
The
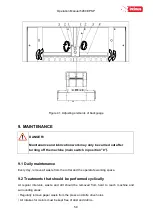
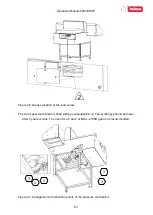
removable insert must be attached under the front table!
(Fig. 38).
INFO
The lack of the insert in the place of attachment is treated by the programmer as if it
was mounted in the clamping beam and narrow cut (waste) is greater.
Mounting the insert into the pressure bar causes;
the minimum narrow cut (waste) is 40mm (without insert 22mm),
maximum stack height is 76mm (without 80mm insert).

