EN28
EN29
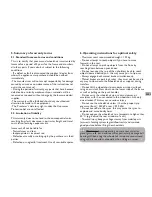
Straps should be adjusted on both sides to suit user body,
thread the loop (D) through the mounting on the chair and
then through the two plastic buckles (E). It is important that
both buckles (E) are used. There is a danger the belt might slip
if the belt is threaded through only one.
If the belt has come loose at the metallic clasp it should be
adjusted, thread the loop (F) through the plastic buckle (G).
Please make sure that the belt cannot slide.
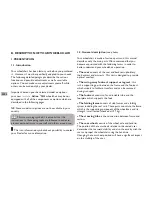
Position the posture belt so that the hip bones can be felt
above the belt. As a guide, adjust the length so that there
is just sufficient room for your hand to slide between your
body and the belt. For ease of use it is recommended that
the clasp is kept in a central position where possible i.e. make
adjustments to each side of metal buckle belt with double
adjuster. Please check your posture belt every week, to ensure
that it is in good condition; no damage, fraying etc. and that it
is securely fixed to the wheelchair.
In case the posture belt has to be replaced, the new belt
fixation should be conform to the scheme enclosed with each
belt delivery; the belt should be mounted and adjusted by
your regular dealer.
Make sure that the belts do not get caught in the spokes of
the rear wheel.
Not to be used as an alternative to a 3-point occupant
restraint in a vehicle. A metal buckle posture belt must be
used in conjunction with the 3-point occupant restraint.
30
A
B
C
- Safety optional equipment :
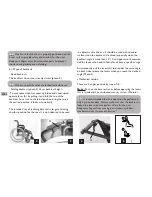
Anti-tippers (photo 30) : prevent back tipping which ensures
safety when using a reclining backrest, driving on slopes or
crossing obstacles. These are removable : push down the
button (A) and pull back. Reverse the procedure to reinstall.
Make sure that the dog point (B) protrudes over the frame
tube.
Anti-tippers can remain in place when the wheelchair is not
used; perform a half-turn by activating the button (B) and
rotating.
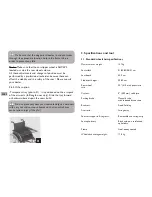
The recommended distance between anti-tippers small
wheels and floor is 3 to 5 centimetres ; this adjustment is
required with reference to the position and diameter of the
rear wheel.
Push down the button (C) and adjust the wheels holding
tube for the desired distance based upon the preset holes.
Summary of Contents for Action I NG
Page 2: ......

