background image

Assembly Instructions  

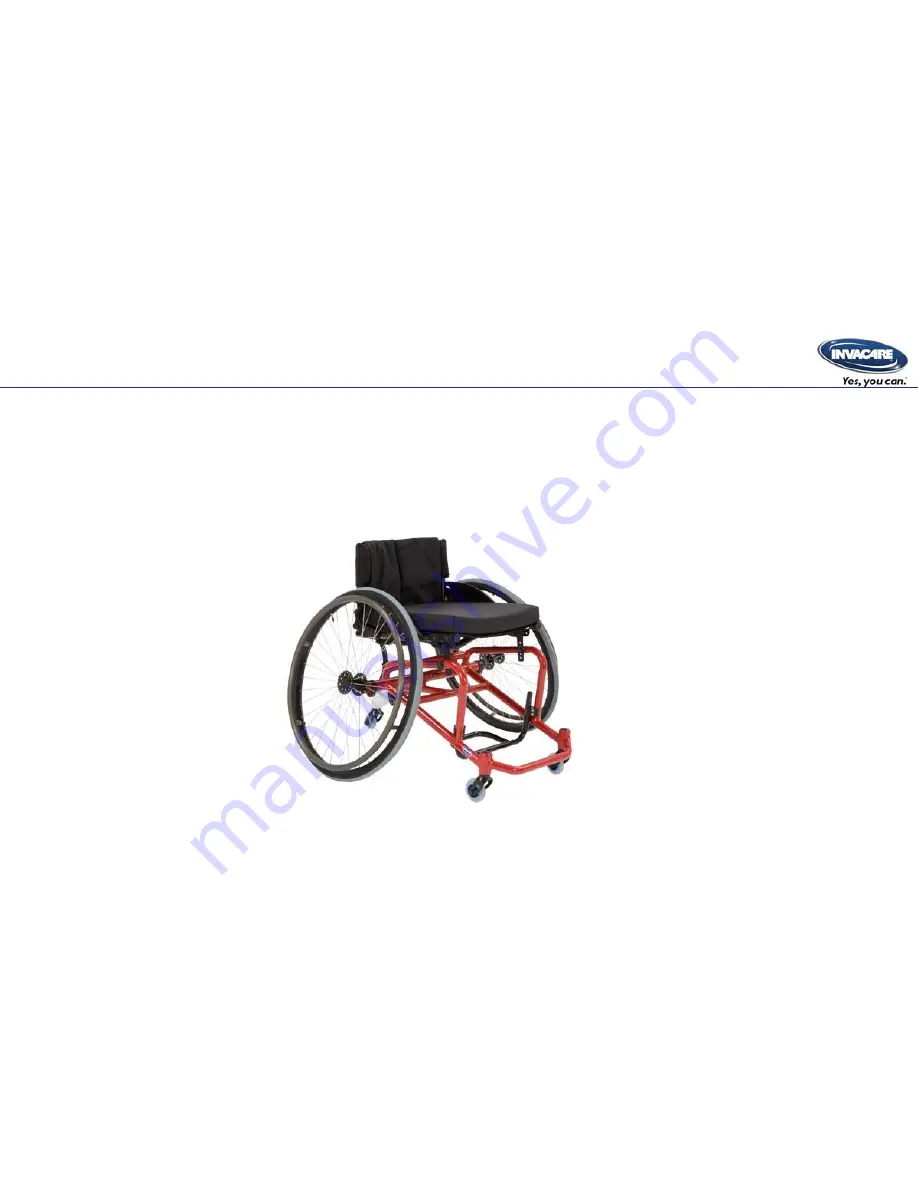
Invacare® Top End®

Pro™-2 All Sport 

Wheelchair  

Part #: 1181409
Rev: A

Be sure to record your serial number and read the owners manual. 

Summary of Contents for top end pro 2 all sport

Page 1: ...Assembly Instructions Invacare Top End Pro 2 All Sport Wheelchair Part 1181409 Rev A Be sure to record your serial number and read the owners manual...

Page 2: ...Complete wheel assemblies Base frame Seat frame assembled w side guards upholstery cushion and frame protector Footrest Axles Adjustable anti tip assembly Positioning strap All attaching hardware Seat...

Page 3: ...ench 5mm allen wrench 4mm allen wrench Two 10 mm combination wrenches or socket 7 16 and inch wrench An assistant may also be helpful to hold frame in place while installing seat frame Entire assembly...

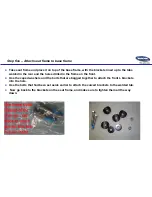
Page 4: ...e axle receiver nut will be loosely installed on the axle receiver bolt this nut will need to be tightened down with the adjustable wrench B Adjust the nut on the actual axle so that the ball bearing...

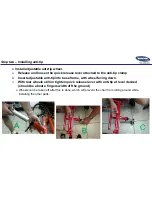
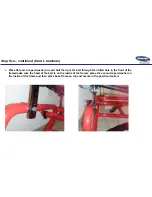
Page 5: ...mp B Insert adjustable anti tip into base frame with wheel facing down C With rear wheels still on tighten quick release lever with anti tip at level desired should be about a fingers width off the gr...

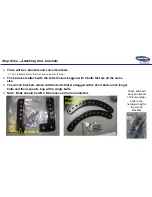
Page 6: ...gged with 4 bolts that are all the same size The curved brackets attach with the bolts that are bagged with 2 short bolts and 2 longer bolts and then separate bag with 2 single bolts Note Bolts should...

Page 7: ...bolt from the inside of the seat frame use one flat washer one split washer and one nut for each bolt Use the two 10MM wrenches to hold and tighten the bolts Keep in mind that the hole that you choos...

Page 8: ...on the chair use the two smaller bolts in the hardware bag to attach each curved bracket to the chair The bolts which are bagged separately will be used to attach the curved bracket to the base frame...

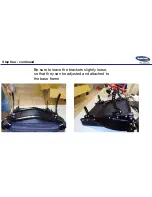
Page 9: ...Step four continued Be sure to leave the brackets slightly loose so that they can be adjusted and attached to the base frame...

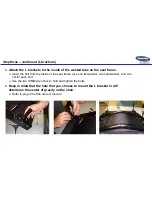
Page 10: ...e rear and the holes drilled in the frame on the front Use the coped washers and the bolts that are bagged together to attach the front L brackets into the hole Use the bolts that had been set aside e...

Page 11: ...on each bolt then put the bolt through the drilled hole in the front of the frame make sure the head of the bolt is on the inside of the frame place the second coped washer on the inside of the frame...

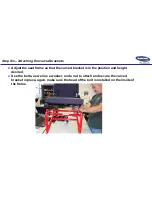
Page 12: ...e seat frame so that the curved bracket is in the position and height desired Use the bolts as well as a washer and a nut to attach and secure the curved bracket in place again make sure the head of t...

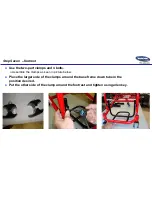
Page 13: ...clamps and 4 bolts Assemble the clamps as seen in picture below Place the larger side of the clamps around the base frame down tube in the position desired Put the other side of the clamp around the...

Page 14: ...rap and seat belt Attach foot strap around front down tubes in desired position Attach seat belt strap around the back frame in desired location we suggest putting the strap through the sideguard for...

Page 15: ...of the chair one can be removed to make the seat depth 15 and the second can be removed making the chair 13 deep A new cushion will need to be purchased or the current one modified to accommodate the...

Page 16: ...nual If you have any questions you can call customer service at 1 800 532 8677 2015 Invacare Corporation All rights reserved Trademarks are identified by the symbols and All trademarks are owned by or...

Reviews: