SAFETY AND OPERATING MANUAL
21
202106 280W DELTA SANDER
—
+
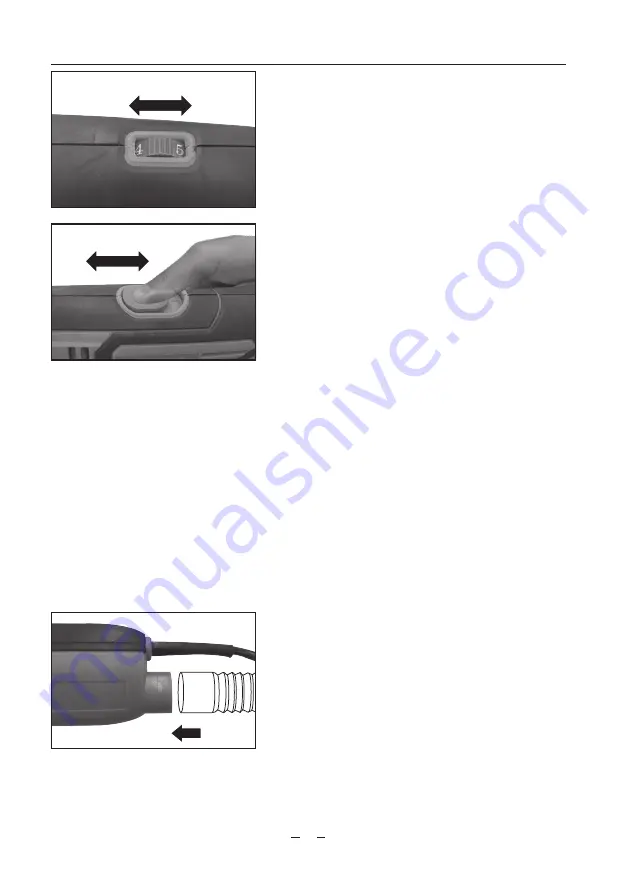
3. VARIABLE SPEED CONTROL (See Fig. C)
According to the material to be sanded and sanding
paper specification, you can adjust sanding speed by
turning the speed selector dial. The greater speed is
indicated by the higher figure. The little speed is indicated
by the lower figure.
4. USING THE SANDER (See Fig. D)
NOTE: If you see some sparks flashing in the
ventilation slots do not panic, this is normal and will
not damage the tool.
Be sure to hold the sander firmly whilst it is on and apply
it gently to the work; it may kick on first contact. Hold
the sander so that it is flat on the work and move slowly,
preferably in parallel line movements. When you first turn
it on, make sure that your finger remains on the switch so
you can STOP the sander in case there is a problem.
Upon completion of sanding operation, turn sander
off and wait until it comes to a complete stop before
removing from workpiece.
Flush sanding can be performed with your sander. The
front edge of your sander allows flush sanding.
The sander should run smoothly. Strange or unnatural
noise should be investigated and corrected before
operating the sander further. Regularly check the
condition of the abrasive paper and replace when worn
for best results.
Always keep the machine moving so the finish of your
work stays consistent. If you stay in one place too long,
then the sander may produce a depression in the wood
that will compromise your finish.
5. ATTACHING SANDER TO VACUUM (See Fig. E)
Your sander is equipped with a dust extraction adapter,
which is designed for collect dust task. Insert the dust
adapter into the rear dust outlet of sander. Then pull
the dust adapter and make sure it is tightened securely
on the dust outlet. Then connect the hose of a vacuum
cleaner.
First please turn on the vacuum cleaner, then turn on the
sander. If you stop sanding, first turn off the sander, then
turn off your vacuum cleaner.
D
C
E


