background image


◆ 

Before Plugging in 

You must check that you have a socket which is compatible with the plug supplied 
with the unit.   

◆ 

Before Turning On! 

Do not turn on until two hours after moving the unit.   


2.7


Interior Accessories 

Various  glass  or  plastic  storage  shelves  are  included  with  your  appliance  -  different 
models have differentcombinations. 
You should always slide one of the full size glass storage shelves into the lowest set of 
guides,  above  the  fruitand  vegetable  containers,  and  keep  it  in  this  position.  To  do 
this,  pull  the  storage  shelf  forward  until  it  can  beswivelled  upwards  or  downwards 
and removed. 
Please do the same in reverse to insert the shelf at a different height. 

In order to make the most of the volume of the fresh food storage compartment and   
frozen-foodstorage  compartment,  the  user  can  remove  one  or  more  shelves,  drawers, 
out of theappliance,according to your daily use. 


3.


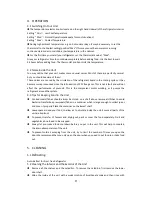
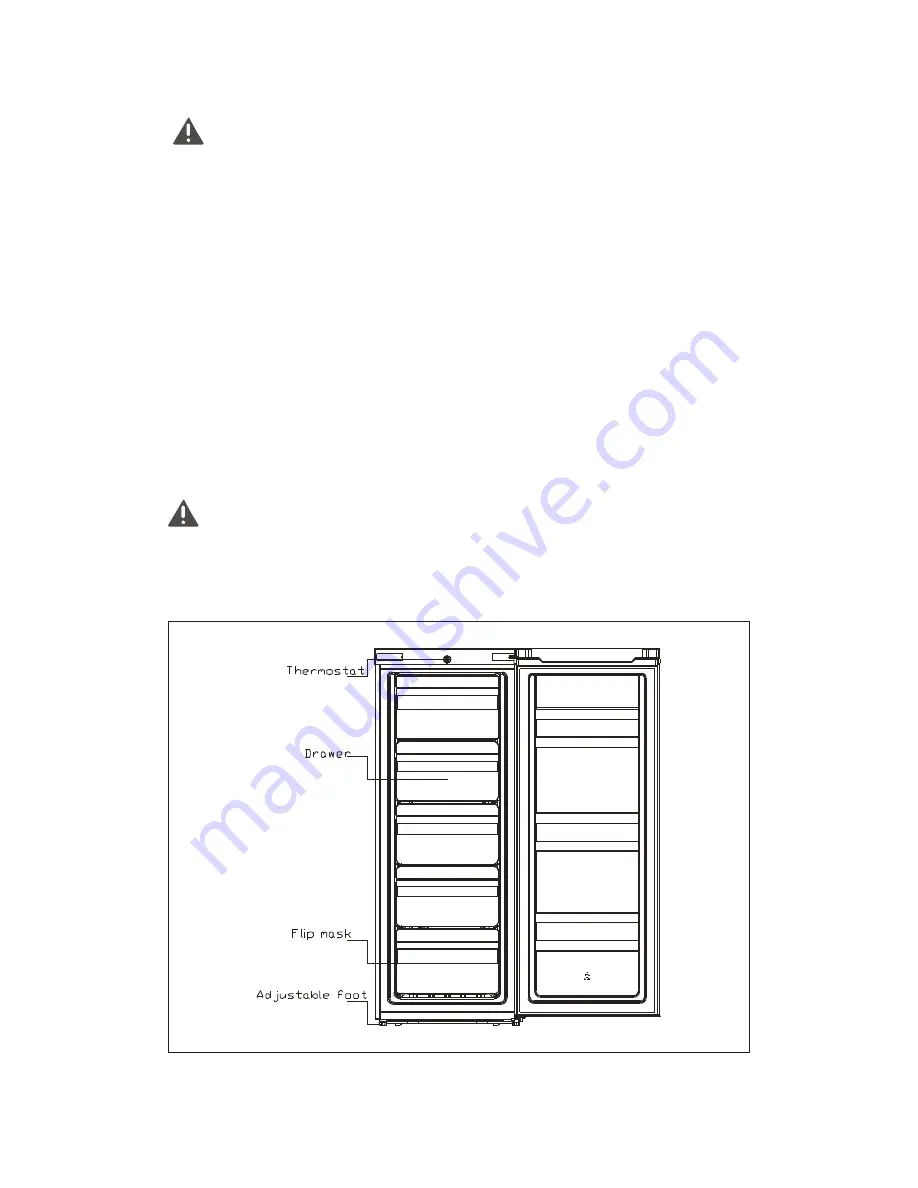
PRODUCT OVERVIEW 


*All images in this instruction manual are for indication only; please refer to your individual unit fordetails. 

Summary of Contents for INVMVF157A

Page 1: ...hoosing INVENTOR electrical appliances For correct use of this unit please read this manual carefully and and keep it for future reference INVMVF157A English User s Manual FREEZER E L E C T R I C A P...

Page 2: ...UCT OVERVIEW 8 4 OPERATION 9 4 1 Switching On Your Unit 9 4 2 Noise Inside the Unit 9 4 3 Tips for Keeping Food in the Unit 9 5 CLEANING 9 5 1 Defrosting 9 5 2 Cleaning the Interior and the Exterior o...

Page 3: ...ance shall not be made by children without supervision 7 If the supply cord is damaged it must be replaced by the manufacturer its service agent or similarly qualified persons in order to avoid a haza...

Page 4: ...so cause the unit not to perform properly This unit is not designedfor use in a garage or outdoor installation Do not drape the unit with any covering When installing the unit ensure that 10cm of free...

Page 5: ...p hinge and the top door limit block and the door bearing bush to the other side A Remove the nut with sleeve Take off the washer then remove the axes to the other side and fixed B Remove the door lim...

Page 6: ...ews fixed the bottom hinge with cross slot screwdriver Note the refrigerator freezer incline angle less 45 5 Replace the bottom hinge to the other side then fix it with screws 6 Set the door right pos...

Page 7: ...6 7 Replace the top hinge 8 Set the top door right position fix the top hinge and the cover 9 Replace the leveler to the other side and adjust it to make sure the cabinet level...

Page 8: ...tion 2 6 Before Using Your Unit Do not damage the power cord under any condition so as to ensure safety use do not use when the power cord is damaged or the plug is worn Do not put flammable explosive...

Page 9: ...he lowest set of guides above the fruitand vegetable containers and keep it in this position To do this pull the storage shelf forward until it can beswivelled upwards or downwards and removed Please...

Page 10: ...ult and will not affect the performance of yourunit This is the compressor motor working as it pumps the refrigerant around the system 4 3 Tips for Keeping Food in the Unit Cooked meats fishes should...

Page 11: ...engineer and only genuine spare parts should be used Under no circumstances should you attempt to repair the unit yourself Repairs carried out by inexperienced persons may cause injury or serious malf...

Page 12: ...sufficiently ventilated adequate air circulation behind the appliance In normal temperature conditions please arrange the thermostat at the middle setting Before loading the appliance with packages o...

Page 13: ...anold unit break of any old locks or latches and remove the door as a safeguard Correct Disposal of this product Correct Disposal of this product This marking indicates that this product should not be...

Page 14: ......

Reviews: