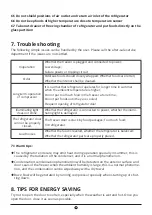
13
13
5. CLEANING
5.1 Defrosting
Auto-defrost for Frost-free Refrigerator
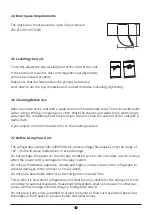
5.2 Cleaning the Interior and the Exterior of the Unit
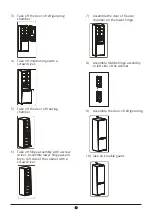
Remove all the shelves and the salad bin. To remove the salad bin
remove the low-
er door shelf.
Wipe the inside of the unit with a weak solution of bicarbonate soda and then rinse with
warm water using a “wrung-out” sponge or cloth. Wipe completely dry before replacing
the shelves and salad bin.
Use a damp cloth to clean the exterior, and then wipe with a standard furniture polish.
Make sure that the door is closed to avoid the polish getting on the magnetic door seal
or inside the unit.
The grille of the condenser at the back of the unit and the adjacent components can be
vacuumed using a soft brush attachment.
5.3 Cleaning Tips
Condensation may appear on the outside of the unit. This may be due to a change in room
temperature. Wipe of any moisture residue. If the problem continues, please contact a
technician for assistance.
6.MAINTENANCE
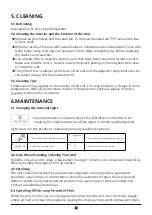
6.1 Changing the Internal Light
Any replacement or maintenance of the LED lamps is intended to be
made by the manufacturer,its service agent or similar qualified person.
6.2 Care When Handling / Moving Your Unit
Hold the unit around its sides or base when moving it. Under no circumstances should it be
lifted by holding the edges of the top surface.
6.3 Servicing
The unit should be serviced by an authorized engineer and only genuine spare parts
should be used. Under no circumstances should you attempt to repair the unit yourself.
Repairs carried out by inexperienced persons may cause injury or serious malfunction.
Contact a qualitatively technician.
When the unit is not in use for a long period of time, disconnect it from the mains supply,
empty all food and clean the appliance, leaving the door ajar to prevent unpleasant smells.
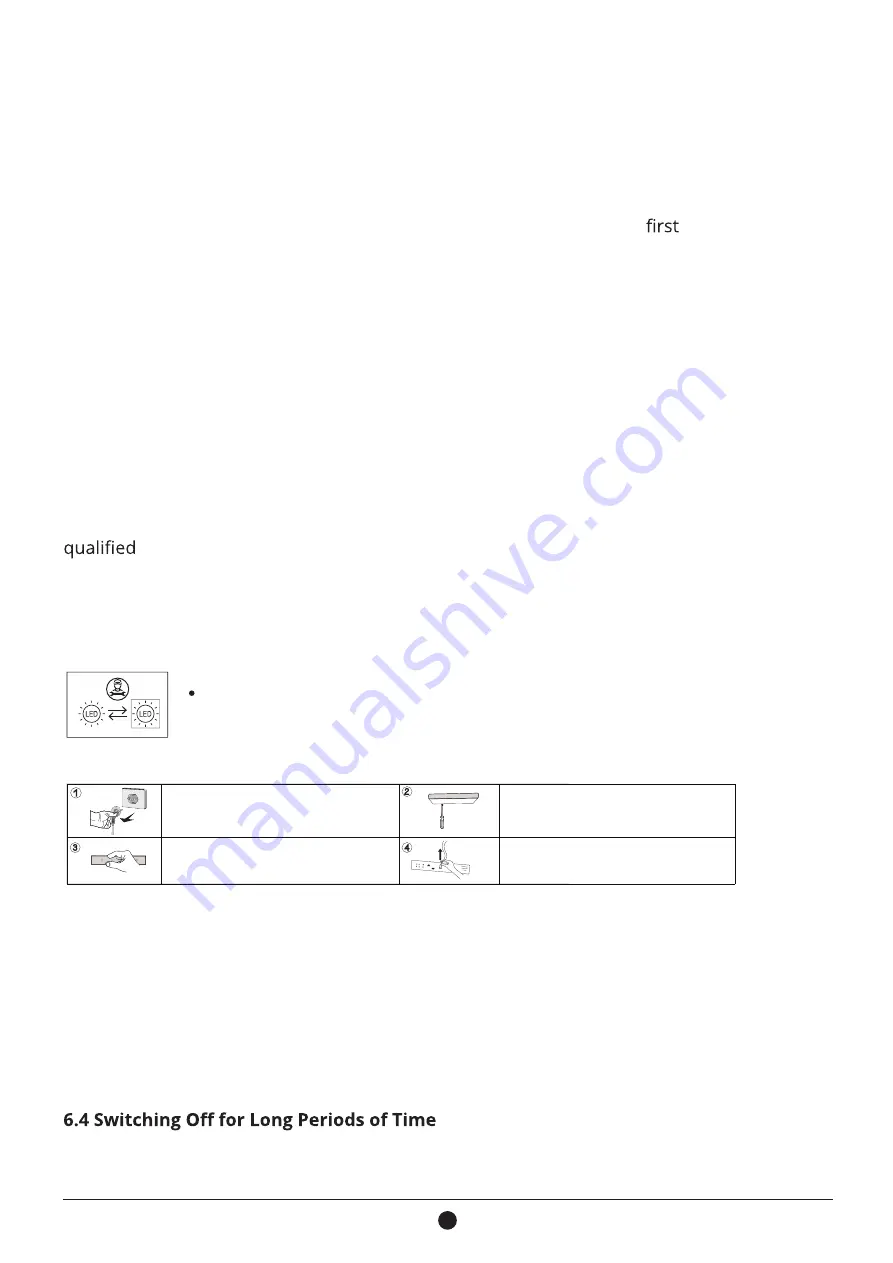
Light source in this product is replaceable only by qualified engineers.
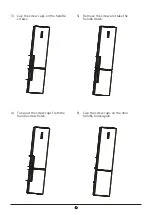
1. Please take out the plug before removal.
3. Take down the lamp panel.
4. Remove the connection terminal.
2. Remove the lampshade with a screwdriver.
Summary of Contents for PS18861LIN
Page 19: ...1 1 1 1 2 3 4 5 6 8 7 8 9 10 Bed and breakfast 11...
Page 20: ...2 2 2 2 1 10 cm 10 cm 30 cm 2 2 1 2...
Page 21: ...3 3 3 4 5 6...
Page 22: ...4 4 7 2 3 1 2...
Page 23: ...5 5 3 4 8 5 9 6 10 7...
Page 24: ...6 6 2 4 x 991 x 975mm 2 5 2 6 2 7 220 240V 50Hz AC 187 264V 24 W D...
Page 25: ...7 7 24 u u 2 8...
Page 26: ...8 8 3 LED 4 4 1...
Page 27: ...9 9 A fast cool A SET 1 1 2 2 3 3 4 4 5 5 3 L D L D 5 15 1 2 3 4 5 2 0 1 150 2...
Page 28: ...10 10 4 2 CFC 4 3 4 4 LED1 LED2 LED1 LED3 LED1 LED4...
Page 29: ...11 11 5 5 1 5 2 5 3 6 6 1 6 2 6 3 6 4 LED 1 3 4 2...
Page 30: ...12 12 6 5 6 6 6 7 7 0 7 1 u u u 8...
Page 31: ...13 13 3 5 mm u u u u u 9...
Page 32: ...14 14 211 300 3300 www inventoraircondition gr media library...
Page 50: ......

