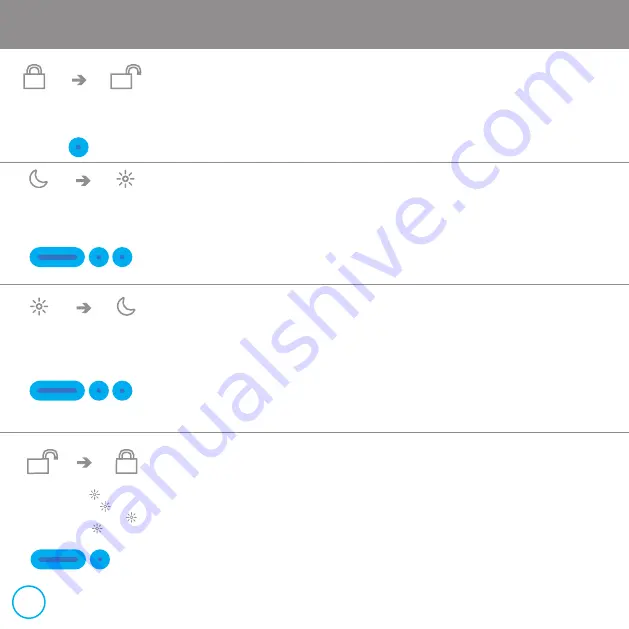
EN:
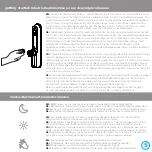
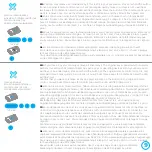
Press the button on the remote control. You will hear a beep for confirmation and the door
will open.
DE:
Drücken Sie den Knopf auf der Fernbedienung. Sie hören zur Bestätigung einen Piepton, und
die Tür öffnet sich.
FR:
Enfoncez le bouton de la télécommande. Vous entendez un bip en guise de confirmation et
la porte s'ouvre.
NL:
Druk de knop op de afstandsbediening in. U hoort een piepje ter bevestiging en de deur gaat
open.
operating instructions/Betriebsanleitung/mode d’emploi/bedienhandleiding
>1 sec
>1 sec
>1 sec
open door
Tür öffnen
ouvrir la porte
deur openen
activate day mode
Tagesmodus aktivieren
activer le mode journée
dagstand activeren
EN:
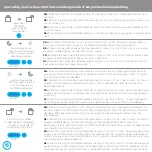
Press and hold the button on the remote control once (>1 sec) and again quickly twice in
succession. You will hear 2 beeps for confirmation and the LED will flash green twice.
DE:
Drücken Sie den Knopf auf der Fernbedienung 1 x lange (> 1 Sek.) und 2 x kurz. Sie hören 2
Pieptöne zur Bestätigung, und die LED blinkt 2 x grün.
FR:
Enfoncez le bouton de la télécommande, 1x long (>1 sec) et 2x court. Vous entendez 2 bips
en guise de confirmation et la lampe LED verte clignote 2x.
NL:
Druk de knop op de afstandsbediening 1x lang (>1 sec) en 2x kort in. U hoort 2 piepjes ter
bevestiging en de LED knippert 2x groen.
activate night mode
Nachtmodus aktivieren
activer le mode nuit
nachtstand activeren
EN:
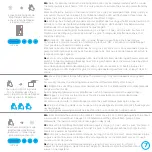
Press and hold the button on the remote control once (>1 sec) and again quickly twice in
succession. You will hear 2 beeps for confirmation and the LED will flash green twice. Then the
lock will fully secure the deadbolt.
DE:
Drücken Sie den Knopf auf der Fernbedienung 1 x lange (> 1 Sek.) und 2 x kurz. Sie hören 2
Pieptöne zur Bestätigung, und die LED blinkt 2 x grün. Anschließend dreht das Schloss den
Nachtriegel heraus.
FR:
Enfoncez le bouton de la télécommande, 1x long (>1 sec) et 2x court. Vous entendez 2 bips
en guise de confirmation et la lampe LED verte clignote 2x. Ensuite, le verrou du pêne dormant
va tourner.
NL:
Druk de knop op de afstandsbediening 1x lang (>1 sec) en 2x kort in. U hoort 2 piepjes ter
bevestiging en de LED knippert 2x groen. Vervolgens zal het slot de nachtschoot uitdraaien.
1x locking in mode
1x abschließen in Modus
fermer 1x en mode
1x afsluiten in stand
EN:
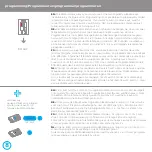
Press and hold the button on the remote control once (>1 sec) and again once quickly. You
will hear a beep for confirmation and the LED will flash green. Then the lock will fully secure the
deadbolt. After opening a further time the lock will be in day mode again and will not lock
automatically.
DE:
Drücken Sie den Knopf auf der Fernbedienung 1 x lange (> 1 Sek.) und 1 x kurz. Sie hören 1
Piepton zur Bestätigung, und die LED blinkt grün. Anschließend dreht das Schloss den
Nachtriegel heraus. Nach dem nächsten Öffnen befindet sich das Schloss wieder im Tagesmodus
und schließt sich nicht automatisch.
FR:
Enfoncez le bouton de la télécommande, 1x long (>1 sec) et 1x court. Vous entendez un bip
en guise de confirmation et la lampe LED verte clignote. Ensuite, le verrou du pêne dormant va
tourner. Lorsque vous l'ouvrirez la prochaine fois, le verrou se remettra en mode journée et ne se
verrouillera pas automatiquement.
NL:
Druk de knop op de afstandsbediening 1x lang (>1 sec) en 1x kort in. U hoort een piepje ter
bevestiging en de LED knippert groen. Vervolgens zal het slot de nachtschoot uitdraaien. Na de
volgende keer openen, zal het slot weer in de dagstand staan en niet automatisch op slot gaan.
6
Summary of Contents for SMARTLOCK
Page 2: ......

