Installation and Checkout
2-2
3800 Vital Signs Monitor Service Manual
Revised October 2004
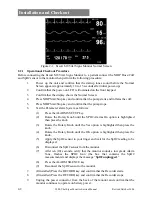
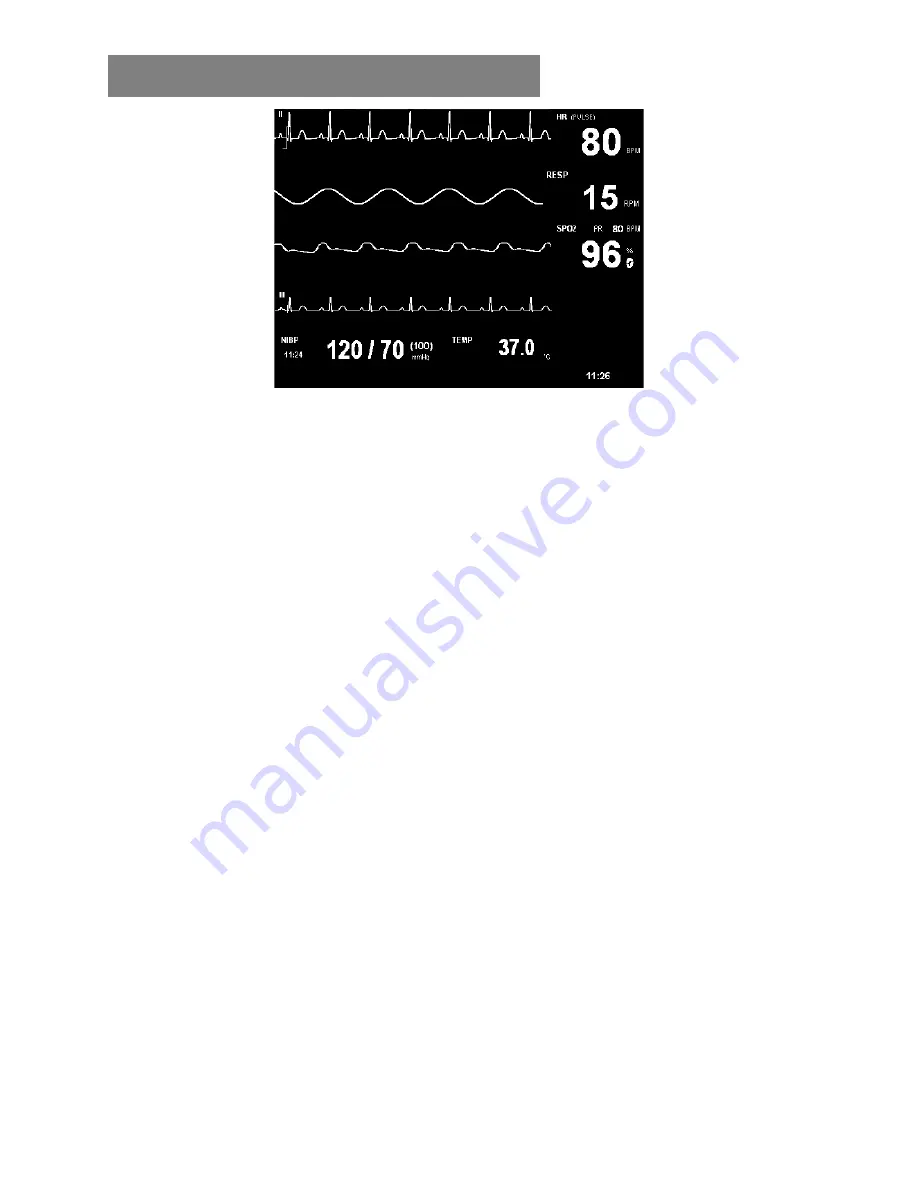
Figure 2-1. Escort M8 Vital Signs Monitor Normal Screen
2.2.1 Operational Checkout Procedure
Before connecting the Escort M8 Vital Signs Monitor to a patient connect the NIBP Hose/Cuff
and SpO2 sensor to the monitor then perform the following procedure:
1.
Power up the unit and confirm that the startup tones sound before the Normal
Screen appears (approximately 10 to 15 seconds after initial power-up).
2.
Confirm that the power-on LED is illuminated on the front keypad.
3.
Confirm that the display shows the Normal Screen.
4.
Press NIBP Start/Stop key and confirm that the pump starts and inflates the cuff.
5.
Press NIBP Start/Stop key and confirm that the pump stops.
6.
Test the Parameter alarm System as follows:
(1)
Press the ALARMS SETUP key.
(2)
Rotate the Rotary Knob until the SPO2 Alarms On option is highlighted
then press the knob.
(3)
Rotate the Rotary Knob until the Yes option is highlighted then press the
knob.
(4)
Rotate the Rotary Knob until the OK option is highlighted then press the
knob.
(5)
Apply the SpO2 sensor to your finger and wait for the SpO2 reading to be
displayed.
(6)
Disconnect the SpO2 sensor from the monitor.
(7)
After ten (10) seconds, verify that the monitor sounds a low grade Alarm
Tone, flashes the SPO2 Icon (the box that contains the SpO2
measurements) and displays the message “
SpO2 unplugged
.”
(8)
Press the ALARM SILENCE key.
(9)
Reconnect the SpO2 sensor to the monitor.
7.
(If installed) Press the RECORD key and confirm that the Recorder starts.
8.
(If installed) Press the RECORD key and confirm that the Recorder stops.
9.
Unplug the power connector from the back of the monitor and confirm that the
monitor continues to operate on battery power.

