background image

Copyright © 2021 In Win Development Inc. All Rights Reserved.

Summary of Contents for 315

Page 1: ...User Manual ...

Page 2: ... 2 315 Product Video ...

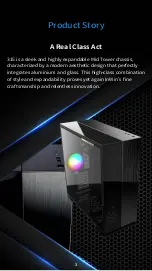
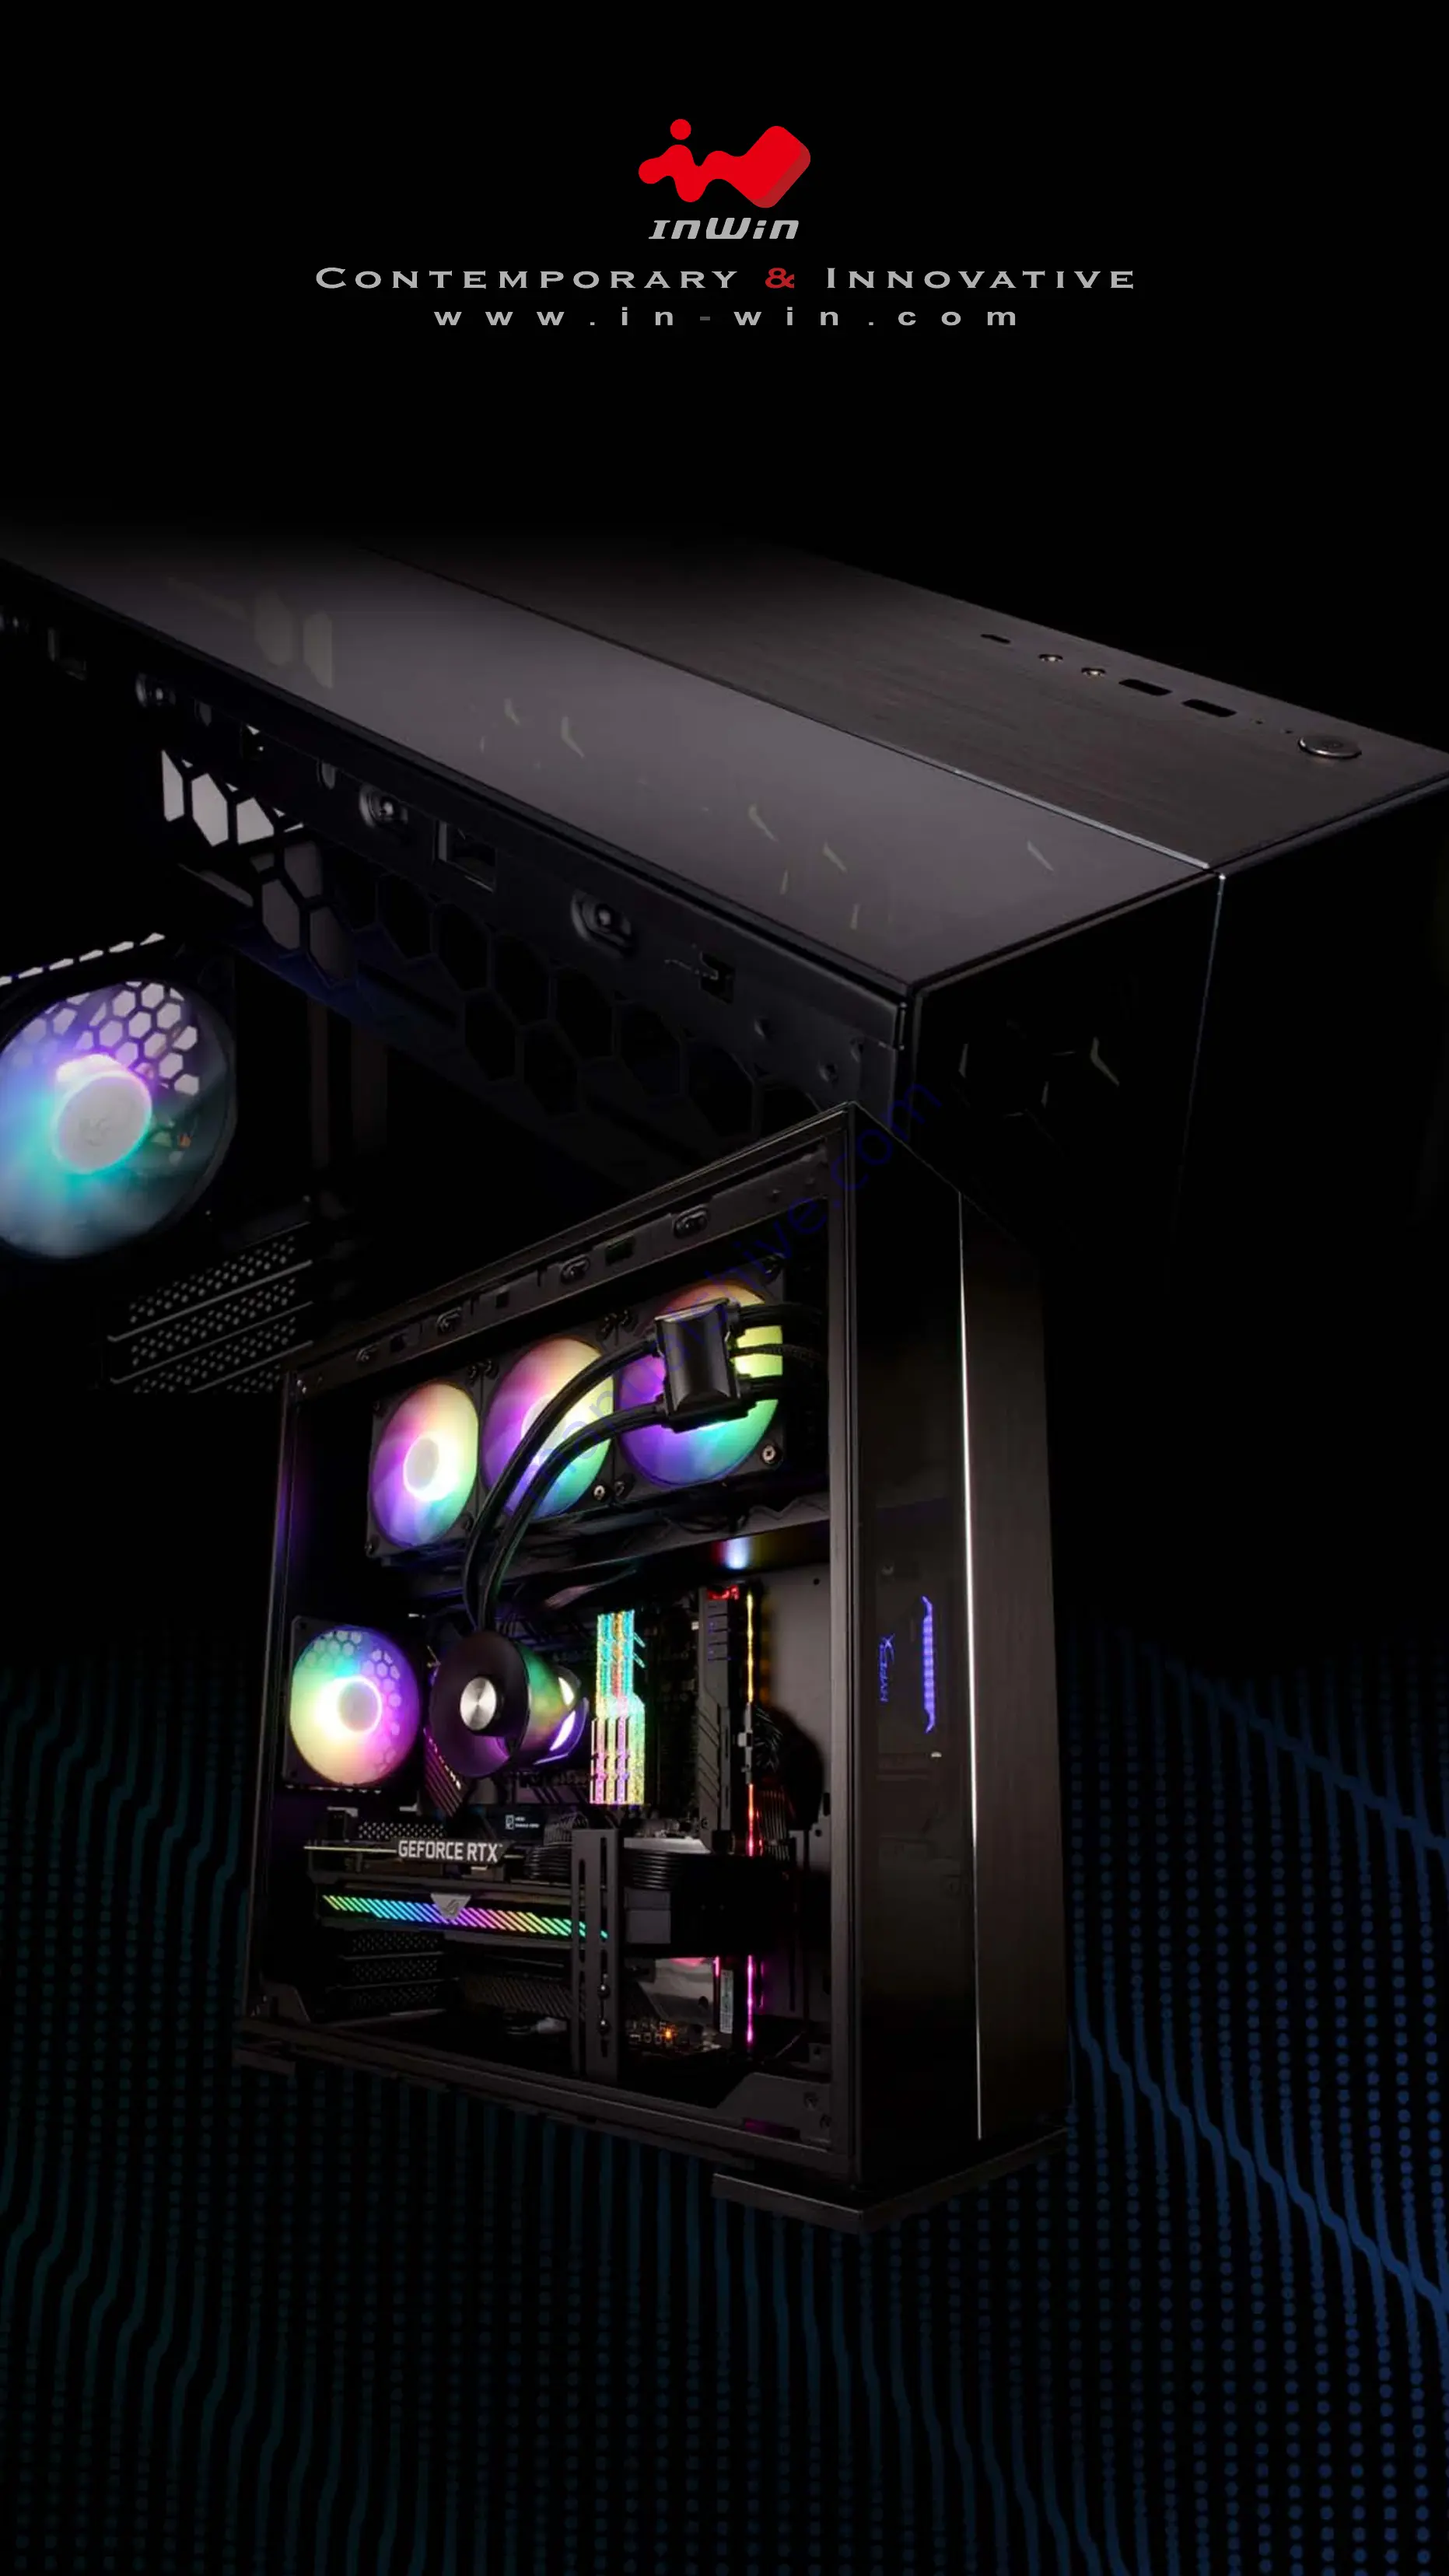
Page 3: ...ndable Mid Tower chassis characterized by a modern aesthetic design that perfectly integrates aluminium and glass This high class combination of style and expandability proves yet again InWin s fine craftsmanship and relentless innovation Product Story ...

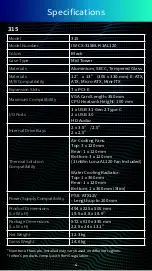
Page 4: ...5 2 5 2 x 2 5 Thermal Solution Compatibility Air Cooling Fans Top 3 x 120 mm Rear 1 x 120 mm Bottom 3 x 120 mm 1 InWin Luna AL120 Fan Included Water Cooling Radiator Top 1 x 360 mm Rear 1 x 120 mm Bottom 1 x 360 mm Slim Power Supply Compatibility PSII ATX12V Length up to 200 mm Product Dimensions L x W x H 494 x 225 x 505 mm 19 5 x 8 8 x 18 9 Package Dimensions L x W x H 572 x 610 x 335 mm 22 5 x ...

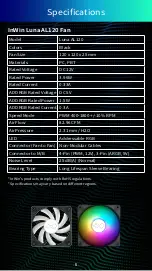
Page 5: ...ated Current 0 3A Speed Mode PWM 400 1800 10 RPM Air Flow 82 96 CFM Air Pressure 2 31 mm H2O LED Addressable RGB Connector Fan to Fan Non Modular Cables Connector to M B 4 Pin PWM 12V 3 Pin ARGB 5V Noise Level 25 dB A Normal Bearing Type Long Lifespan Sleeve Bearing InWin s products comply with RoHS regulations Specifications may vary based on different regions InWin Luna AL120 Fan Specifications ...

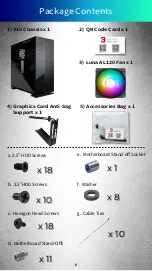
Page 6: ...Card Anti Sag Support x 1 5 Accessories Bag x 1 e Motherboard Stand off Socket f Washer g Cable Ties a 2 5 HDD Screws b 3 5 HDD Screws c Hexagon Head Screws d Motherboard Stand Offs x 11 x 18 x 1 x 10 x 18 x 10 x 8 3 Luna AL120 Fan x 1 Package Contents ...

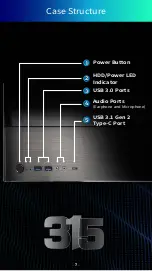
Page 7: ... 7 Power Button 1 2 3 4 5 HDD Power LED Indicator USB 3 0 Ports Audio Ports Earphone and Microphone USB 3 1 Gen 2 Type C Port Case Structure ...

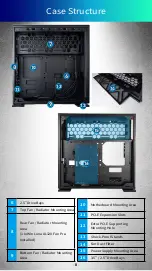
Page 8: ...ea 8 Rear Fan Radiator Mounting Area 1 InWin Luna AL120 Fan Pre Installed 9 Bottom Fan Radiator Mounting Area 10 Motherboard Mounting Area 11 PCI E Expansion Slots 12 Extra PCI E Supporting Mounting Hole 13 Shock Proof Stands 14 Fan Dust Filter 15 Power Supply Mounting Area 16 3 5 2 5 Drive Bays ...

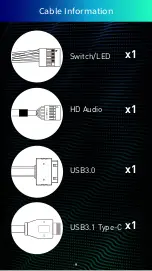
Page 9: ... 9 Cable Information HD AUDIO Switch LED HD Audio USB3 0 USB3 1 Type C x1 x1 x1 x1 ...

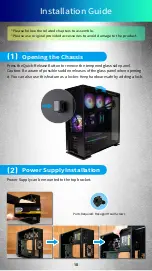
Page 10: ...e Quick Release Button to remove the tempered glass side panel Caution Be aware of possible sudden releases of the glass panel when opening it You can also use this feature as a locker Keep hardware safe by adding a lock Power Supply can be mounted to the top bracket Parts Required Hexagon Head Screws 1 Opening the Chassis 2 Power Supply Installation ...

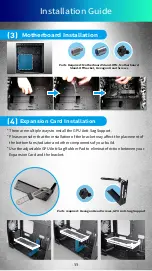
Page 11: ... ways to install the GPU Anti Sag Support Please consider that the installation of the bracket may affect the placement of the bottom fans radiator and other components of your build Use the adjustable GPU Anti Sag Rubber Pad to eliminate friction between your Expansion Card and the bracket 3 Motherboard Installation 4 Expansion Card Installation Installation Guide ...

Page 12: ...onnector HD Audio Header USB3 0 Header 2 Red HDD 4 White HDD 6 NC 8 NC 10 NC Key 9 White P_SW 7 Brown P_SW 5 White P_LED 3 Blue P_LED 1 PORT2_L PORT2_R PORT1_R PORT1_L BLUE PURPLE YELLOW 10 8 6 4 2 KEY WHITE BLACK 9 7 5 3 1 1 2 3 4 5 6 7 8 9 10 19 18 17 16 15 14 13 12 11 5 I O Wires Installation Installation Guide ...

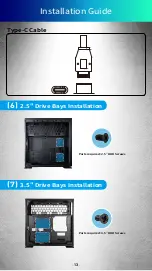
Page 13: ... 13 Type C Cable 6 2 5 Drive Bays Installation 7 3 5 Drive Bays Installation Parts required 2 5 HDD Screws Parts required 3 5 HDD Screws Installation Guide ...

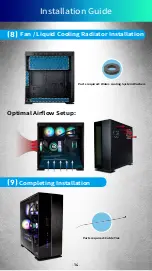
Page 14: ... 14 Fan Liquid Cooling Radiator Installation 9 Completing Installation Optimal Airflow Setup Parts required Cable Ties 8 Installation Guide Parts required Water cooling System Washers ...

Page 15: ...ary insertions and extractions to the addressable cable as it may damage the pins 6 To avoid any damages please do not use this product for any other purpose than its intended use 7 Any modifications may damage the product 8 Please remove all internal devices before shipping or moving Including power supply hard drives motherboard CPU etc 9 Keep this product away from areas with high temperatures ...

Page 16: ...Copyright 2021 In Win Development Inc All Rights Reserved ...

Reviews: