24
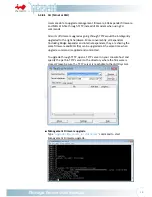
As
the
design,
there
are
three
internal
expanders
inside
the
chassis
expanded
from
the
bridge
expander.
Users
can
also
get
into
the
internal
expander
management
when
required.
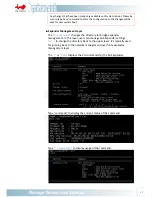
Type
“cd
expander1”
to
manage
1
st
expander.
Type
“cd
expander2”
to
manage
2
nd
expander.
Type
“cd
expander3”
to
manage
3
rd
expander.
Note:
5.3.3
Network
Management
The
Ethernet
port
on
Expander
module
is
to
provide
Network
Management
in
various
protocols
such
as
Telnet,
SSH,
Web
‐
GUI
and
SNMP.
It
also
provides
an
notification
while
an
alarm
is
in
effect
by
properly
configuring
the
SMTP
information.
The
default
settings
of
the
network
information
are
as
listed
below:
IP
Address
:
192.168.100.1
(Static
IP
Address)
Subnet
Mask
:
255.255.255.0
Gateway
:
192.168.100.254
Username
:
admin
Password
:
default
*
Please
be
sure
the
system
IP
network
is
reachable
by
the
management
host.
*
Users
can
make
changes
of
the
settings
to
meet
the
network
environment.
*
For
security
reasons,
we
strongly
recommend
users
to
change
the
password
immediately
before
the
system
is
put
online.
Note:
5.3.3.1
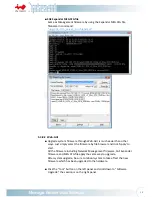
Telnet
■
The
Telnet
service
is
enabled
by
default.
It
shares
the
same
level
of
CLI
commands
as
it
is
through
the
serial
console
terminal.
Users
can
disable
the
Telnet
support
on
web
GUI
or
with
CLI
commands
if
there
are
security
concerns.
In
CLI,
in
“mgmt.s”
layer
type
“service
telnet
0”
to
disable
telnet
service.
■
The
difference
compared
with
serial
console
is
that
Telnet
sessions
require
a
Credential
(Username
and
Password)
to
gain
access
to
it.
Please
jump
back
to
“mgmt.s”
layer
by
typing
“cd
..”
every
time
before
you
can
jump
to
another
expander
management
layer.
The
factory
default
IP
address
is
static
address
192.168.100.1.
If
there
is
a
DHCP
server
in
the
IP
network,
users
can
simply
change
the
IP
address
on
web
GUI
or
through
serial
console.
In
serial
console,
type
“dhcp
1”
in
“mgmt.s”
layer
to
enable
dynamic
IP
address
for
the
system.
Type
“save”
so
the
setting
is
kept
for
the
next
system
boot.
Summary of Contents for IW-RJ460-05
Page 1: ...IW RJ460 05 User s Manual...
Page 7: ...4 1 Product Introduction 1 1 Box Contents...
Page 29: ...26...

