background image

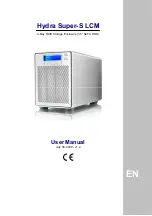
  Hydra Super-S LCM                                                                                                  Introduction 

1  Introduction 

1.1  System Requirements 

1.1.1  PC Requirements 

  Minimum Intel Pentium III CPU 500MHz, 128MB RAM 

  eSATA equipped PC; Windows XP/Vista 

  FireWire equipped PC; Windows XP/Vista 

  USB 2.0 (USB 1.1) equipped PC; Windows XP/Vista 

  Your hardware device must have the correct corresponding port (e.g. USB 2.0 host controller) 

  Plug & Play support for eSATA host controller 


1.1.2  Mac Requirements 

  Minimum Apple G4 processor, 128MB RAM 

  eSATA equipped Mac; Mac OS 10.4 or above 

  FireWire equipped Mac; Mac OS 10.2 or above 

  USB 2.0 (USB 1.1) equipped Mac; Mac OS 10.2 or above 

  Your hardware device must have the correct corresponding port (e.g. USB 2.0 host controller) 

  Plug & Play support for eSATA host controller 


1.1.3  Supported Hard Drives 

  Two to four 3.5" SATA-I or SATA-II hard drives (1.5Gb/s or 3.0Gb/s)  

  Hard drives of identical capacities are recommended 

  Supports large volumes in excess of 2TB 


Note  

In order for the computer to access volumes larger than 2TB, both the hardware and Operating 
System need to support large volumes (e.g.: WinVista 32bit/64bit or Mac OS 10.4 and above). 


1.2  Package Contents 

Package content may vary depending on vendor & version. 

  Hydra Super-S LCM (hard drives not included) 

 Power 

cord 

 Interface 

cables 

 User 

manual 


1.3  About this Manual 

Firmware, images and descriptions may slightly vary between this manual and the actual product 
you have. Functions and features may change depending on the firmware version. Please read 
your warranty carefully, as this may vary between different vendors! 


1.4  Trademarks 

  MS-DOS, Microsoft and Windows XP/Vista are trademarks of Microsoft Corporation. 

  Apple Macintosh and Mac are trademarks of Apple Computer. 

  All other third party brands and names are the property of their respective owners. 

Page 1 

Summary of Contents for Hydra Super-S LCM

Page 1: ...EN Hydra Super S LCM 4 Bay RAID Storage Enclosure 3 5 SATA HDD User Manual July 30 2009 v1 2...

Page 2: ...I hard drives 1 5Gb s or 3 0Gb s Hard drives of identical capacities are recommended Supports large volumes in excess of 2TB Note In order for the computer to access volumes larger than 2TB both the h...

Page 3: ...d Flashing yellow Rebuilding RAID array Steady yellow One or more faulty drive s RAID mode can be changed via LCD display RAID mode locked Select Select setup menu or mode OK Confirm current option or...

Page 4: ...y Used where speed is the primary objective but RAID Level 0 also called striping is not redundant This form of array splits each piece of data across the drives in segments Since data is written with...

Page 5: ...e size of one drive RAID 5 uses block level striping with parity data distributed across all member disks and therefore provides the perfect balance between high performance and data integrity When on...

Page 6: ...ve with the six screws from the side 3 Slide the cassette back into the case push it lightly into place and fasten the screw 4 Repeat the previous steps for each hard drive cassette you are planning t...

Page 7: ...ray will take several hours depending on the drive capacity 4 For RAID 0 and Spanning erase the old partition create a new one and then format the drives again Note We recommend not turning off the po...

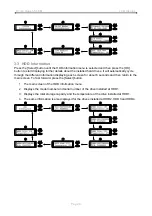
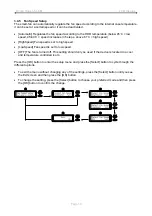
Page 8: ...ings menu offers options to change the device configuration 3 2 System Information Press the Select button until the system information menu is selected and then press the OK button to start displayin...

Page 9: ...the different information displaying each screen for about 8 seconds and then return to the main screen To fast forward press the Select button 1 The main screen of the HDD information menu 2 Displays...

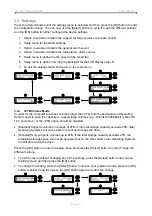
Page 10: ...rger than 2TB both the hardware and Operating System need to have the capacity to support large volumes e g WinVista 32bit 64bit or Mac OS 10 4 and above or the 2TB option should be disabled Enabled S...

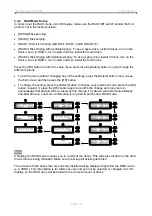
Page 11: ...the menu without changing any of the settings press the Select button until you see the Exit screen and then press the OK button To change the setting press the Select button to choose your preferred...

Page 12: ...ng press the Select button to choose your preferred mode and then press the OK button to confirm the change 3 4 4 TEMP Alarm Setup This is the alarm sound you hear when the internal temperature that i...

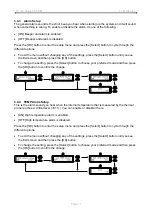
Page 13: ...d is set to high speed LowSpeed Fan speed is set to low speed OFF The fan is turned off This setting should only be used if the device is located in a cool and temperature controlled room Press the OK...

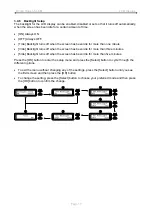
Page 14: ...turns off when the screen has been idle for more than three minutes 5min Backlight turns off when the screen has been idle for more than five minutes Press the OK button to enter the setup menu and p...

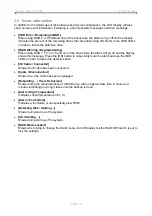
Page 15: ...ff and the display shows this message Press the OK button to temporarily mute the alarm and use the HDD LED s in order to locate the defective drive XX Cable Connected Shows which cable has been conne...

Page 16: ...T32 single files size is limited to 4GB Q How many drives can fail before I loose my data A This depends on the RAID mode For RAID 0 and Spanning any drive failure will result in the data being lost F...

Reviews: