MatchBox® series | User Manual
27
3.4:
Starting the laser
Starting a MatchBox CW laser is quite simple:
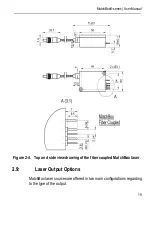
1. The laser has to be mounted and secured on a heatsink;
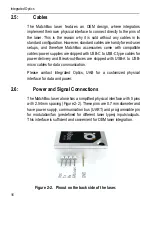
2. A Break-out-Box or any other UART has to be connected to the laser
pins. However, if no communication with laser is required, UART is not
necessary and the laser can be operated by supplying power to its’ VCC
and GND pins;
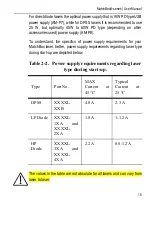
3. 5 V at 1.5 A (4-5 A for DPSS lasers) has to be supplied directly to the
laser pins, or 9-12 V at 3 A with power delivery type power supply, has to
be supplied to the Break-out-Box;
4. Once the laser is powered up, it is ready to be connected to the
software and operated.
No user adjustments are possible inside the laser. Never open a laser
module. Any attempt to open a laser enclosure will damage it and render
the warranty void.
Maintenance of the product is done exclusively by Integrated Optics, UAB
personnel at the factory.
To control a continuous-wave laser through Integrated Optics, UAB
software, firstly it has to be installed.
Follow these steps to install Integrated Optics, UAB software:
1.
Download the MatchBox control software at the “Downloads” sec-
tion on our website (more in depth explanations are shown on our You-
tube page).
2.
When the download is finished, extract .zip file to a desired directory.
Summary of Contents for MatchBox Series
Page 1: ...Version 2 5 October 2020 Continuous Wave laser...
Page 2: ......
Page 4: ...Integrated Optics 2...
Page 12: ...Integrated Optics 10...
Page 32: ...Integrated Optics 30...
Page 58: ...Integrated Optics 56...
Page 68: ...Integrated Optics 66...
Page 71: ...MatchBox series User Manual 69...
Page 72: ...Integrated Optics 70...


