FlexJet Assembly
Unpacking the Printer
Carefully remove the printer from the box and place it on a flat, sta
-
ble surface. This procedure requires two people. Check the packing
list to ensure that all of the accessories are present. (
See the
FlexJet
Quick Start Guide
for more information.
) Save all packing materials
and the box.
Assembling the Stand
Assemble and level the stand using the hardware included in the
Ac-
cessory Kit
and directions outlined in the
FlexJet Quick Start Guide
.
Attaching the Printer to the Stand
Attach the printer to the stand with the top bars resting in the notch-
es in the stand legs. Use the hardware as indicated in the
FlexJet
Quick Start Guide
.
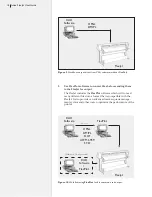
Connect the FlexJet to the Computer: Overview
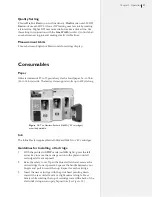
Connect the printer to your computer via serial cable (provided in the
Accessory Kit
). The corresponding serial port on your computer may
be either a 9-pin or 25-pin male receptacle. If the computer has 25-pin
serial ports, a 25- to 9-pin adapter is necessary.
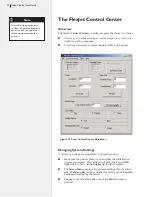
Once connected, select the correct port and data rate in your apparel
design software,
FlexPlot
and/or the
Control Center
. Consult the
design software manual or the dealer for further information. Infor-
mation on configuring
FlexPlot
and the
Control Center
follows in
the
Operation
chapter.
An overview of the complete setup procedure is described
in detail in the
FlexJet Quick Start Guide
.
The FlexJet
Set-up, Operating and Maintenance Video
, provided on
CD-ROM, also provides a helpful visual overview. Both
materials are provided in the
Accessory Kit
.
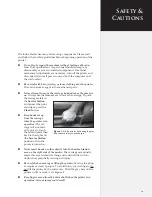
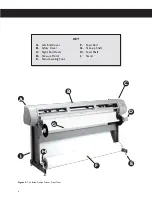
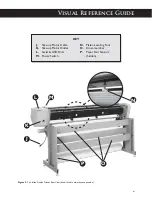
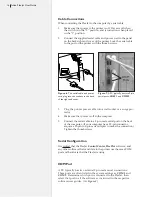
Do not hold the printer
chassis by the bottom
edge of the end plates
when attaching it to the stand.
Fingers and hands might get
pinched between the end plates
and stand legs. Hold the gray
metal top bars a few inches from
the end plates when handling the
head. (
See Figure 1.
)
Caution
Before connecting the
FlexJet to your PC, make
sure the computer and
the printer both have the power
turned off. Ioline recommends
using a surge protector power
strip for both the printer and the
computer.
Caution
Installation
Chapter 2


