Installation and Setup
Settings
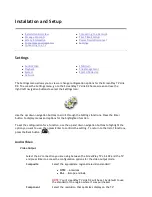
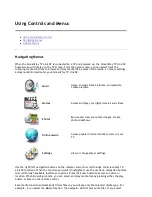
The Settings menu allows you to view or change configuration options for the ScreenPlay TV Link
DX. To access the Settings menu, go to the ScreenPlay TV Link DX home screen and use the
right/left navigation buttons to select the Settings icon:
Use the up/down navigation buttons to scroll through the Settings functions. Press the Enter
button to display menus and options for the highlighted function.
To set the configuration for a function, use the up and down navigation buttons to highlight the
option you want to use, then press Enter to confirm the setting. To return to the list of functions,
press the Back button [
].
Audio/Video
Video Output
z
Installation Overview
z
Package Contents
z
Safety Information
z
Connectors and Indicators
z
Connecting to a TV
z
Connecting to a Network
z
First Time Startup
z
Power Down/Disconnect
z
Settings
z
Audio/Video
z
Playback
z
System
z
Network
z
Shutdown
z
File Management
z
Eject USB device
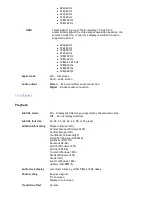
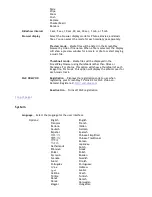
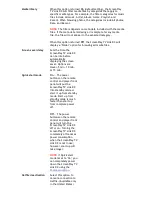
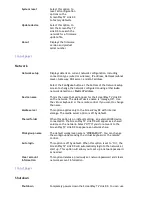
Select the AV connection you are using between the ScreenPlay TV Link DX and the TV
and press Enter to access the configuration options for the video output mode.
Composite
Select the appropriate regional television standard:
z
NTSC
— Americas
z
PAL
— Europe and Asia
NOTE:
Your ScreenPlay TV Link DX will be set by default to use
the standard of the region where it was purchased.
Component
Select the resolution that optimizes display on the TV:
Seite
18 von 65
27.06.2011
file:///C:/975415%20tvlinkdx-html-en/tvlinkdx-html-en/consolidated/printall.html

