Adding and Managing Storage Pools
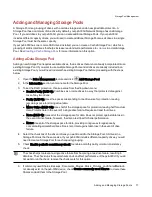
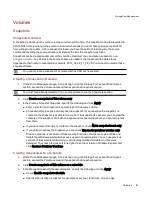
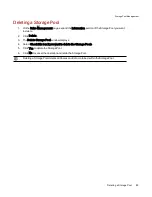
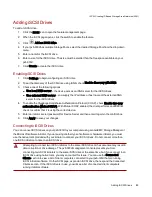
A Storage Pool is a grouping of drives with a certain storage size and an assigned data protection. A
Storage Pool has a minimum of one drive. By default, your px6-300d Network Storage has one Storage
Pool. If you add drives to your px6-300d, you can create additional Storage Pools. If your px6-300d
includes different capacity drives, you will need to create additional Storage Pools as all drives in a single
Storage Pool must be the same capacity.
If your px6-300d has one or more SSD drives installed, you can create a Cache Storage Pool, which is a
grouping of solid-state drives that helps increase read and write performance to
volumes
in a data Storage
Pool. See
Creating a Cache Storage Pool
, for more information on this option.
Adding a Data Storage Pool
Adding a new Storage Pool requires available drives, that is drives that are not already incorporated into an
existing Storage Pool. If you want to use multiple Storage Pools and all drives are already included in an
existing Storage Pool, you will need to delete the existing Storage Pool before proceeding with the steps
below.
1. Open the Drive Management feature and click
Add Storage Pool.
2. In the Information section, enter a name for the Storage Pool.
3. To set the RAID protection, choose a value from the drop-down menu:
●
Double Parity (RAID 6): Combines six or more drives in a way that protects data against
loss of any two drives.
●
Parity (RAID 5): Uses the space corresponding to one drive-size for protection, leaving
remaining space for storing actual data.
●
Mirror Stripe (RAID 10): Uses half of the storage space for protection, leaving half for actual
data. Protects data in the event of a single drive failure. Requires at least four drives.
●
None (RAID 0): Uses all of the storage space for data. Does not protect against data loss in
the event of drive failure; however, the drive are striped for better performance.
●
None: Uses all of the storage space for data, providing contiguous storage space by
concatenating all member drives. Does not protect against data loss in the event of drive
failure.
4. Select the checkbox of the drive or drives you want to add to the Storage Pool. All drives in a
Storage Pool must be the same size. If your px6-300d includes different capacity drives, you will
need to create a Storage Pool for each capacity grouping.
5. Check Enable periodic consistency check to enable a monthly parity or mirror consistency
check.
The check helps to prevent a single drive failure from becoming a two-drive failure, resulting in
data loss. The check runs for several hours and can affect performance of the px6-300d. If you do
not want to run the check, remove the check mark for this option.
6. If commonly used Shares, Backups, Documents, Movies, Music, Pictures, and SharedMedia do
not already exist on the px6-300d device, check Create commonly used Shares to create these
Shares and add them to the Storage Pool.
Storage Pool Management
Adding and Managing Storage Pools
77
Summary of Contents for StorCenter px6-300d
Page 1: ...px6 300d Network Storage with LifeLine 4 1 User Guide ...
Page 11: ...Setting up Your px6 300d Network Storage Setting up Your px6 300d Network Storage 1 CHAPTER 1 ...
Page 24: ...Setting up Your px6 300d Network Storage 14 Device Setup ...
Page 25: ...Device Configuration Options Device Configuration Options 15 CHAPTER 2 ...
Page 45: ...Users and Groups Users and Groups 35 CHAPTER 4 ...
Page 53: ...Using Active Directory Domain Using Active Directory Domain 43 CHAPTER 5 ...
Page 59: ...Sharing Files Sharing Files 49 CHAPTER 6 ...
Page 80: ...Drive Management Drive Management 70 CHAPTER 7 ...
Page 85: ...Storage Pool Management Storage Pool Management 75 CHAPTER 8 ...
Page 102: ...Backing up and Restoring Your Content Backing up and Restoring Your Content 92 CHAPTER 10 ...
Page 131: ...Sharing Content Using Social Media Sharing Content Using Social Media 121 CHAPTER 13 ...
Page 137: ...Media Management Media Management 127 CHAPTER 14 ...
Page 156: ...Hardware Management Hardware Management 146 CHAPTER 17 ...
Page 163: ...Additional Support Additional Support 153 CHAPTER 18 ...
Page 166: ...Legal Legal 156 CHAPTER 19 ...


