

Internal ATAPI Drive
Owner’s Manual
•
Installation Guide
•
User’s Guide
•
Troubleshooting
•
How to Get Help
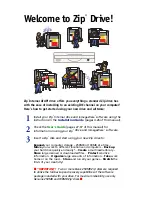
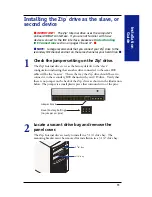
IMPORTANT!
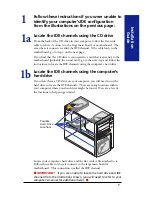
Before installing the hardware for your Zip
®
Internal drive, insert the
Owner’s Manual
CD
and click the
button that says “Watch Installation Video” to give you an
overview of the installation process.
http://www.iomega.com