background image

©ION Inc. All rights reserved.

Index

 - 

Setup

 - General


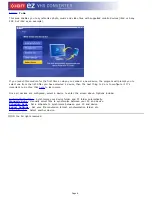
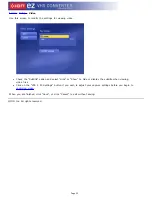
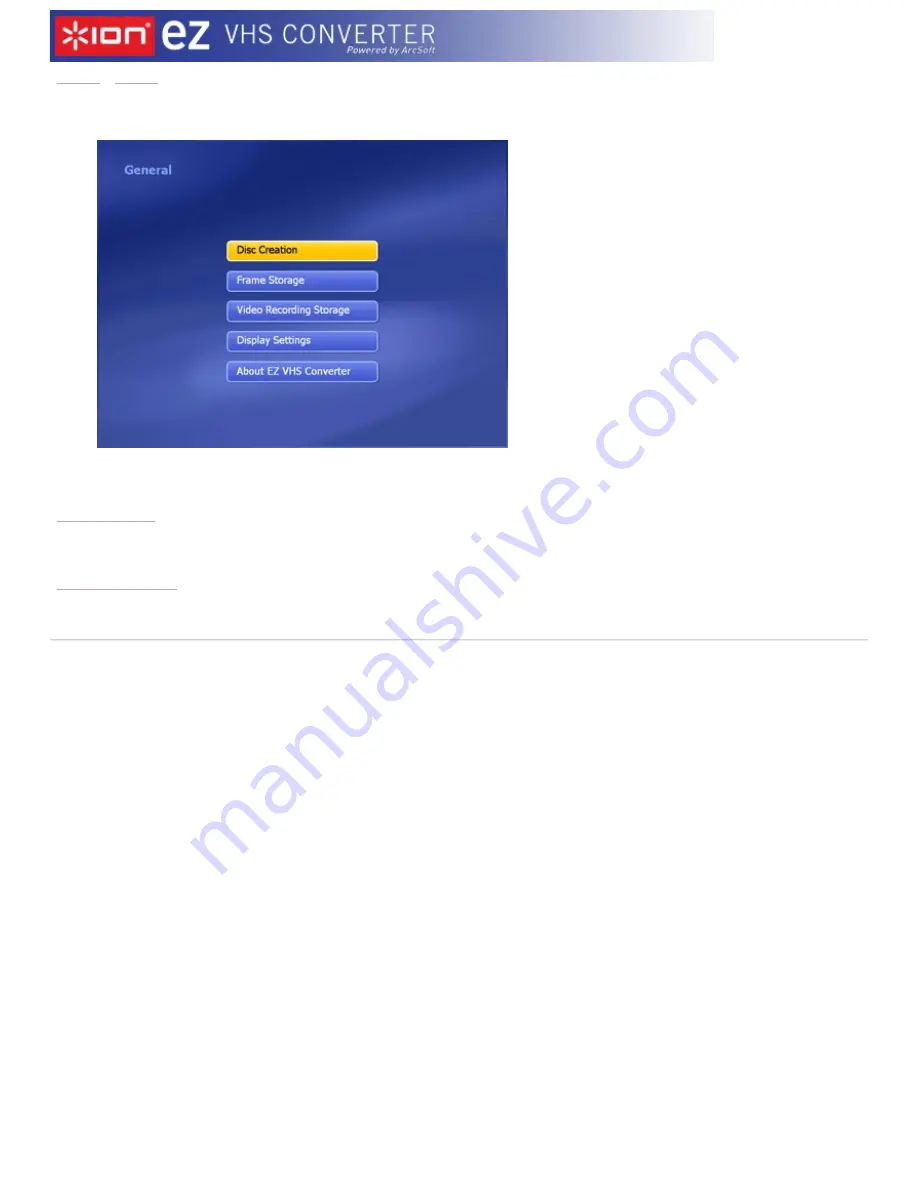
This screen enables you to view and edit basic program settings:

Options include:

Disc Creation

 -


Change disc creation settings.


Frame Storage

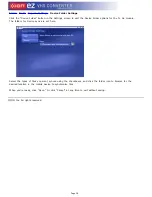
 - Here you can set the save location and file type for captured screenshots. 

Video Recording Storage

 - Select the location on your computer to save your recorded TV programs. You

can also set the quality (HQ - High Quality; SP - Standard Play; LP - Long Play; EP - Extended Play). 

Display Settings

 - 

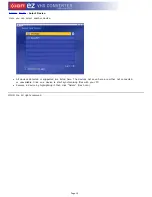
Modify the settings for how the program displays on different types of hardware.  

About EZ VHS Converter - 

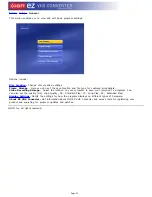
Get information about ION EZ VHS Converter and access tools for registering your

product and searching for program updates and patches.


Page 21

Summary of Contents for EZ VHS

Page 1: ...ION EZ VHS Converter an all in one multimedia application that allows you to access and work with home videos right from your VCR or home computer VCR 2 PC Videos To Go Setup Click here to learn abou...

Page 2: ...movie discs and video files Use these buttons to adjust the playback speed at variable rates When watching MPEG 2 videos and video files Use these buttons to skip forward by roughly 27 seconds or back...

Page 3: ...he video you are about to capture click the A_ button to access a virtual keyboard l Set the capture duration l To automatically burn your video to disc after it has been captured check the Automatica...

Page 4: ...e Video Standard and Closed Caption support according to your device l Click Auto Detect Video Signal to let the program detect your video input S video composite etc automatically l Check the Don t s...

Page 5: ...k the button next to it to switch to full screen mode Press Esc to exit full screen l To trim the video click the scissors icon to the right of your selection l To rename the video file click the A_ i...

Page 6: ...vance to the exact end of the section you d like to trim 4 Click the Mark Out button to define the area to be trimmed out of your video Note You can remove multiple sections of a video by repeating st...

Page 7: ...again to deselect uncheck a video file l To trim a video clip or to choose the frame be used as the chapter button thumbnail click the scissors icon to the right of the file name l Click the disc sett...

Page 8: ...evice then the next thing to do is to configure it It s important to do this Click here to learn more Once all devices are configured select a device to enter the screen above Options include Automati...

Page 9: ...through configuring the settings After that is completed you can start automatically synchronizing files There are two progress bars on the bottom right of the screen One is for the current file conv...

Page 10: ...go up one folder level in the directory Note The files on the iPod will not be shown l Double click a folder to open it If you double click a file the file will be added to the other list and the sta...

Page 11: ...s on the bottom right of the screen One is for the current file conversion and the other is for the overall progress When the sync has completed the program will prompt you to view the sync log To can...

Page 12: ...he section you d like to trim l Click the Mark Out button to define the area to be trimmed out of your video Note You can remove multiple sections of a video by repeating steps 1 4 over other areas of...

Page 13: ...synchronize files automatically on the schedule you set l Check the Enable Scheduled Synchronization box to activate this feature l Type in the start time directly and click the up down arrow to selec...

Page 14: ...To Go Export Settings This area lets you configure the settings for To Go module Device Name Video Export Format PC Folder Device Folder Note The Device Folder button is only available when you are us...

Page 15: ...ttings Click on the Device Name button in the Settings screen to edit device name l Type in a device name into the text field When you re ready click Save or click Cancel any time to exit without savi...

Page 16: ...Set the file format resolution video encoder audio encoder video bitrate audio bitrate and frame rate by selecting from the pull down list Note Many of these settings are related So it is quite possib...

Page 17: ...mputer folder to store synchronized files The folders for Automatically sync and Schedule sync are set here Select the types of files you want synced using the checkboxes and click the folder icon to...

Page 18: ...the Device Folder options for the To Go module The folders for Device sync are set here Select the types of files you want synced using the checkboxes and click the folder icon to browse for the desir...

Page 19: ...lect another device l All devices detected or supported are listed here The devices not seen here are either not connected or unavailable Click on a device to start synchronizing files with your PC l...

Page 20: ...ION Inc All rights reserved Index Setup This area lets you configure the basic settings for each module of the program General Video Page 20...

Page 21: ...shots Video Recording Storage Select the location on your computer to save your recorded TV programs You can also set the quality HQ High Quality SP Standard Play LP Long Play EP Extended Play Display...

Page 22: ...Check the Subtitle option and select Hide or Show to hide or display the subtitle when viewing video files l Click on the VCR 2 PC Settings button if you wish to adjust your capture settings before yo...

Page 23: ...ically Exiting the Sync Monitor prevents scheduled sync from occurring until it is restarted Right click the tray icon to open a context menu consisting of the following items l Stop Recording Stop th...

Page 24: ...e used within the application Remote Button Keyboard Help F1 Closed Caption F3 Snapshot F5 Volume F9 Volume F10 Play CTRL SHIFT P Pause CTRL P Stop CTRL S Previous CTRL B Next CTRL F Forward CTRL SHIF...

Page 25: ...M 512 MB DDR RAM recommended l 16 bit color display at 800x600 32 MB video memory with DirectX 3D support recommended l DirectX 9 or above Note 1 To support High definition TV the minimum requirement...

Page 26: ...udio format for DVD only You can also choose the menu design for your movies l Title Enter your own title use the title of the first video use the present date or include no title at all l Background...

Page 27: ...e aspect ratio of the monitor or television may vary 4 3 or 16 9 Set it to match your hardware or select Auto to let the program choose the aspect ratio automatically l When using a television as a di...

Reviews: