5
USING THE FILM HOLDER
1.
Hold the film holder with the glossy surface facing up.
2.
Open the film holder.
3.
Put the film into the holder.
4.
Close the film holder, making sure the magnets lock in place.
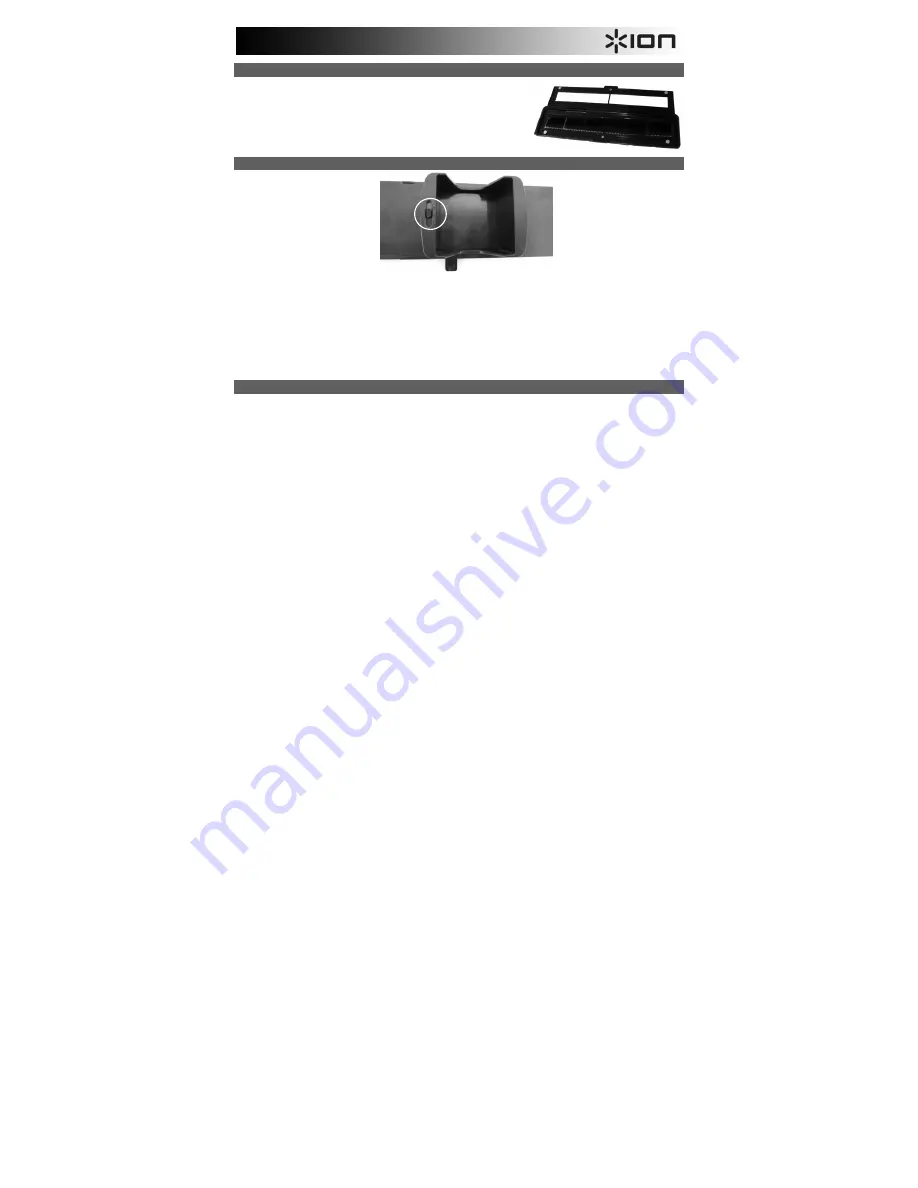
USING THE RAPID SLIDE FEEDER
1.
With the lever all the way to the right, stack your slides in the rapid slide feeder.
•
Large Dot:
If your slides are less than 1.6 mm thick, set the switch to the “1.1-1.6” position.
•
Medium Dot:
If your slides are more than 1.6 mm thick, set the switch to the “1.6-2.2” position.
•
Small Dot:
If your slides are more than 2.2 mm thick, set the switch to this position.
Note:
If you do not know the thickness of your slides, leave this switch alone. However, if your slides are sticking
in the rapid slide feeder, remove the rapid slide feeder, set the switch to the opposite setting, and try again.
2.
Place the rapid slide feeder into the FILM HOLDER SLOT.
3.
Push the lever towards the left, then pull the lever back to the right again to load a slide from the feeder into Film 2
SD Plus. Repeat this step for subsequent slides (which will push the used slides out the other side).
SCANNING YOUR IMAGES
1.
Connect Film 2 SD Plus to your computer's USB port or to a power outlet with the included power adapter.
2.
Turn on Film 2 SD Plus with the Power button.
3.
Insert your SD card into the SD card slot with the gold contacts pointed up and away from you. When you save
your scanned images, they will be stored on the SD card.
4.
Place your slide(s) or negative into the appropriate holder.
5.
Insert the holder into the appropriate Film/Slide Holder Slot, matching the triangle or circle shapes on Film 2 SD
Plus to the film/slide holder.


