6
LIP-9002 User Guide - ST
1.5
LIP-9002 Phone Installation
The LIP-9000 Phones are shipped with the LIP-9000 Phone, handset and
coil cord, adjustable foot-stand, 2-meter (~6-foot) Cat 5 cable terminated in
RJ-45 connectors, and the Quick Guide. An optional AC/DC adapter is
available for use when the network connection does not provide power to
the phone (support IEEE 802.3af PoE -Power over Ethernet-). In addition,
the LIP-9002 can be wall mounted as discussed in
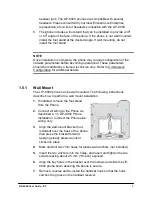
1.5.1 Wall Mount
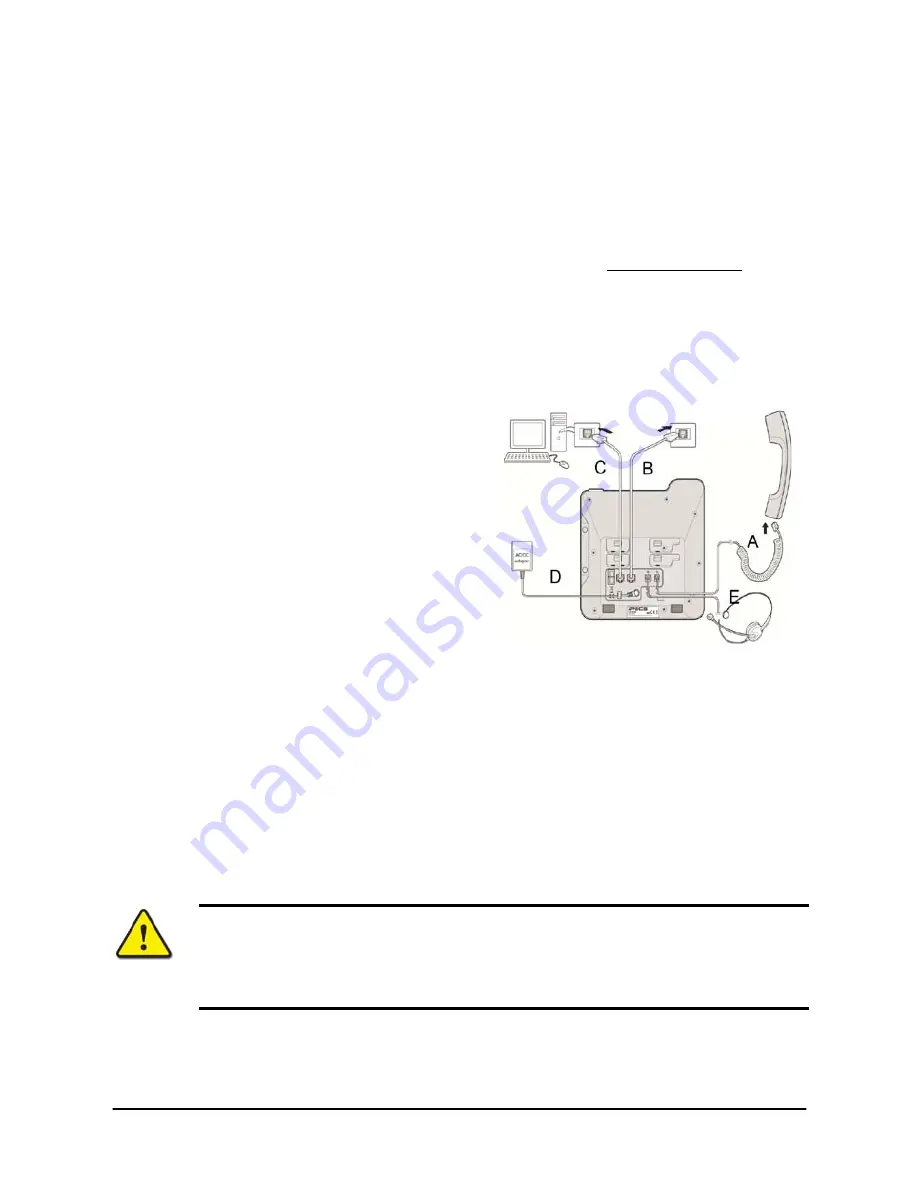
The phone has a number of connections available including the handset
and LAN connection, which are required. Connections to your desktop PC,
headset and optional power adaptor are incorporated in the phone design.
.
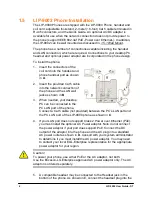
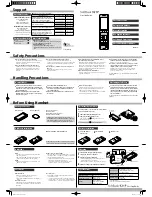
To install the phone;
1. Insert the connectors of the
coil cord into the handset and
phone handset port as shown
in
A
.
2. Insert the provided Cat 5 cable
into the network connection of
the phone and the LAN wall
jack as shown in
B
.
3. When needed, your desktop
PC can be connected to the
PC LAN port of the phone.
Connect a Cat 5 cable (not provided) between the PC’s LAN port and
the PC LAN port of the LIP-9000 phone as shown in
C
.
4. If your LAN port does not support Class 2 Power over Ethernet (PoE),
you must install the optional AC Power adaptor. Note do not connect
the power adaptor if your port does support PoE. Connect the DC
output of the adaptor into the phone and the AC plug into a standard
AC power outlet as shown in
D
. Consult with your system administrator
to determine if you must install the AC power adaptor. You may need
to contact your local ELG-Enterprise representative for the appropriate
power adaptor for your region.
Caution!
To power your phone, use either PoE or the AC adaptor, not both.
Use the Ericsson-LG Enterprise approved AC power adaptor only. The AC
adaptor is ordered separately.
5. A compatible headset may be connected to the Headset jack in the
bottom of the phone. As shown in E, connect the headset plug into the


