C-2
Optical Fiber Connector Inspection and Cleaning
Overview
I m p o r t a n t
You need to wear powder free rubber gloves during this cleaning procedure. Damage
to the fiber connector can occur due to mishandling. The use of incorrect cleaning
procedures or chemicals for cleaning is not covered by the warranty.
Acetone should be handled and stored in accordance to any local regulations (e.g.
OSHA Regulation 29 CFR 1910.1200). Refer to each solvent's MSDS (Material
Safety Data Sheet) for additional information.
To clean the fiber connector:
1. Switch off the laser main power by pressing the Emergency Stop button on the
front of the unit and turning the Keyswitch to the center position.
2. Leave protective cap on and clean the fiber connector exterior with optical
cleaner, wipe it with a clean optical wipe and dry with compressed air.
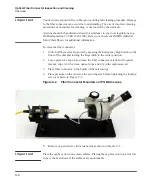
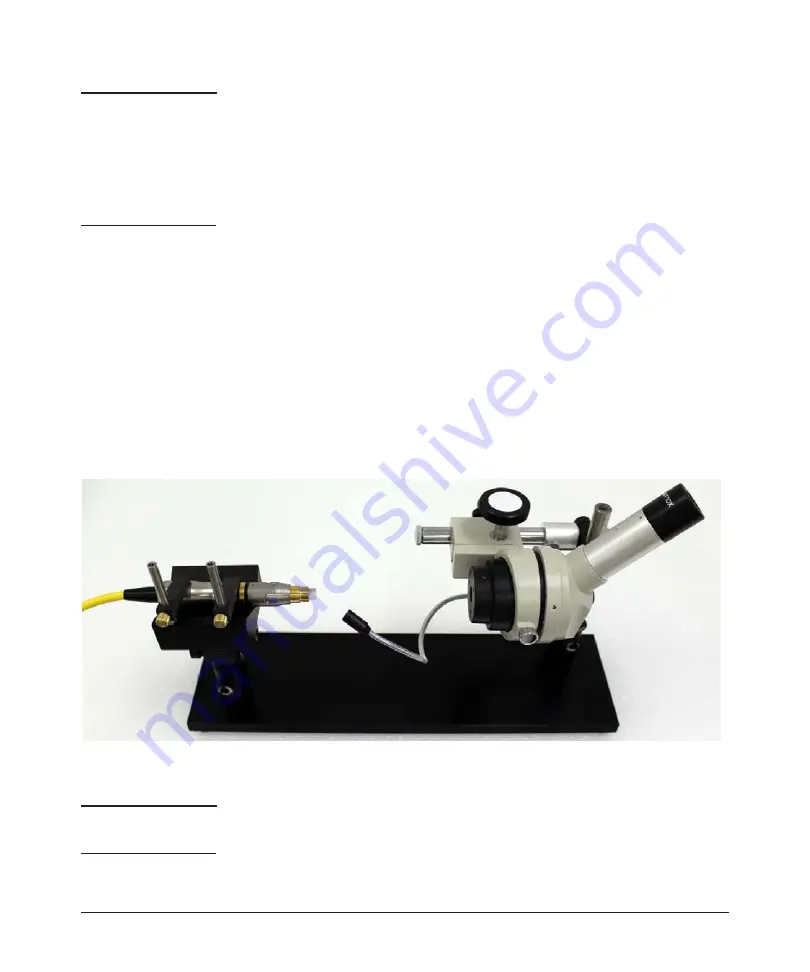
3. Place fiber connector in the holder of the microscope.
4. Place pressure on the center of the securing arm before tightening the locking
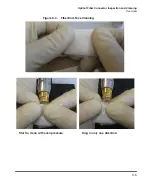
Figure C-2.
Fiber Connector Mounted on IPG Microscope
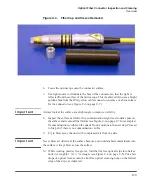
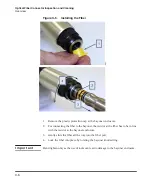
5. Remove cap and sleeve from connector as shown in Figure C-3.
I m p o r t a n t
Place the cap face down on a clean surface. Placing the cap face down on a lint free
wipe is the best choice if the surfaces are questionable.
Summary of Contents for QCW YLR-150
Page 4: ...ii Preface Audience...
Page 10: ...viii...
Page 30: ...1 20 Overview of the YLR Series Fiber Lasers Additional Safety Resources...
Page 43: ...2 13 Using Your Device Unpacking Instructions Figure 2 9 Unpacking a Unit from a Cardboard Box...
Page 45: ...2 15 Using Your Device Unpacking Instructions Figure 2 10 Unpacking a Unit from a Wooden Crate...
Page 57: ...2 27 Using Your Device Using the YLR Series Figure 2 13 24 Pin Connector Interfaces...
Page 64: ...2 34 Using Your Device Using the YLR Series Figure 2 16 Main Menu Screen...
Page 66: ...2 36 Using Your Device Using the YLR Series Figure 2 17 Sub Menus Screen...
Page 68: ...2 38 Using Your Device Using the YLR Series Figure 2 18 Sub Menus Screen...
Page 70: ...2 40 Using Your Device Using the YLR Series Figure 2 19 Sub Menus Screen...
Page 72: ...2 42 Using Your Device Using the YLR Series Figure 2 20 Sub Menus Screen...
Page 74: ...2 44 Using Your Device Using the YLR Series Figure 2 21 Sub Menus Screen...
Page 76: ...2 46 Using Your Device Using the YLR Series...
Page 138: ...4 48 Pulse Shaping Using the Pulse Shaper Program...
Page 153: ...A 9 Web User Utility Configuring a LAN Connection for Ethernet...
Page 154: ...A 10 Web User Utility Configuring a LAN Connection for Ethernet...
Page 164: ...C 8 Optical Fiber Connector Inspection and Cleaning Overview...
Page 187: ......


