7
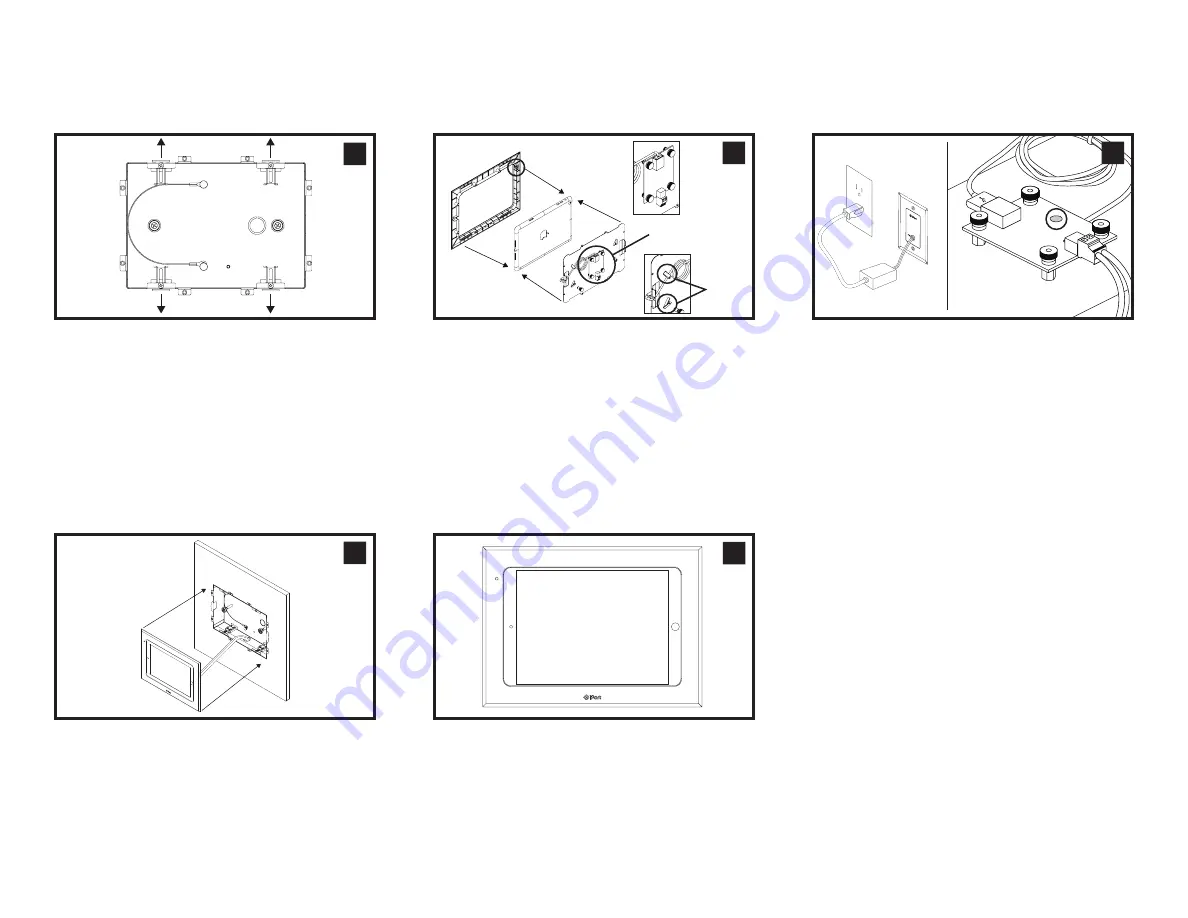
Attach iPad Air assembly into the back box.
Note: use optional tether to secure the assembly to
the back box if desired.
Confirm iPad Air is charging. Confirm a flush and
level fit on the wall.
8
5
4
6
(a) Attach the USB Electronics Board to the retainer
using the provided hardware. (b) Connect USB
cable to iPad Air and USB electronics board.
Use the tabs on the retainer to pin back USB cable
and eliminate slack. (c) Attach the retainer to the
fascia, securing iPad Air in between. (d) Make sure
iPad Air power button is aligned with the power
button extension on the fascia.
(a) Deploy and tighten the toggles on the
mounting back box using a #2 phillips
screwdriver. (b) Optionally, use the screw tabs
to secure the mounting back box to a solid
surface, such as wood.
(a) Connect the 2-pin connectors to the electronics
boards on the iPad Air assembly and wall plate.
(b) Plug in power supply to the wall plate and
the receptacle. (c) On the USB Electronics board,
confirm the power LED light is on. (d) Attach wall
plate to wall using provided hardware.
c.
a.
USB
ELECTRONICS
BOARD
a.
b.
–
LED
a.
a.
c.
d.
d.
b.
b.
b.
b.
a.
a.
a.
a.
–
Full manual available at
iportmusic.com
33-5877
b.
b.
TABS


