1.
Changing Filters–
Filter tubes are designed to provide a long service life. Howev-
er, depending upon usage and the kind of materials vacuumed, filters may need re-
placement every one to three years. Replace filter tubes as follows:
a. Unplug unit from power source.
b. Vigorously move the manual shaking handle up and down ten times.
c. Open main door by turning the two door knobs counterclockwise.
d. Inside the main enclosure, locate and remove the hitch pin clip (the hitch pin clip
attaches the arm of the manual shaking handle to the filter hanger assembly).
e. Pull the manual shaking handle outward to release the filter hanger assembly.
f. Remove all filter tubes from the metal filter housing plate by firmly squeezing and
pulling in an upward motion the cuff ring (the cuff ring is located at the lower end of
each filter tube) of each filter tube. Use care during this operation in order to reduce
any airborne dust that may be released.
g. When all filter tubes have been released from the metal filter housing plate, pull the
entire filter hanger assembly forward.
h. Remove and set aside all hitch pin clips from the filter hanger assembly.
i. Slide all filters tubes off the filter hanger assembly and properly dispose of all used
filter tubes
j. Replace with new filter tubes.
k. Reassemble by reversing these steps.
2.
Lubrication–
No lubrication is necessary. However, certain parts of the vacuum as-
sembly are subject to wear and should be replaced as necessary, depending upon
operating conditions.
Caution:
During reassembly verify that the cuff ring for each filter tube is snugly
positioned in the metal filter housing plate
. Do not
use the unit, if the cuff rings
are not snugly positioned in the metal filter housing plate.
7.
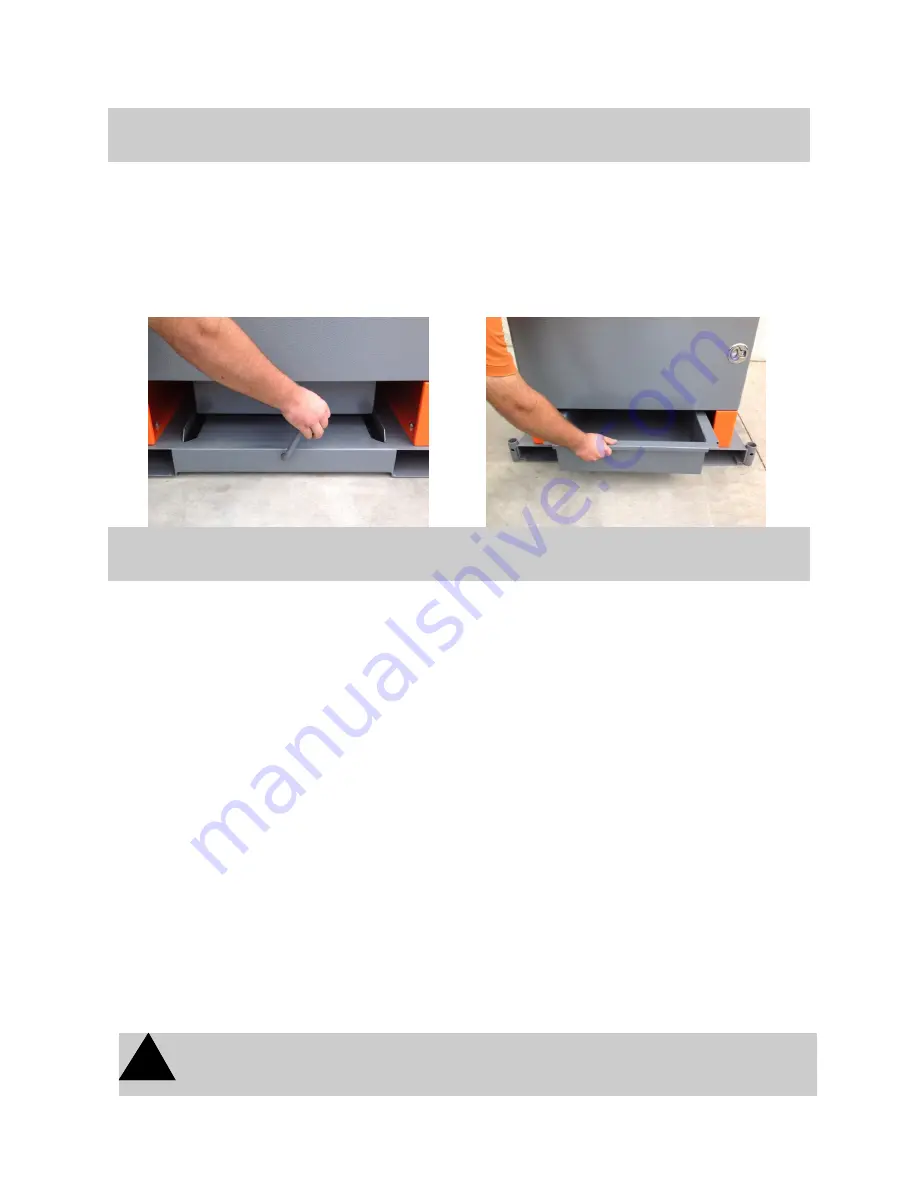
Emptying the Dust Drawer–
The dust drawer must be
emptied of debris
on a
regular basis.
First
, turn unit “off” and unplug from power source or lock out. Rotate
the dust drawer release lever clockwise one-quarter turn, lower and release. Gently
slide the drawer forward and remove the plastic liner (if applicable) and replace with
a new plastic liner. Reverse these steps for reinstallation.
Verify
that the drawer is
properly positioned on reinstallation and the gasket has formed an adequate seal.
Failure to do this may cause a vacuum leak and gasket damage.
OPERATING INSTRUCTIONS
MAINTENANCE
!
!
7


