How to use S500
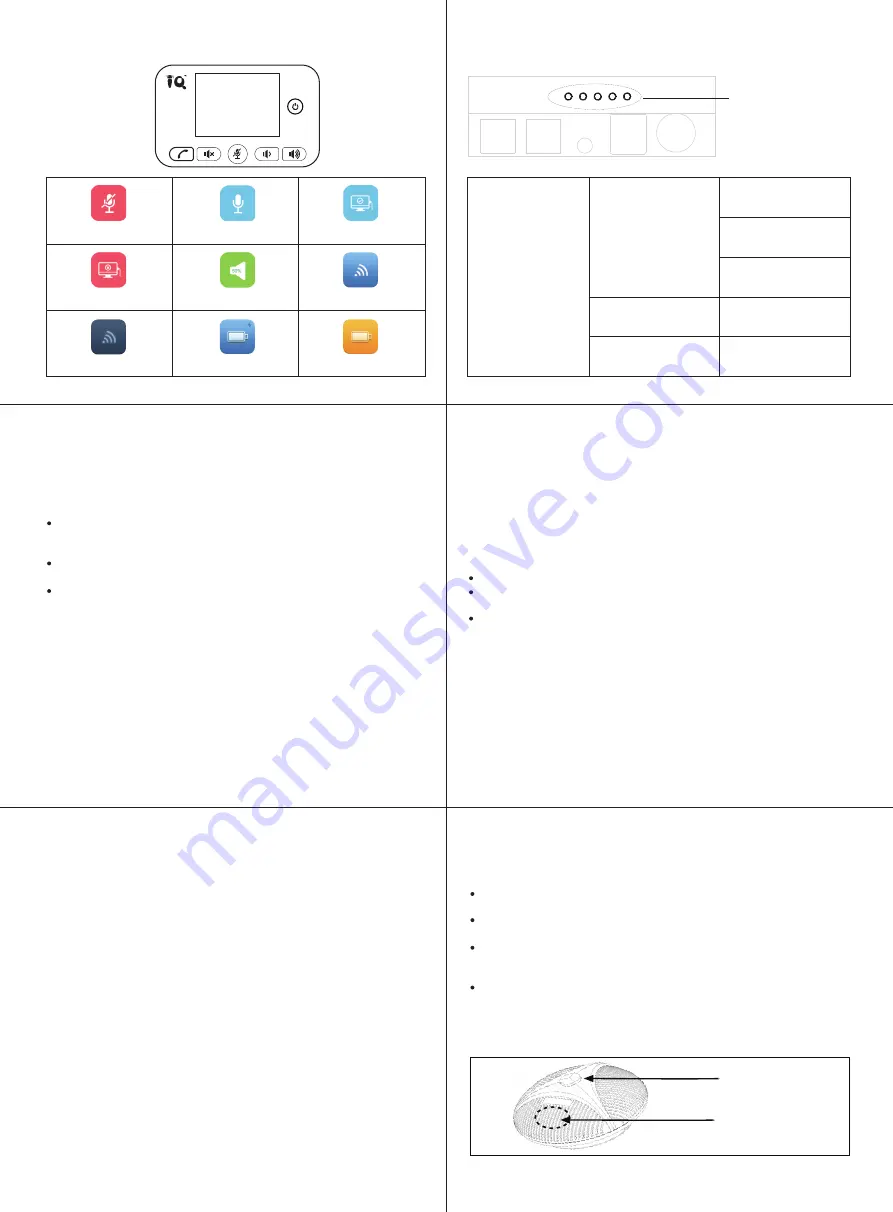
LED Status Indicator
LED lights Instruction
Connection Steps for USB
You can connect the power supply equipment with the original power adapter or
connect one end of the USB cable to the USB port of the PC and video conference
system, and connect the other end to the speakerphone.
Turn on the power button after the connection was confirmed correct. And wait
for the speakerphone self-check completed.
It will take a few seconds to install the driver automatically for the first setup.Turn
on the terminal. Third-party conference software, and select the microphone and
speaker driver to start the audio and video conference with the device.
Connect one end of a 2.5-meter long 4P4C dedicated wire to the socket of the
expansion microphone and the other end to the speakerphone EXT1.
Connect one end of a 2.5-meter long 4P4C dedicated wire to the socket of the
expansion microphone and the other end to the speakerphone EXT2.
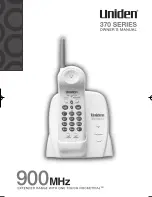
Due to the host uses a high single point microphone.To achieve the best effect, the
speaker should be facing the microphone directly in front of the microphone. The
direction of the microphone is the same as that of the nameplate.
The expansion microphone has mute switch and status indicator. The indicator is
green when it works normally, and red when mute.
In/Out Connection
Use a 3.5mm 4-strand cable to connect your phone or PC device to the "I/O" port of the
speakerphone.
If the device connection port is a 3.5mm 3-strand port, you need a transfer adapter for
connecting. Insert audio transfer plug into the "I/O" port of Speakerphone.
Connect the microphone port and speaker port of Audio Transfer plug to the IN/OUT
port of the PC or video conferencing system with two 3.5mm 3-strand cable.
Note:Please set the phone LINE IN/OUT mode to “PC Mode”when the device is PC or
video devices. Or set the phone LINE IN/OUT mode to “Mobile Mode” while connecting
a smartphone.
Installation and Use of Optional Expansion Microphone
Use an expansion microphone for important and large meetings.
Note:In order to properly use and protect the expansion microphone, it is necessary to
plug and unplug the expansion microphone connection and install the expansion
microphone without power.
Battery charging instructions: You can use DIN6 port or USB port of the speakerphone to
charge. When the DIN6 port and USB port are used at the same time, the speakerphone
is preferred to use DIN6 port for charging.
Connecting via 5.8G
Plug the wireless adapter into the USB port of the PC or video terminal.
Turn on the speakerphone, after 5 seconds, the wireless display icon is displayed
on the LCD display, indicating that the wireless connection is successful.
At this time, wireless voice calls can be made.
The speakerphone can be connected with the built-in wireless adapter. Through
wireless connection, it is convenient to wire and arrange audio equipment quickly,
and the longest wireless transmission distance can reach 10 meters.
Wireless connection steps:
Mute microphone
PC disconnected
Wireless disconnection
Microphone on
Volume up/down
Charging
Connecting
Working status indicator
Working status
indicator
Blue light on
USB connection
Wireless connection
Red light on
Mute microphone
Flashing blue light
Mute speaker
Mobile mode
Wireless connection
Battery status
Microphone mute
Microphone


