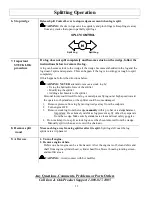
Splitting Operation
22
6. Stop wedge
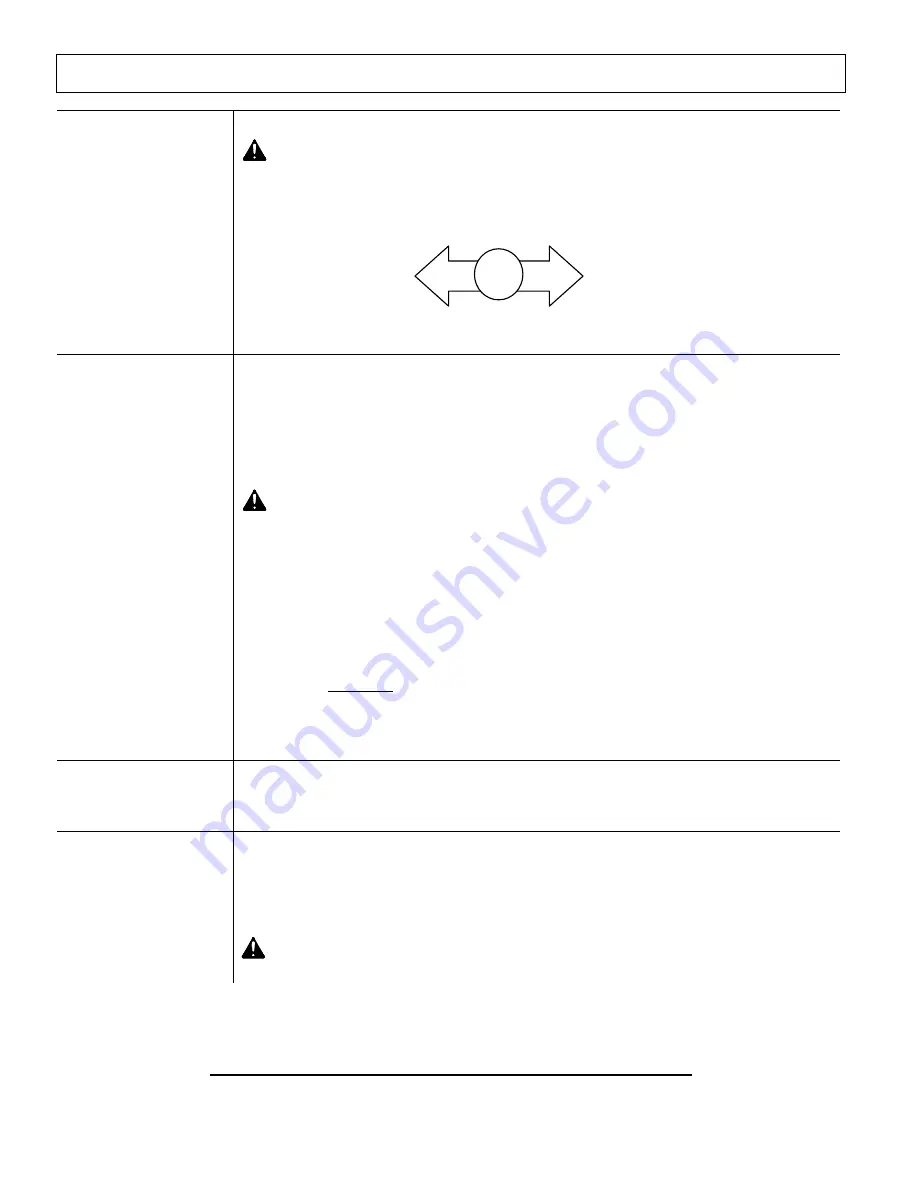
Release Split Control Lever to stop wedge movement when log is split.
WARNING:
Cracks in logs can close quickly and pinch fingers. Keep fingers away
from any cracks that open in partially split logs.
7. Important
STUCK LOG
procedure
If a log does not split completely and becomes stuck on the wedge, follow the
instructions below to remove the log.
A log can become stuck to the wedge if the wedge becomes embedded in the log and the
log doesn’t split and separate. This can happen if the log is too stringy or tough to split
completely.
If this happens, follow the directions below.
WARNING: NEVER
attempt to remove a stuck log by:
• Using the hydraulic force of the splitter
• Modifying the splitter
• Adding attachments to the splitter
Personal injury could result from log or metal pieces flying out at high speed toward
the operator or bystanders, or the splitter could become damaged.
1.
Remove pressure from log by moving wedge away from the endplate.
2.
Turn engine OFF.
3.
Remove stuck log from the wedge
manually
with a pry bar or a sledgehammer.
Important: Be extremely careful as log pieces may fly off as they separate
from the wedge. Make sure bystanders are clear and wear safety goggles.
4. Do not attempt to re-split a stuck log once it has been removed from the wedge.
Manually split with an axe or cut with a chainsaw.
8. Remove split
wood
Move each log away from log splitter after it is split.
Split logs left near the log
splitter are a trip hazard.
9. After use
1. Turn off engine.
2. Remove engine debris.
Debris on a hot engine can be a fire hazard. After the engine is off, clean debris and
chaff from engine cylinder head, cylinder head fins, blower housing rotating screen,
and muffler areas.
WARNING:
Avoid contact with hot muffler.
Any Questions, Comments, Problems or Parts Orders
Call Iron & Oak Product Support 1-800-817-1005
Split
Log
Split Log
N
SPLIT CONTROL
Summary of Contents for BH2W2016GX
Page 2: ...Hazard Signal Word Definitions 2...
Page 6: ...Safety Label Location 6 1 2 3 4 5 6...
Page 28: ...Parts Breakdown Exploded View Rev A 28 Fig 05 6 7 8 7 6 6 6 8 6 1 6 8 6 1 6 7...
Page 36: ...Assembly Instructions 36 Manual Bag Contents...
Page 40: ...40 This page has intentionally been left blank...


