16
•
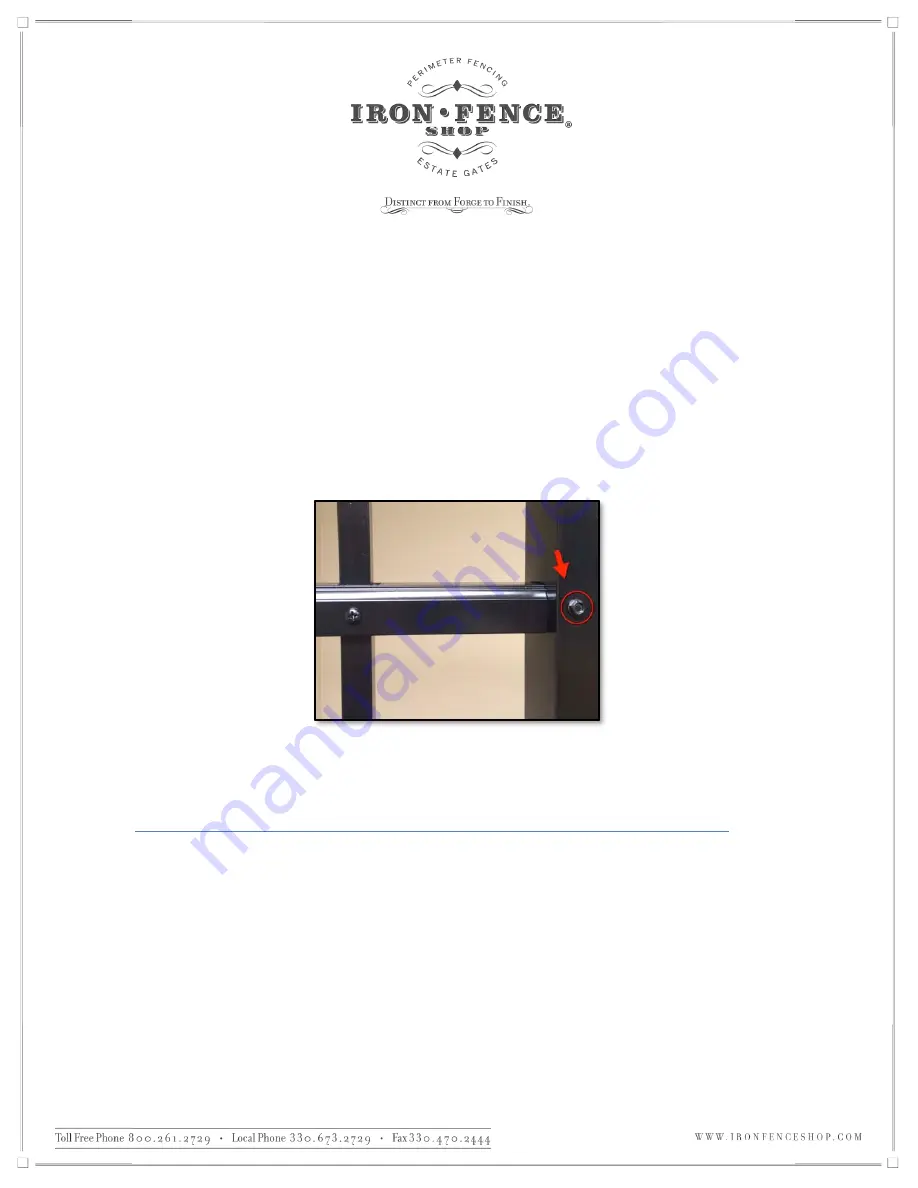
Place the self-tapping screw against the post in a position that is roughly a 1/2” up from the bottom of the
rail and roughly 3/8” of an inch in from the edge of the post so the screw will go through the post and
into the fence railing tying everything together.
•
Slowly begin running the drill until it gets a bite into the metal then speed up the drill to drive the screw in.
Be careful to not over tighten the screw and strip out the threads in the hole.
•
If you are having difficulty getting the self-tapping screw to drill into the post, a small center punch tool
can help. Put it against the post where you want the screw and give it a solid tap with a hammer. The
indentation it leaves will help the self-tapping screw to bite into the post metal and begin drilling in. The
final product should look like Figure 13.
Figure 13 - Self-Tapping Screw Installed Into Post and Rail
Installing Your Posts on a Surface (Specialized Flange Post Installation)
•
If you are utilizing our specialized flange posts for installing the fence on top of a surface (such as a patio,
pool deck or wall top) you will use the same post spacing as outlined on page 6. If you are using blank
posts or mounting to a wall, BE SURE to account for the
¾
” of rail that sticks out on the end. You will
need to either trim that
¾
” end off or account for it in your measurements.
•
You will need to supply the hardware for attaching your flange posts to the surface. We do not supply that
hardware. However, the options are all something you can find at your local home improvement store.
•
To get the best recommendation from your local store, let them know what type of surface you are
mounting the post to, how deep/ thick it is and how tall the fence is. They are likely going to recommend
one of the following:


