12
•
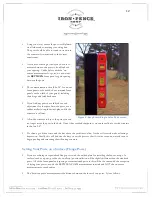
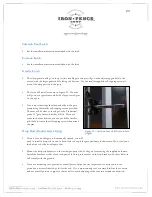
Using your level, ensure the post is still plumb
on all sides and contacting your string line.
The post should be able to stand on its own in
the concrete if it was mixed to the correct
consistency.
•
As you move through your layout, be sure to
measure between the posts to double-check
your spacing. Unlike before with the ‘on-
center’ measurement for posts, we now want
the
BETWEEN
fence panel or gate spacing
between the posts.
•
Those measurements should be 96” for un-cut
fence panel or the width of any trimmed fence
panels or the width of your gate(s) including
their hinge and latch hardware.
•
If you find any posts have shifted or need
adjustment for the space between posts, use a
rubber mallet to tap them into place while the
concrete is still wet.
•
Allow the concrete to dry to the point you can
no longer move the post in the hole. Once it has reached that point, you can shovel dirt over the concrete
in the last 2-4”.
•
It’s often a good idea to mound the dirt above the yard line to allow for the soil to settle without leaving a
depression. Ideally, this will be done the day you set the posts so that if it rains or snows, water does not
begin pooling and saturating the still curing concrete.
Setting Your Posts on a Surface (Flange Posts)
•
If you are utilizing our specialized flange posts with the welded plate for installing the fence on top of a
surface (such as a patio, pool deck or wall top) post installation will be slightly different than the standard
posts. All of the fence panel and spacing notes mentioned prior to this will be the same with the exception
of laying your posts out with the BETWEEN POSTS measurement in mind and NOT the on-center
measurement covered earlier.
•
The ‘between posts’ measurement is the distance between the faces of two posts. It is as follows:
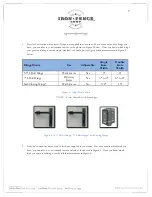
Figure 8 - Keep Everything Level as You Proceed


