background image

888.793.6184 • 931.668.8860 • ironhorsetrailers.com • info@ironhorsetrailers.com

888.793.6184 • 931.668.8860 • ironhorsetrailers.com • info@ironhorsetrailers.com

Fiberglass Exterior: Wash your trailer thoroughly when you get it and put a good coat of UV blocking wax on it.  Repeat the wax job a 

couple of times per year.  If you leave your trailer in the sun and it eventually dulls, you can bring it back to near new condition by buffing it 

with a fiberglass boat rubbing compound.  If your white Ironhorse receives body damage, take it to a boat repair shop, or a body shop that 

specializes in Corvette repair.
Painted Exterior:  Wait until thirty (30) days to apply wax to your painted Ironhorse.  After the initial waxing, we recommend that you wax 

your trailer once every six months.  If you incur body damage to a painted trailer, find an auto collision shop with Corvette experience.

Plastic Gravel Shield (used on the front of painted trailers):  Use white vinegar to remove bugs.  Do NOT use any abrasives, rubbing 

compounds or car paint polish as it will scratch the gravel shield.  If needed, you can use a plastic polish.  Regular waxing will deflect build 

up and remove small surface scratches.  
Diamond Plate:  Water clean and air dry.  If you scratch or water stain the surface, it will not come out.  
Aluminum Rims:

  Your aluminum rims are clear-coated to protect the finish and provide ease in cleaning.  Use a gentle cleaning agent for 

your rims, and never use a cleaner that contains lye or acid-based solvents.  These cleaners will damage the finish of your rims.

Lug Nuts:  Check for correct torque every three months, do not over torque.
Lock mechanisms: Lubricate with regularly WD40. 
D-Rings:  Damaged or loose D-rings can break, allowing cargo to shift the center of gravity and result in loss of control.  Be sure to check 

the D-rings before every trip.   
Coupler:  Check the coupler for fatigue, damage, cracks or missing parts before towing.
Coupler Lock:  For your safety, it is strongly recommended that you use the coupler lock provided when your trailer is hooked to your tow 

vehicle.  Please note: the keys provided with your coupler lock are the only keys that will work in that lock – no replacements are available.
Hitch Ball:  The ball should be lightly greased so the hitch rotates smoothly on it.
Breakaway Battery:  Refer to the Dexter Axle Operation Maintenance Service Manual for General Maintenance – Electric Brakes.  Before 

connecting the trailer harness to your tow vehicle, test the breakaway box for a proper charge.  Then connect the trailer harness to your tow 

vehicle and pull the breakaway pin to test the automatic braking action.  The breakaway cable must be connected to the tow vehicle in direct 

line with the breakaway switch; NOT to any part of the hitch or chains.  Refer to the Engager™ Break-Away Box information in your Owner’s 

Package.  
Ironhorse Trailers’ Wheel Chock: If your trailer did not come with an Ironhorse Wheel Chock(s) and you wish to instal one, refer to 

Ironhorse Installation Instruction sheet.

If you need replacement parts for your trailer please call us.  We’ll send you the parts with instructions 

for installation (if applicable) and bill you for the cost of the parts plus a nominal shipping and handling fee.  

20

21

If you purchased a white gelcoat Ironhorse and want to have it painted, find a qualified professional painter.  The best paint jobs are done by 

professional automotive repair shops or shops that work on Corvettes.   Any shop you are considering should have a paint booth and bake 

oven, and it should be CLEAN—no dust, dirt and debris!   A good paint job is expensive, so look carefully, check references, and look at 

samples of paint jobs done by the shops you are considering.

We strongly recommend invisible gravel shield to protect the front and fenders after painting.  Finally, we use a softer trim on the top edge of 

painted trailers. Call us for pricing or to order.

Here’s the process we use for paint jobs

(copy this and provide it to your painter!)

Additional Care and Maintenance Instructions

Instructions for Painting Your Ironhorse Flip-Top Trailer

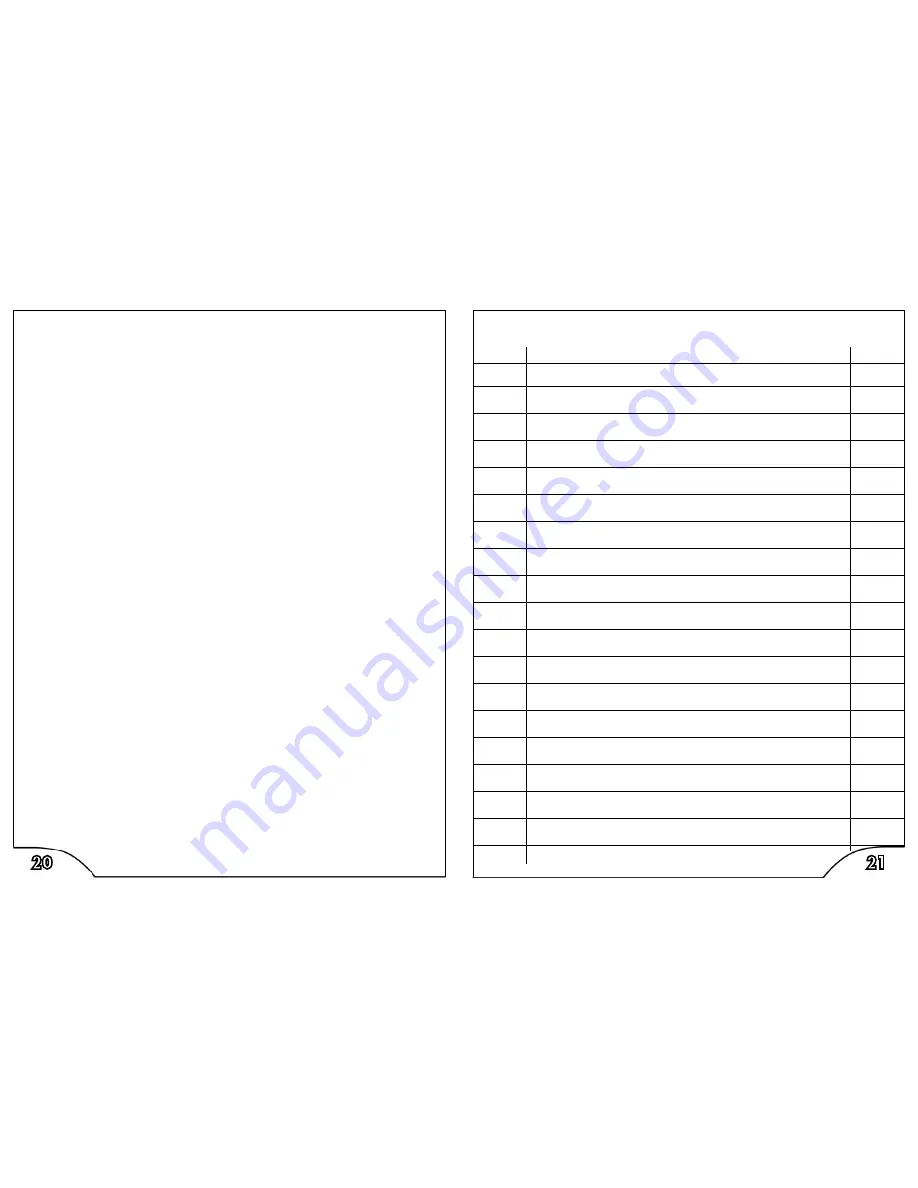
Maintenance Log

We recommend you record your mileage every time you use your trailer 

and keep accurate records of maintenance performed.

Date 

Service performed 

Mileage

1) Remove all trim, pin striping, rubber bumpers, and lights

  If your painter wants to remove the top of a 1 or 2 bike Ironhorse,

  do it this way:

  A) Remove the bolts that hold the front hinge to the floor.

  B) Disconnect the gas springs at the rear.

  C) Remove the bolts holding the hinge support arms to the

    upright frame member.

  D) Remove the entire unit consisting of the top 

    and hinge mechanism.

  E) Support the top on racks when it is off the trailer.

2) Prep and paint trailer.

3) 

Reinstall rubber bumpers, lights, trim, and the top.

If your painter is installing invisible gravel shield the trailer must sit 

for at least 72 hours prior to gravel shield installation.  Failure to 

allow the paint to breathe will result in bubbles in the gravel shield.

Summary of Contents for One bike

Page 1: ...Ironhorse Trailers Inc Owner s Manual For One Bike Two Bike One Trike WideBody Enclosed Trailers Ironhorse Trailers Inc 2013 For your safety please read carefully and keep with trailer ...

Page 2: ...ou have a problem don t hesitate to call us Our objective is to make sure every customer is a happy customer Should you have a problem with your trailer even after the warranty expires call us first we may be able to save you time and money and we do of course carry replacement parts in our inventory Thanks again for choosing an Ironhorse Trailer and please stop by if you re ever in the neighborho...

Page 3: ...iven in the manual are general guidelines for illustration purposes only and cannot cover every possible combination of vehicle hitch and trailer or every loading situation Have your particular vehicle inspected by an authorized trailer or hitch installation repair facility before towing heavy loads You are solely responsible for the safe loading unloading and operation of your tow vehicle trailer...

Page 4: ...n opening or closing the tailgate Damaged or loose D rings can break allowing cargo to shift the trailer s center of gravity resulting in loss of control Never crawl underneath your trailer when coupling or changing a tire You risk severe injury or death When installing your wheel chocks and d rings or changing a tire be sure your trailer is hooked to a tow vehicle Gas springs can lose their lifti...

Page 5: ...n charges incurred to obtain warranty service WARRANTOR S OBLIGATION Warrantor shall elect to remedy defects in materials and workmanship caused by Warrantor by repair replacement or refund if replacement or repair is not possible All defective products shall be delivered to Warrantor s address listed above unless prior written approval is obtained from Warrantor Warrantor may at its option select...

Page 6: ...r each time the door is opened Counter balance cable pulley Safety chains Electric brake breakaway battery not all models Rear stabilizer securing pin Marker light Weather strip Marker light Lock pins These engage in tailgate when flip top is down Strap to lower flip top Raise and lower the top only from the center of the rear never from only one side Holes for tailgate latch rods Access cover for...

Page 7: ...model One bike Two bike one trike WideBody Hitch class I II II II Empty weight 850 lbs 1050 lbs 1300 lbs Axle capacity 2000 lbs 3500 lbs 3500 lbs Unloaded tongue weight 60 lbs 80 lbs 100 lbs Overall width 6 8 8 4 8 6 Suggested types of tow vehicle Sub compact compact cars X Mid size cars X X Mid size pick ups and SUVs X X X Minivans X X X Full size cars X X X Full size pick ups and SUVs X X X Full...

Page 8: ...bumper The Engager Break Away Wiring Break Away box 7 pin connector Break Away cable Break Away switch Splices or connectors Blue Blue White Black Electric brake Red 12 volt feed Ironhorse Trailer Specifications One bike Two bike one trike WideBody Total length 15 4 15 4 16 0 Body length 12 6 12 6 13 6 Outside width at fenders 6 8 8 4 8 6 Inside width at wheel well 5 0 6 8 6 8 Tailgate opening wid...

Page 9: ... out Front jack pivoting up Jack wheel fully retracted with the jack handle Clockwise to lower jack Loading Your Ironhorse Trailer Get familiar with how the front jack swivels up into the stowed or towing position Make sure the locking handle pins engage fully in the lock pin holes Your Ironhorse trailer is equipped with rear stabilizers When operated correctly these enable the trailer to be loade...

Page 10: ... Ironhorse Wheel Chocks are only designed to hold your motorcycle without tie downs when the trailer is stationary and level On 1500 Honda Goldwing DO NOT use the rear bag guards to tie down the motorcycle Doing so will pull the guards off NEVER transport a motorcycle using only front tie downs When using power tools make sure you follow the manufacturer s directions always wear eye protection Dif...

Page 11: ...el One bike Two bike one trike WideBody Lug nut torque Aluminum wheel 70 85 ft lbs 70 85 ft lbs 80 100 ft lbs Wheel Size rim size 14 inch 14 inch 15 inch Bolt Pattern 5 x 41 2 0 offset 5 x 41 2 0 offset 5 x 41 2 0 offset These instructions along with a detailed diagram are located on page 52 of the Dexter Axle Operation Maintenance Service Manual included as part of your Owner s Package Remove the...

Page 12: ...Brakes Before connecting the trailer harness to your tow vehicle test the breakaway box for a proper charge Then connect the trailer harness to your tow vehicle and pull the breakaway pin to test the automatic braking action The breakaway cable must be connected to the tow vehicle in direct line with the breakaway switch NOT to any part of the hitch or chains Refer to the Engager Break Away Box in...

Page 13: ...Ironhorse Trailers Inc 5638 Manchester Highway Morrison TN 37357 USA 888 793 6184 931 668 8860 ironhorsetrailers com info ironhorsetrailers com ...

Reviews: