


14
Warm Up Exercises
EXERCISE GUIDELINES
WARNING!
Before beginning this or any exercise program, you should consult your physician.
This is especially important for individuals over the age of 35 or individuals with pre-existing
health problems.
Flexibility is a key to fitness. Stretch all major muscle groups at least two to three times per
week after a 5 to 10 minute warmup. Stretch just to the point of a gentle tug. If you have
back, joint, or other health problems, talk to your doctor first.
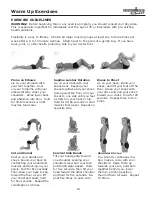
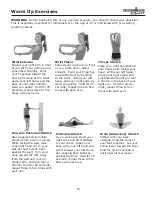
Prone on Elbows
Lie on your stomach with
your feet together. Rest
on your forearms with your
elbows directly under your
shoulders. Relax lower back
and abdomen into floor. Hold
for 30-60 seconds or until
muscles feel looser.
Supline Lumbar Rotation
Lie on your back with your
knees bent. Keeping your
knees together and your shoul-
ders against the floor, roll your
knees to one side until you feel
a stretch in your back or hip.
Hold for 30-60 seconds or until
muscles feel looser. Repeat on
opposite side.
Knees to Chest
Lie on your back. Bend your
knees, and lift your feet off the
floor. Grasp your knees with
your arms and pull your knees
toward your chest. Hold for 20
seconds. Repeat three to five
times.
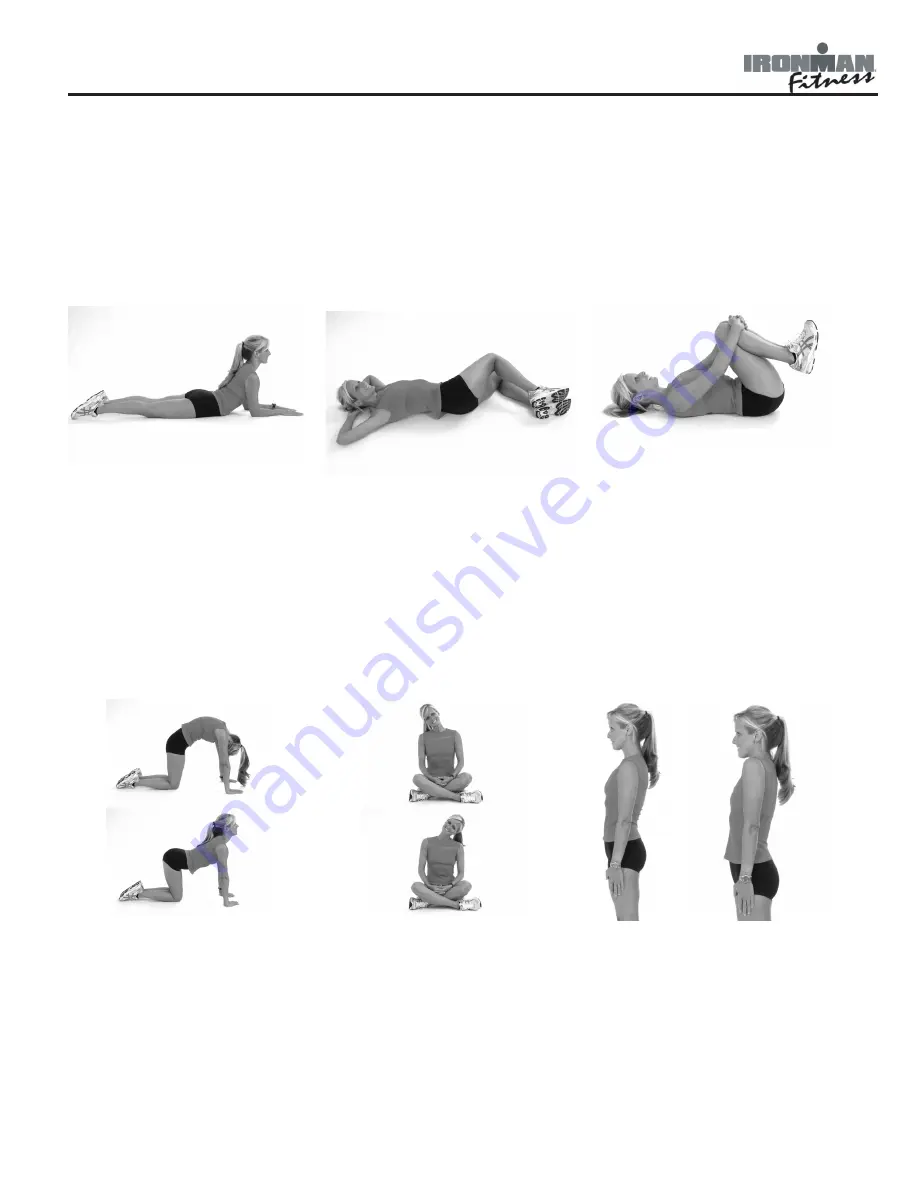
Cat and Camel
Rest on your hands and
knees. Round your back by
contracting your abdominal
muscles and tucking in your
pelvis; hold for five seconds.
Then allow your back to sag
toward the floor as you lift
your chest and head; hold
for five seconds. Repeat the
combination 10 times
Cervical Side Bends
Tilt your head gently toward
one shoulder, keeping your
shoulders level and your face
pointed straight ahead. Hold
for five seconds, then tilt your
head toward the other shoulder
and hold for five seconds. Re
-
peat five times on each side.
Shoulder Circles
In a smooth, continuous mo-
tion, make a circle with your
shoulders: Raise them up
towards your ears, pull them
together behind you, lower
them to a resting position,
then roll them forward. Repeat
10 times.


