www.ironridge.com | 800-227-9523
© Copyright 2012 IronRidge, Inc. All rights reserved.
7
| Standard Rail Installation Manual
2.
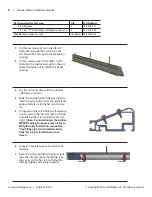
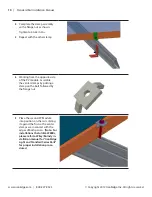
On the first piece of rail, slide
3/8-16” bolts into the side facing
t-slot on the rail. Space the bolts
out to match the foot spacing.
3.
On this same piece of rail, slide
1/4-20” bolts into the top facing
t-slot on the rail. Space the bolts
out to match the panel spacing.
4.
Attach this first piece of rail to
the feet mounted on the roof.
Mount the rail to each foot with
a flange nut and hex bolt. Hand
tighten the nuts and check the
level of the rail.
Tighten 3/8-16 hardware to 180
in-lbs.
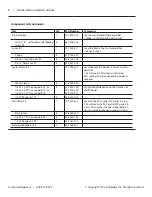
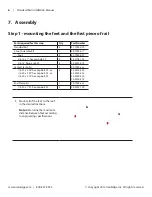
Step 2 - mounting the next pieces of rail
Parts required for this step
Qty
Part Number
Standard Rail
4
51-7000-XXX
L-Foot Assembly Kit
1
29-7000-017
Foot
4
51-7000-001
3/8-16 x 1”, hex cap bolt, SS
4
23-3716-100
3/8-16, flange nut, SS
4
25-2501-016
Center Clamp Kit
1
29-7000-xxx
1/4-20 x 2.00” hex cap bolt, SS, or
1/4-20 x 2.50” hex cap bolt, SS, or
1/4-20 x 2.75” hex cap bolt, SS
4
23-2520-200,
23-2520-250,
23-2520-275
End Clamp Kit
1
29-7000-xxx
1/4-20 x 1” SS hex-cap bolt, SS
4
23-2520-100

