Page of 21
15
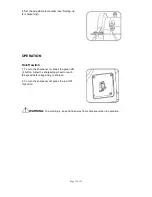
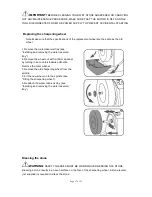
1. Ensure the water reservoir tray is correctly fitted
and filled with water (see “Fitting and removing the
water reservoir tray”).
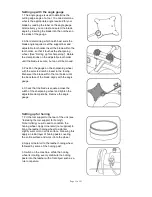
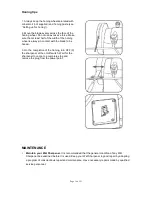
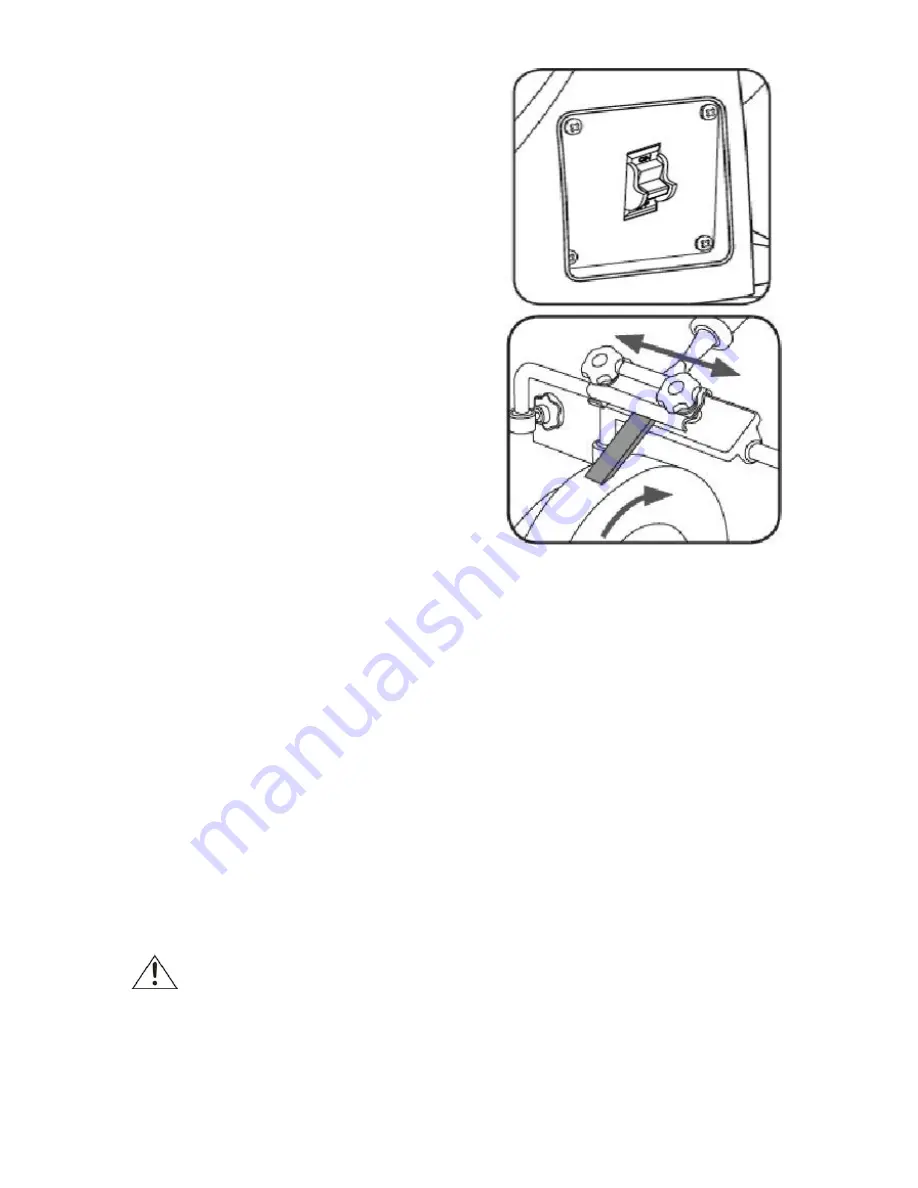
2. Mount the tool into the tool holder and fit it to the
tool support bar, remembering that sharpening
occurs against the direction of rotation (see “Setting
up for sharpening”).
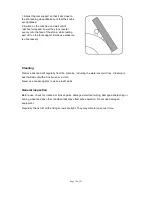
3. Set the sharpening angle (see “Setting up with the
angle gauge”).
4. Switch the sharpener on and wait until it reaches
full speed.
5. Evenly press the tool down onto the sharpening
wheel. Move the blade from side to side across the
stone, this will result in an even wearing of the stone.
Sharpening only requires a light pressure.
6. On the completion of the sharpening, turn off the
wet stone sharpener at the on/off switch. Wait for the
sharpener to come to a complete stop and remove
the plug from the power point.
7. After removing the water reservoir tray, empty it
and clean out any debris.
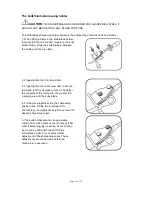
Honing is often used on a blade after sharpening has taken place. The polishing action of the
leather wheel and honing paste results in a fine, razor sharpness.
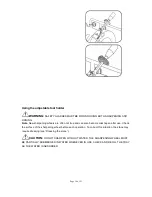
Honing can only be carried out with the rotational direction of the leather wheel. Mounting the tool
support in the rear mounting holes will ensure that the rotational direction is correct for honing.
CAUTION:
NEVER HONE AGAINST THE DIRECTION OF THE ROTATING HONING
WHEEL. THIS WILL RESULT IN THE LEATHER HONING WHEEL BEING CUT INTO.
WARNING!: SAFETY GLASSES MUST BE WORN DURING BOTH SHARPENING AND HONING.


