background image

Page      of 21 


18 

 
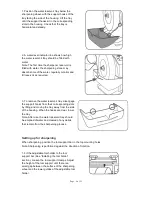
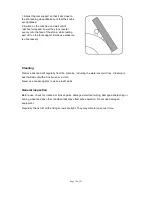
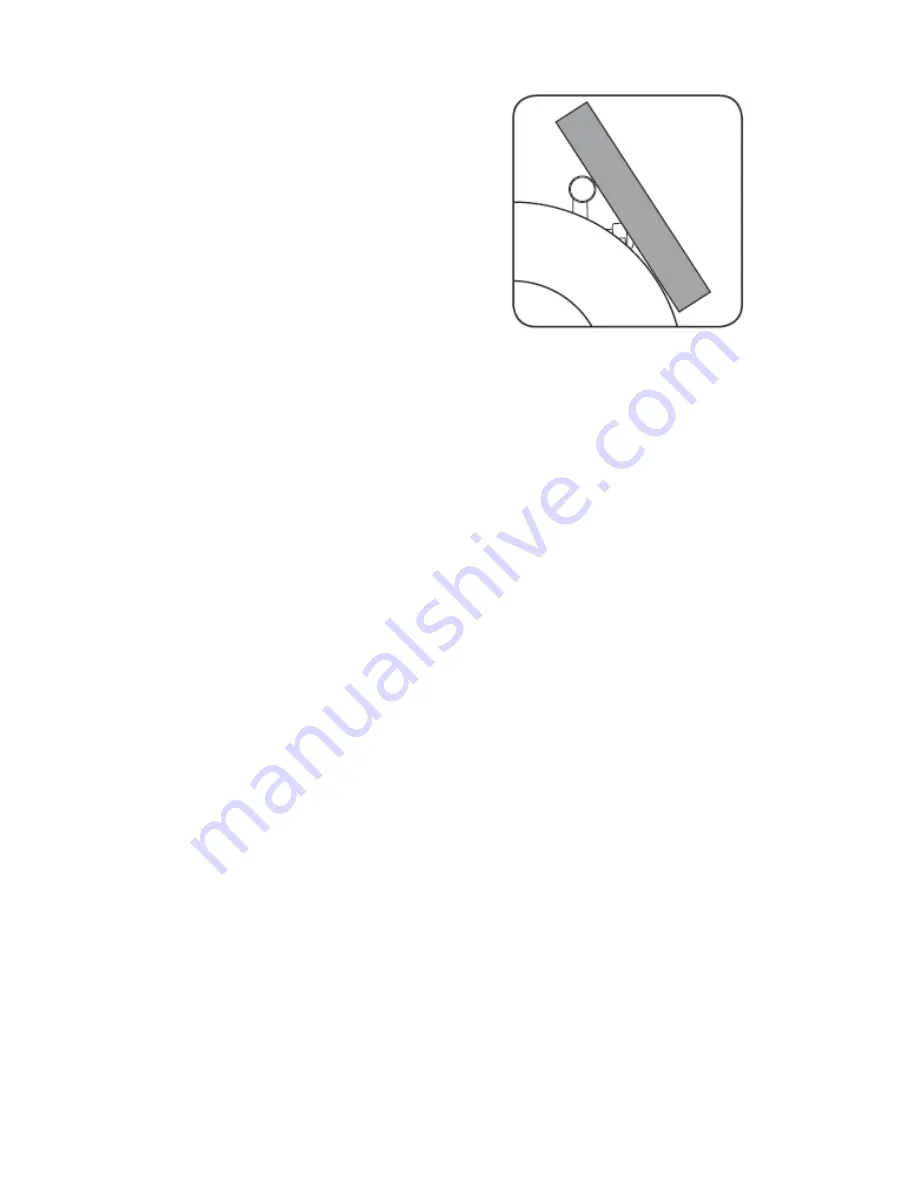
1. Adjust the tool support so that it sits close to 
the sharpening wheel. Make sure that the knobs 
are tightened. 
2. Switch on the machine and wait until it 
reaches full speed. Lower the stone leveler 
evenly onto the face of the stone, while resting 
part of it on the tool support. Excessive pressure 
is unnecessary. 


Cleaning 

Remove dust and dirt regularly from the machine, including the water reservoir tray. Cleaning is 

best carried out with a fine brush or a cloth. 

Never use caustic agents to clean plastic parts. 


General inspection 

Before use, check for cracked or broken parts, damaged electrical wiring, damaged sharpening or 

honing wheel and any other condition that may effect safe operation. Do not use damaged 

equipment.   

Regularly check that all the fixing screws are tight. They may vibrate loose over time. 


Summary of Contents for 45997

Page 1: ...MANUAL WARNING Read carefully and understand all ASSEMBLY AND OPERATION INSTRUCTIONS before operating Failure to follow the safety rules and other basic safety precautions may result in serious perso...

Page 2: ...ntinually cooled and lubricated from the water reservoir ensuring a sharp square and clear cutting edge Simple set up of the adjustable tool holder and tool support bar makes various types and sizes o...

Page 3: ...r tools Unmodified plugs and matching outlets will reduce risk of electric shock b Avoid body contact with earthed or grounded surfaces such as pipes radiators ranges and refrigerators There is an inc...

Page 4: ...st related hazards 4 Power tool use and care a Do not force the power tool Use the correct power tool for your application The correct power tool will do the job better and safer at the rate for which...

Page 5: ...wheel is rated at 120rpm or higher Do not let anyone under 18 years operate this tool Rags cloths cord string and the like should never be left around the work area If you are interrupted when operat...

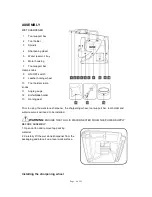
Page 6: ...Angle gauge 12 Knife blade holder 13 Honing past Prior to using the wet stone sharpener the sharpening wheel tool support bar tool holder and water reservoir will need to be installed WARNING ENSURE T...

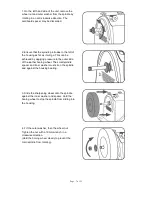
Page 7: ...y applying pressure to the outer side of the leather honing wheel The small spindle spacer and inner washer must sit on the spindle and against the housing bearing 3 Slide the sharpening wheel onto th...

Page 8: ...ooking at the front of the unit It should sit behind the honing wheel Fully insert the tool support and tighten the clamp knobs While the tool support can be adjusted most honing will be done with the...

Page 9: ...servoir tray disengage the support hooks from their corresponding slots by lifting and moving the tray away from the side of the housing When the hooks are clear lower the tray Note After use the wate...

Page 10: ...ning wheel one full rotation by hand 4 Loosen the two clamps on the adjustable tool holder enough to insert the blade to be sharpened Maneuver the blade until it touches the sharpening wheel at the de...

Page 11: ...with the selected notch closest to the tool tip Maneuver the blade within the tool holder until the back face of the blade aligns with the angle gauge 4 Check that the blade is square across the width...

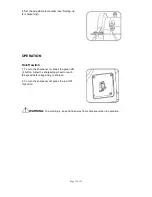
Page 12: ...ERATION On off switch 1 To turn the sharpener on press the green ON I button Allow the sharpening wheel to reach full speed before beginning to sharpen 2 To turn the sharpener off press the red OFF 0...

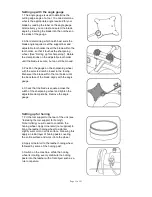
Page 13: ...inger tighten the rear screw next to ensure the blade is firmly clamped in place The flatter the top plate of the clamp sits the greater the clamping area on the knife blade 4 Fit the tool support bar...

Page 14: ...not true and can also become misshapen after use Check the surface of the sharpening wheel before each operation To correct this situation the stone may require dressing see Dressing the stone CAUTION...

Page 15: ...pressure 6 On the completion of the sharpening turn off the wet stone sharpener at the on off switch Wait for the sharpener to come to a complete stop and remove the plug from the power point 7 After...

Page 16: ...contact with the blade to be honed 3 On the completion of the honing turn OFF 0 the sharpener at the on off switch Wait for the sharpener to come to a complete stop and remove the plug from the power...

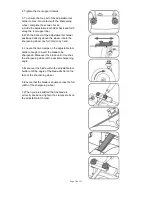
Page 17: ...lling and removing the water reservoir tray 2 Remove the wheel nut with a 19mm spanner by turning in an counterclockwise direction Remove the outer washer 3 Remove the old sharpening wheel from the sp...

Page 18: ...is unnecessary Cleaning Remove dust and dirt regularly from the machine including the water reservoir tray Cleaning is best carried out with a fine brush or a cloth Never use caustic agents to clean p...

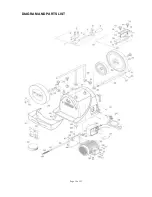
Page 19: ...Page of 21 19 DIAGRAM AND PARTS LIST...

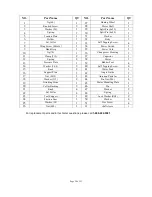
Page 20: ...9 Hand Grip 1 35 Power Cord 1 10 Jig 70 1 36 Changeover Housing 1 11 Clamp 12 2 37 Capacitor 1 12 Spring 2 38 Motor 1 13 Pressure Plate 1 39 Rubber Foot 4 14 Washer 6 4 2 40 Self Tapping Screw 4 15 Kn...

Page 21: ...ca from bricks and cement and other masonry products and arsenic and chromium from chemically treated lumber Your risk from these exposures varies depending on how often you do this type of work To re...

Reviews: