Ironwood DBR50 | User Manual
11
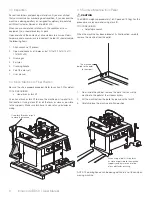
4.2 Drill Bits
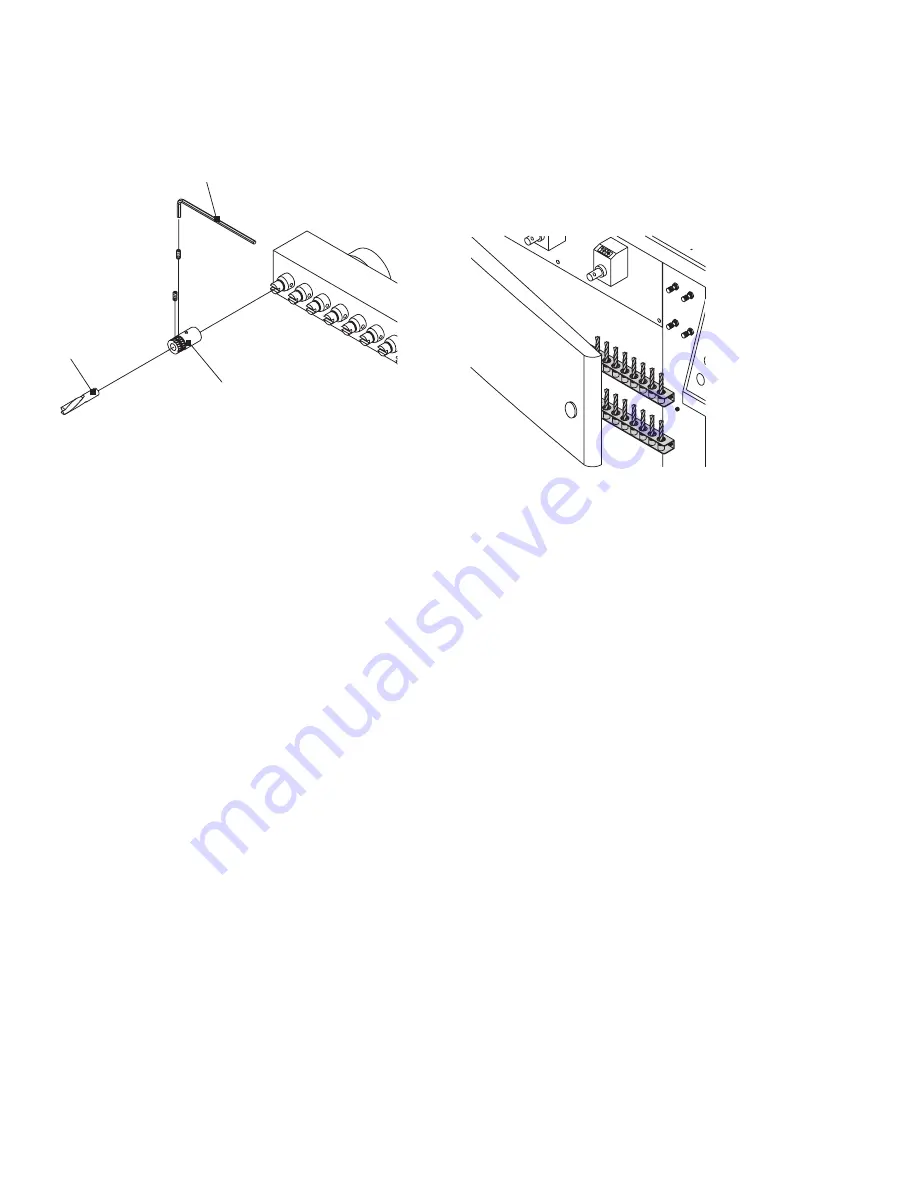
PARTS
REQUIRED: TOOLS
REQUIRED:
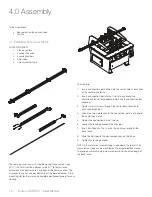
• Drill bit adapters (supplied) • Hex Allen wrench
• Drill bits (not supplied)
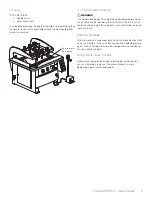
Hex Allen wrench
Drill bit
Drill bit quick chuck
1. Determine which drill bit locations will be used to accommodate
the application.
NOTE: Each spindle is colored red or black based on rotation
direction (left or right). Please observe the rotation direction when
selecting tooling for each spindle.
2. Carefully insert a drill bit quick chuck into the spindle in the
desired positions. Make sure the pin inside the quick chuck is
engaged with the notch on the spindle.
3. Install drill bits into the other quick chucks in the same manner.
4. Tighten the two set screws with an Allen wrench.
5. Make sure the bits are aligned and all at the same height.
Remove and reinstall any out-of-alignment drill bits so that all
are aligned.
Remove Drill Bits
To remove a drill bit quick chuck (with drill bit) from the spindle,
slightly turn the quick chuck to the left and pull up.
Drill Bit Storage Compartment
You can store up to 50 drill bits in the storage compartment behind
the access door at the front of the machine.
204
212211
210
Summary of Contents for DBR50
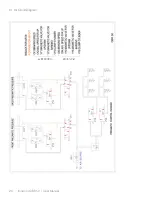
Page 20: ...Ironwood DBR50 User Manual 20 9 1 Air Circuit Diagram...
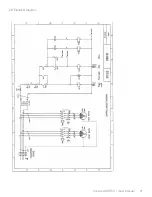
Page 21: ...Ironwood DBR50 User Manual 21 9 2 Electrical Diagram...
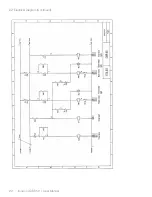
Page 22: ...Ironwood DBR50 User Manual 22 9 2 Electrical Diagram Continued...
Page 23: ...Ironwood DBR50 User Manual 23 9 2 Electrical Diagram Continued...
Page 24: ...Ironwood DBR50 User Manual 24 9 2 Electrical Diagram Continued...
Page 25: ......

