2
3
NB: The backbox is not included in the scope of delivery and must
be purchased separately. The backbox has four break-through
outlets for leads (2 x 25mm / 2 x 20 mm) and four mounting clips
to be fixed with Phillips screws (PH1). The device can be fitted
into existing walls.
If the backbox has already been installed, please continue from
point 8.
1. Prepare a recess in the wall (W/H/D: 205.00 / 295.00 / 65.00
mm)
2. Break through the pre-prepared hole for the leads.
3. Feed in the power leads through the hole in the back box
from above [!]. Use a suitable cable grip sleeve.
4. Place the backbox in the recess. Make sure you do not damage
the power lead. Fix the recess box ‘flush’ to the wall using the
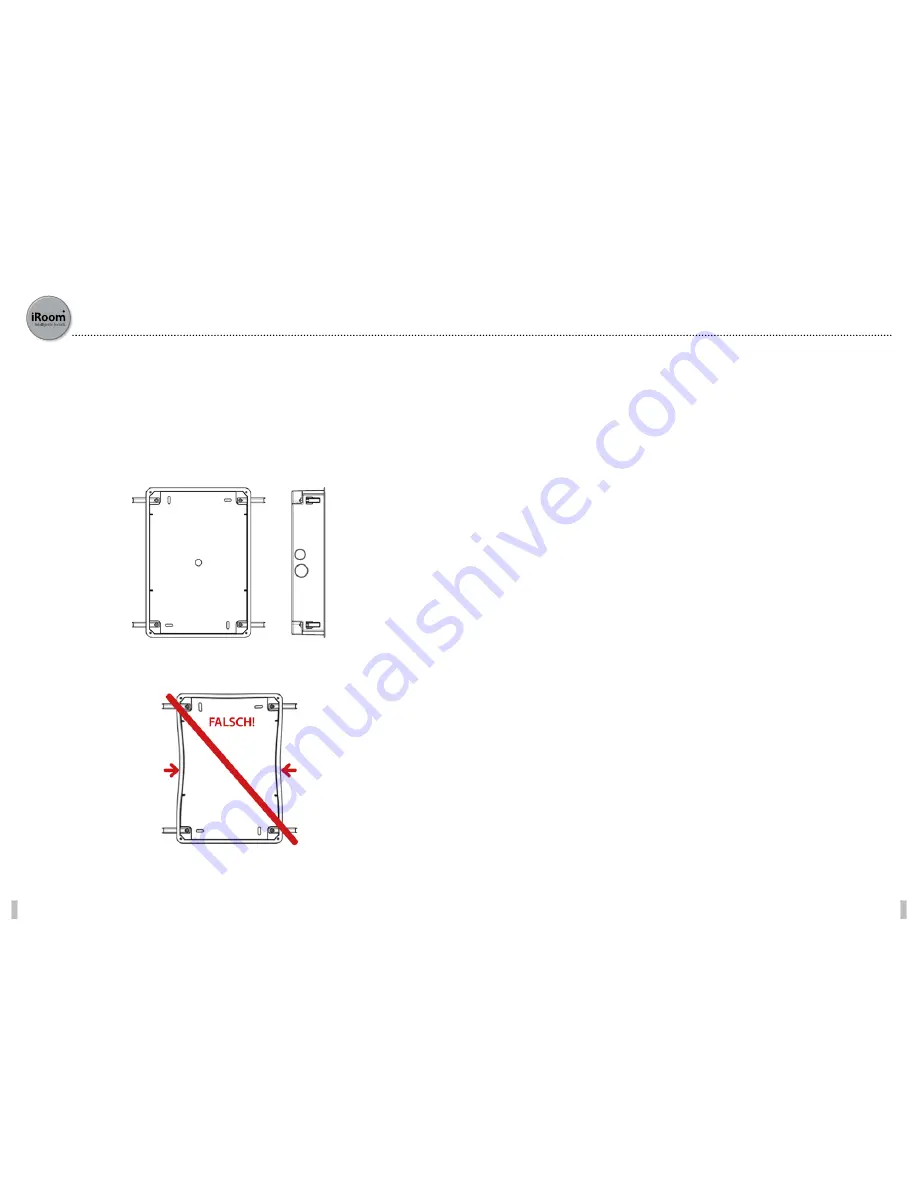
mounting clips. Do not deform the backbox.
5. Cut some small thread gaps in the safety strips that cover the
recess spaces for the mounting clips. Do not remove the safe-
ty strips! Feed the mounting clips into the recesses and screw
them tight.
6. Prepare the power supply lead for connection to the pre-
mounted adaptor.
7. Reduce the length of the lead to avoid mechanical blockages
due to too many wires and cables. Fix the position of the po-
wer lead with the adhesive base and a cable tie.
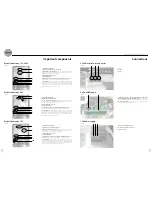
8. Attach the power lead to pre-mounted adaptor (electrical
wire connector - L/N/GROUND).
9. Push the iRoom iDock Portrait into the backbox. Make sure
you do not damage the power lead and that the mecha-
nisms are not inhibited by the power lead.
10. Attach the power supply lead using the clamp provided and
reduce the strain on the lead using the clamp block.
11. Use the four M3x20 screws to mount the iRoom iDock Por-
trait in backbox.
12. Unpack the cover plate. (Take care: High gloss finish!)
13. Remove the protective foil from the double-sided adhesive
tape, and remove the protective foil on the front of the cover
plate!
14. Attach the cover plate to the frame of the iDock Portrait.
15. Switch on the mains power supply.
16. For information on how to operate the device correctly,
please read the operating instructions.
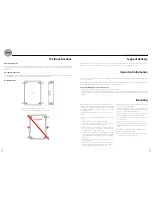
The iDock backbox
General information
During installation it is important to ensure the backbox has not been misshapen in any way! Excess blobs of cements and fillers must
be removed to reduce the risk of deformation. The protective box must remain in the recess housing during installation to minimise
deformation.
Description of function
The iRoom iDock may only be used in connection with this backbox! Starting and operating the device without this backbox shall lead
to loss of guarantee rights. Use for purposes not intended by the manufacturer is forbidden.
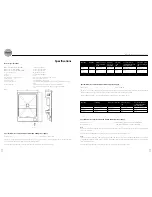
Recess dimensions: W/H/D 205.0 / 295.0 / 65.0 mm
Outer dimensions – backbox:W/H/D 214.13 / 305.0 / 65.0 mm
Scope of delivery
iRoom‘s iDock Portrait assembly instructions
All connection and installation work must be conducted by certified electricians in compliance with the general rules and directives
for electrical installations.
The iRoom iDock Portrait has a smooth and shiny surface which is prone to scratches. Handle with care to avoid damage. Do not clean
with liquids or fluids. We recommend wearing soft cotton wool gloves during installation.
Select a suitable place to mount the device
• Do not mount or use the iRoom iDock Portrait in wet or moist environments.
• The place chosen to mount the device must provide enough recess depth to allow use of the backbox and the entry of the leads.
• Mount the device in a place that enables reception of a suitably strong Wi-Fi signal so that the iPad™ can also be used when it is
docked.
Detailed diagram:
iRoom’s iDock Portrait (1x) • cover (1x) • adhesive base for cable tie (1x) • cable tie (1x) • operating instructions (1x) • mounting instructions
(1x) • M3 x 20 mounting screws (4x) • M3 x 45 mounting screws (4x). Recommended accessories: iRoom iDock backbox
Important information
Mounting

