
2
General information
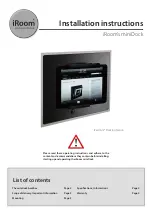
Room‘s Minidock can be installed both
vertically and horizontally. iRoom‘s minidock
is only compatible with the iPad mini. For an
iPad installation, we recommend our iRoom‘s
iDock.
During installation of the backbox (flush-
mounted housing) the installer must execute
an installation without deformation. Swelling
mounting mediums should be avoided to
minimize the risk of deformation. During ins-
tallation the protective card has to be placed
into the backbox.
Description of function
The iRoom miniDock may only be used
with the flush-mounted backbox. Operation
without the backbox will void the warranty.
Missuse of the backbox is prohibited.
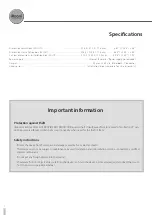
Recess dimensions backbox (W/H/D): 215,0 / 305,0 / 75,0 mm ........ 8.46“ / 12.00“ / 2.95“
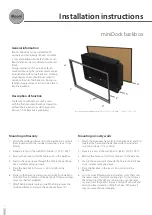
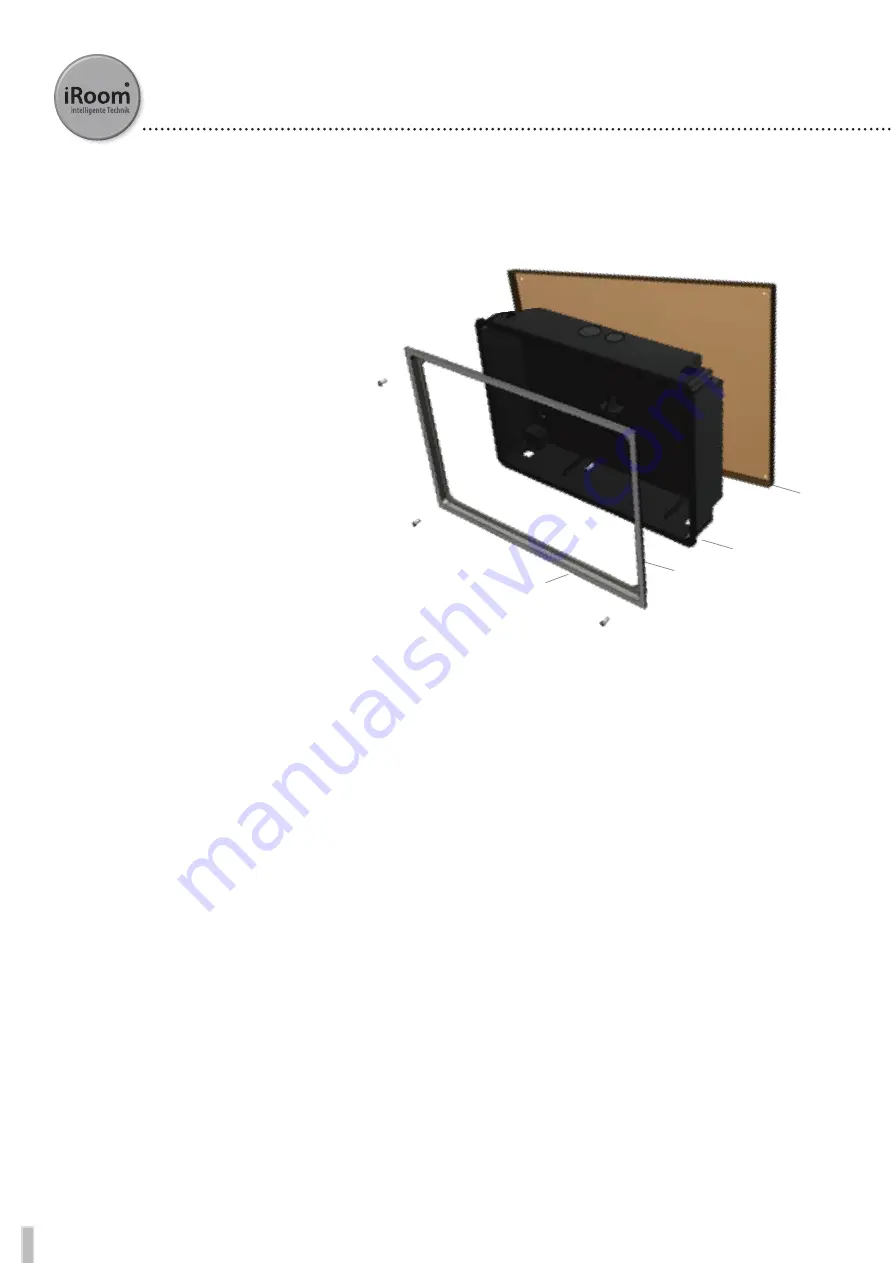
Mounting in Cavity walls
1. Attach the aluminum frame (2) to the backbox (3) and bolt
together the frame and the backbox with the included
mounting screws (1) (3 x 20mm)
2. Prepare a recess in the wall (W/H/D: 8.46“ / 12.00“ / 2.95“)
3. Remove the break-out for the cable exits on the backbox
4. Feed in the power leads through the hole in the back box .
Use a suitable cable grip sleeve.
5. Place the backbox in the recess. Do not deform the
backbox.
6. Cut some small thread gaps in the safety strips that cover
the recess spaces for the mounting clips. Do not remove
the safety strips! Feed the mounting clips into the reces-
ses and screw them tight. Ensure a straight, flush wall and
distortion-free installation of the flush box. Otherwise it
may cause mechanical problems.
Mounting in Masonry
1. Attach the cardboard frame (4) to the backbox (3) and bolt
them together with the included mounting screws (1) (3 x
20mm)
2. Prepare a recess in the wall (W/H/D: 8.46“ / 12.00“ / 2.95“)
3. Remove the break-out for the cable exits on the backbox
4. Feed in the power leads through the hole in the back box.
Use a suitable cable grip sleeve.
5. Place the backbox in the recess. Do not deform the
backbox.
6. Plaster in the backbox and ensure a straight, flush wall and
distortion-free installation of the back box. Otherwise it may
cause mechanical problems.
7. After finishing plasterwork and wall finishing remove the
cardboard frame and attach the aluminum frame (2)!
1
2
3
4
miniDock backbox
Installation instructions


