Monitoring
The timer on the PUMP is zeroed by turning the unit off
and on again. The PUMP will start automatically after a
few seconds and thereafter at roughly 3 hour intervals.
The duration of pumping is determined by how much
light/sunshine has fallen on the solar panel and the
position of the control knob. Put a dripper in a jug to
see how much each dripper is delivering.
PUMP priming
The PUMP is self priming, but if it has been
disconnected ensure that the discharge pipe is not
reconnected until all of the air has been pumped out of
the inlet line, as a head of water above the PUMP can
prevent it priming properly.
Maintenance
Keep the PUMP in a dry frost-free place in winter.
Battery life is typically around 1 to 2 years, but will vary
depending on conditions and usage. For peace of mind
put in new batteries before going away on holiday then
use the old one up when you come back.
*The moisture sensors are designed to be left in place
for long periods and take at least a few hours to settle
in if moved. They are full of water so should be kept
frost free at all times.
If the moisture probes are left in dry soil for a long time
(ie no irrigation is applied) they will dry out and need
recharging with water before they will work again. If
this becomes necessary ensure the threads on the cap
and probe are perfectly clean before screwing them
together – repeat the installation process using the
syringe.
Laying the irrigation tubes
A typical Irrigation layout is shown in
Fig 5
. In the
diagram the PUMP inlet tube is on the left.
The length of tube between fi ttings is as required to
reach your plants. Tube can be safely cut with good
kitchen scissors.
Tees and dripper nozzles easily screw onto tube, but
must be screwed tight to avoid leakage.
Extra drippers can be put in large pots/baskets.
Highest irrigation height 5m above water source.
Stakes should be used to secure drippers in position.
Irrigation line can be run behind pots out of the way
and dripper leads can be run up the back of pots out of
view. To cross lawn cut a slit with a spade and push the
tubing in out of the way.
Installation of anti-siphon device
Where the level of the source water is higher than the
irrigation drippers or seep hose, an air release device
will be required to prevent siphoning.
The anti-siphon device
(fi g 4)
should be inserted in
the outlet pipe between the pump and the fi rst dripper,
it must be higher than the water source - even if the
pump isn’t. It should positioned so that air can go in to
the irrigation system but water cannot come out. The
connector marked OUT is connected to the tube.
When the PUMP has been running, the drippers will
continue to drip for a short time while the delivery tube
drains down, but should then stop.
Typically the PUMP will supply enough water for 5 large
(35cm), well grown hanging baskets, 20 x 10 litre pots,
or about 3m2 of bed though this will vary depending on
soil and plant types/sizes.
Installation of optional seep hose kit
(available to purchase separately)
The seep hose extension kit can be used in two ways.
Up to 1 metre of seep hose can be pushed onto the
drippers supplied with the main unit. A stopper should
be put in the other end and stakes can be used to hold
it in position. This arrangement can be used to spread
water over a larger area than the dripper alone and is
useful for large pots/baskets, germinating short rows of
seedlings, burying with the roots of valuable plants to
aid establishment. Drippers can be at different heights,
but the individual lengths of seep hose must be kept
level.
Alternatively the connectors provided can be used
to connect up to 6m of seep hose to the PUMP. The
seep hose must be kept level and can be staked into
position. This is useful for beds and rows of vegetables.
It is possible to lay several lengths of seep hose but just
connect the lengths most needing watering, or move
the connection on each day to provide watering for
2 – 7 beds/rows from one PUMP depending on water
requirement.
UK
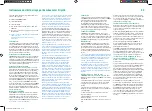
Irrigatia Reservoir
Enables use of the Irrigatia Drip Watering
System, where a water butt is not available.
Use as a stand-alone Reservoir for the Irrigatia
SOL-K12, or use inside a water butt, grey water tank
or pond. Provides extra fi ltration and clean water for
your plants. Simply connect the Reservoir to a tap - it
will constantly refi ll to keep your plants watered.
Used inside a water butt, it will only fi ll from the tap
when rainwater is not available.
Want the very best from your garden plants?
Regular irrigation and feeding is a great way to achieve this whether your plants are in pots,
baskets, the veg plot, raised beds or the greenhouse. Irrigatia solar powered drip irrigation kits
are the easiest way to water automatically from your water barrel. An Irrigatia kit will water every
3 hours. It will apply more water when it is sunny. It will not forget to water when you go away.
Irrigatia kits are ideal for small gardens, and can be used for pots, raised beds, hanging baskets,
vegetables and greenhouses. They use solar power to pump water and feed from your water
barrel, so need no wires or hose pipes. They are easy to install and set up and once in they will
water automatically with minimal supervision.
To maximise your Drip Watering System, the following Accessory Kits are available:
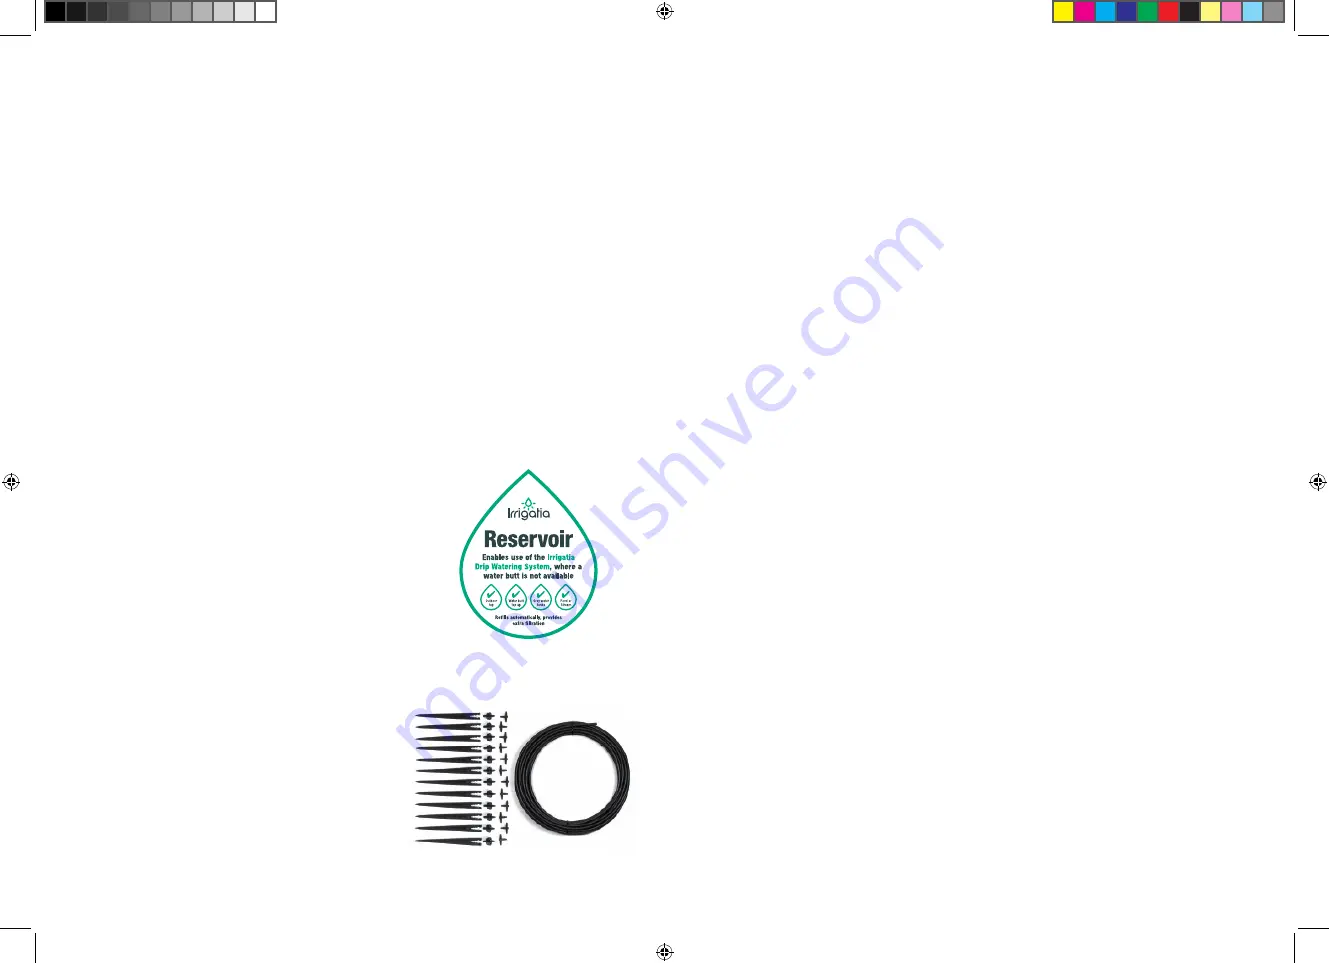
12 Dripper Extension Kit
Designed to extend the Irrigatia Solar Powered
Automatic Watering System.
Enables irrigation to a larger number of smaller
plants.
Ideal for seed trays, plant establishment, large pots,
hanging baskets and germinating rows of seedlings
in the garden.
Irrigatia Accessory Kits
Irrigatia Instructions IMPO.indd 7-8
Irrigatia Instructions IMPO.indd 7-8
10/05/2012 11:05
10/05/2012 11:05


