Cast Iron Joining Instructions
Cast Iron Joining Instructions
Please note:
that after manufacture these radiators are pressure tested and cleaned
inside, they may, therefore, contain a small amount of water. If handling on a finished floor
ensure that adequate protective material is in place before working on the radiators.
A minimum of two people are required to join these sections to ensure safe handling of
the radiators and to facilitate an effective water tight seal.
You will need: two nipples, 2 gaskets per join, appropriate size joining key, extension rod
for extra torque, bushes and gaskets.
Cast Iron radiators have specific left and right hand threaded bushes and these
can be easily damaged if forced or incorrectly fitted (this will inevitably cause
leaks). Bushes require a dry fit connection only; you must not use any Compound
materials (e.g. Jet Blue) or Plumbers Hemp. It is important for the faces and
flanges of the bushes to be free from and rust/residue/particulates.
To facilitate the joining process the radiator sections must be raised off the ground, (on a
firm flat surface) to allow the joining key to turn freely. The radiators should not be placed
upright or on end when joining.
1.
Before joining the radiators together please remove the
plastic bungs, radiators have colour coded plastic inserts to
aid in joining the correct end.
2.
Position all sections to be joined the correct way up; place
the end with a rough casting finish along the join at the
bottom and the end with the smooth cast finish at the top.
The radiators also need to be the correct way round; ensure
the same trade mark or manufacturers stamp are all facing
the same way. (Image 1 & 2)
3.
Top smooth edge
Image 1
Bottom rough edge
Image 2
Clean the surfaces to be joined using a small blade or similar to remove any dirt or
deposits from the face and screw thread.
4.
The radiator sections and joining nipples have one left and one right hand thread the
Nipples must be inserted correctly to avoid cross threading.
5.
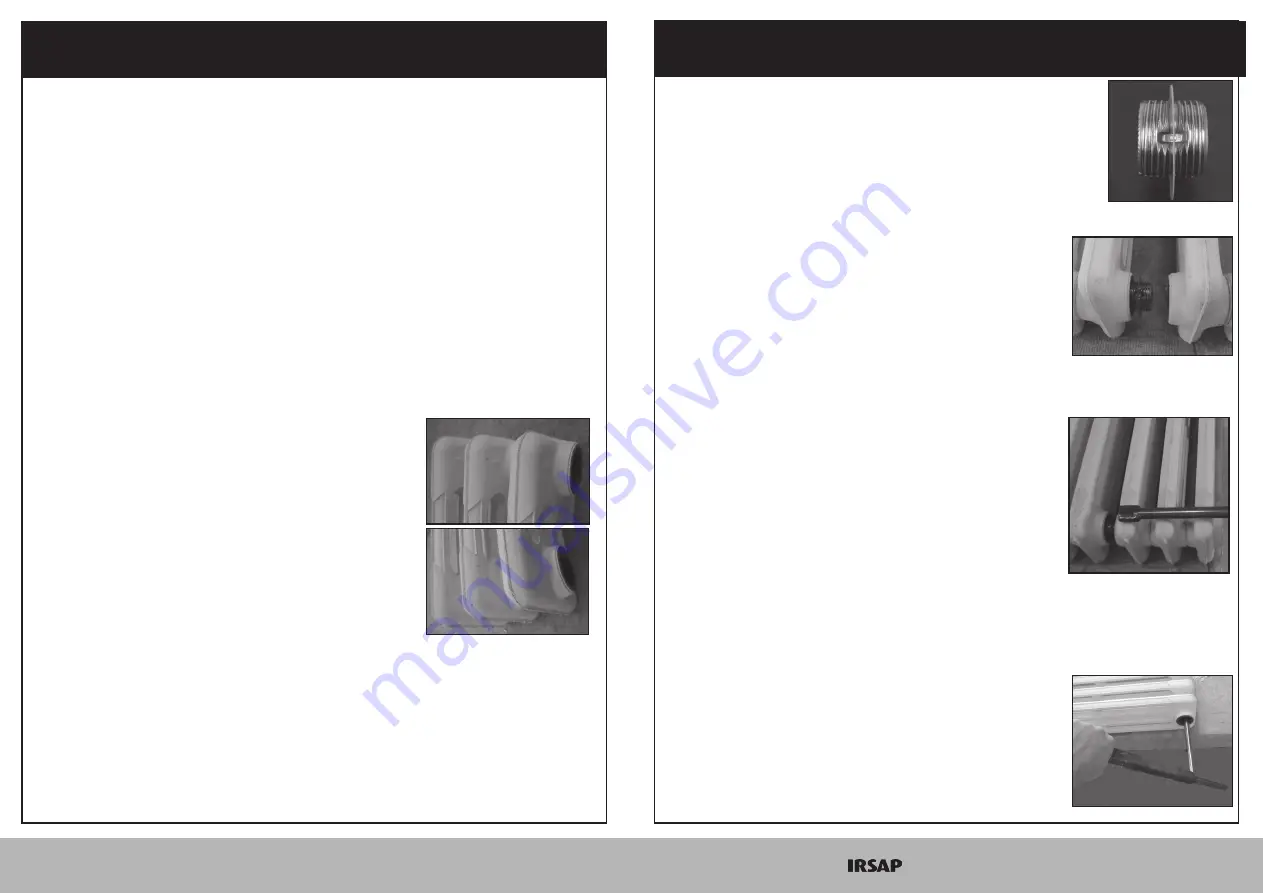
Fit a graphite joining gasket over each nipple; push them
carefully onto the nipple, making sure they do not tear, until
they sit in the groove in the middle of the nipple. (image 3)
Image 3
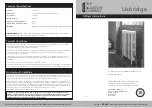
Having identified the correct insertion direction, using 1
hand turn only screw in a pair of nipples into the end of one
radiator (screwing the nipple in further at this stage may
cause problems obtaining a water tight seal.) (Image 4)
Image 4
Offer up the second radiator, making sure that the two
nipples enter the second section evenly.
Measure the distance required for the key to identify how far
in you need to place the key and then insert the key through
the open end of the water way to locate the lug within the
first nipple to be joined. (Image 5)
Image 5
Image 6
The two nipples should now be tightened alternatively
to keep the radiators parallel. The key should be kept in
a central position in the waterway whilst turning. Tighten
the first nipple with 2 turns only, pulling the two sections
together. Repeat the process alternating between nipples,
until both sections are joined hand tight.
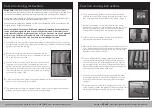
Once the joins have been hand tightened both will need
extra torque applied to make a water tight seal. To obtain
this use a metal extension rod to apply greater leverage.
(image 6)
Once the joins are satisfactorily tightened you can fit the
blanking plugs, bushes and gaskets. Please note these items
are also left and right handed to avoid cross threading.
6.
7.
8.
9.
10.
11.
12.
If you have any questions please contact us: 01342 302250, www.theradiatorcompany.co.uk
A brand of , Italy’s leading manufacturer of design led radiators


