IV. INSPECTION AND MAINTENANCE OF MAJOR PARTS
83
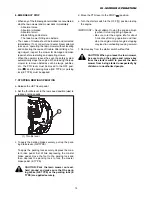
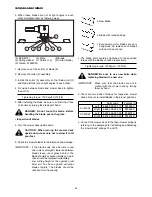
2. INSPECTION AND REPLACEMENT OF FRONT BELT
• Inspection of the front belt tension
a. Remove the pulley cover (1) installed on the mower
deck.
(1) Pulley cover
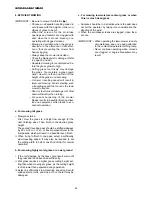
b. Inspect the front belt tension.
Check if the front belt (4) is tensioned properly. When
its tension is correct, the clearances between coils of
the tension spring (6) should be 1.1 to 1.2 mm (0.04 ~
0.05 inch)
(2) Input pulley (5) Output pulley
(8) Nuts
(3) Tension arm (6) Tension spring
(4) Front belt
(7) Tension rod
IMPORTANT: Stretch
front
belt (4) on a specified value
with the tension rod (7) when the ten-
sion power of front belt (4) is insufficient
because the down of the performance of
the lawn mower.
• Inspection of front belt
a. Remove the pulley cover (1) installed on the mower
deck.
b. Check the belt for damage and dirt.
If it is smeared with oil or dirt, or wet with water, wipe
it clean with a dry cloth. When damaged, install a
new belt.
CAUTION: Never forget to replace all the re-
moved covers.
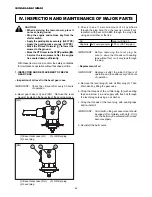
• Replacement of the front belt
a. Remove the pulley cover (1) installed on the mower
deck.
b. Loosen the nuts (8) of the tension rod and loosen the
tension rod (7).
c. Remove the front belt (4) and install a new belt.
IMPORTANT: • Be sure to install the belt as illustrated.
• An improperly installed belt will not work
as expected but also may result in the
belt breaking right away.
• Be sure to use the following ISEKI’s gen-
uine belts:
SCMA 54 8665-201-052-10 BELT / VB 038
SCMB 48 8674-203-200-00 BELT / VC0GB 035 SET
d. Make sure that the belt is seated properly on the
groove of each pulley and apply tension to it by ex-
panding the tension, referring to the paragraph for “In-
spection of belt tension.”
e. Re-install the pulley cover (1).
CAUTION: Never forget to replace the re-
moved pulley cover.
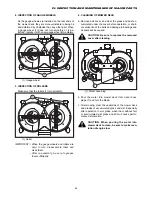
3. INSPECTION & REPLACEMENT OF BLADES
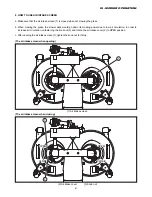
• Inspection of blades a phase position LH & RH.
a. Make sure that blade (LH)(1) and blade (RH)(2) are at
right angles to each other.
(1) Blade (LH)
(2) Blade (RH)
1
7
8
6
2
3
4
5
1.1~1.2 mm
2
1
Summary of Contents for SBC550X
Page 71: ...SXG 70 ...
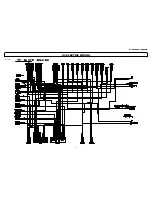
Page 72: ...XI ELECTRIC WIRING 71 XI ELECTRIC WIRING E TYPE ...
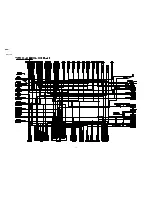
Page 73: ...72 SXG GE TYPE ...
Page 103: ...SBC600XH SBC550XL 102 ...

