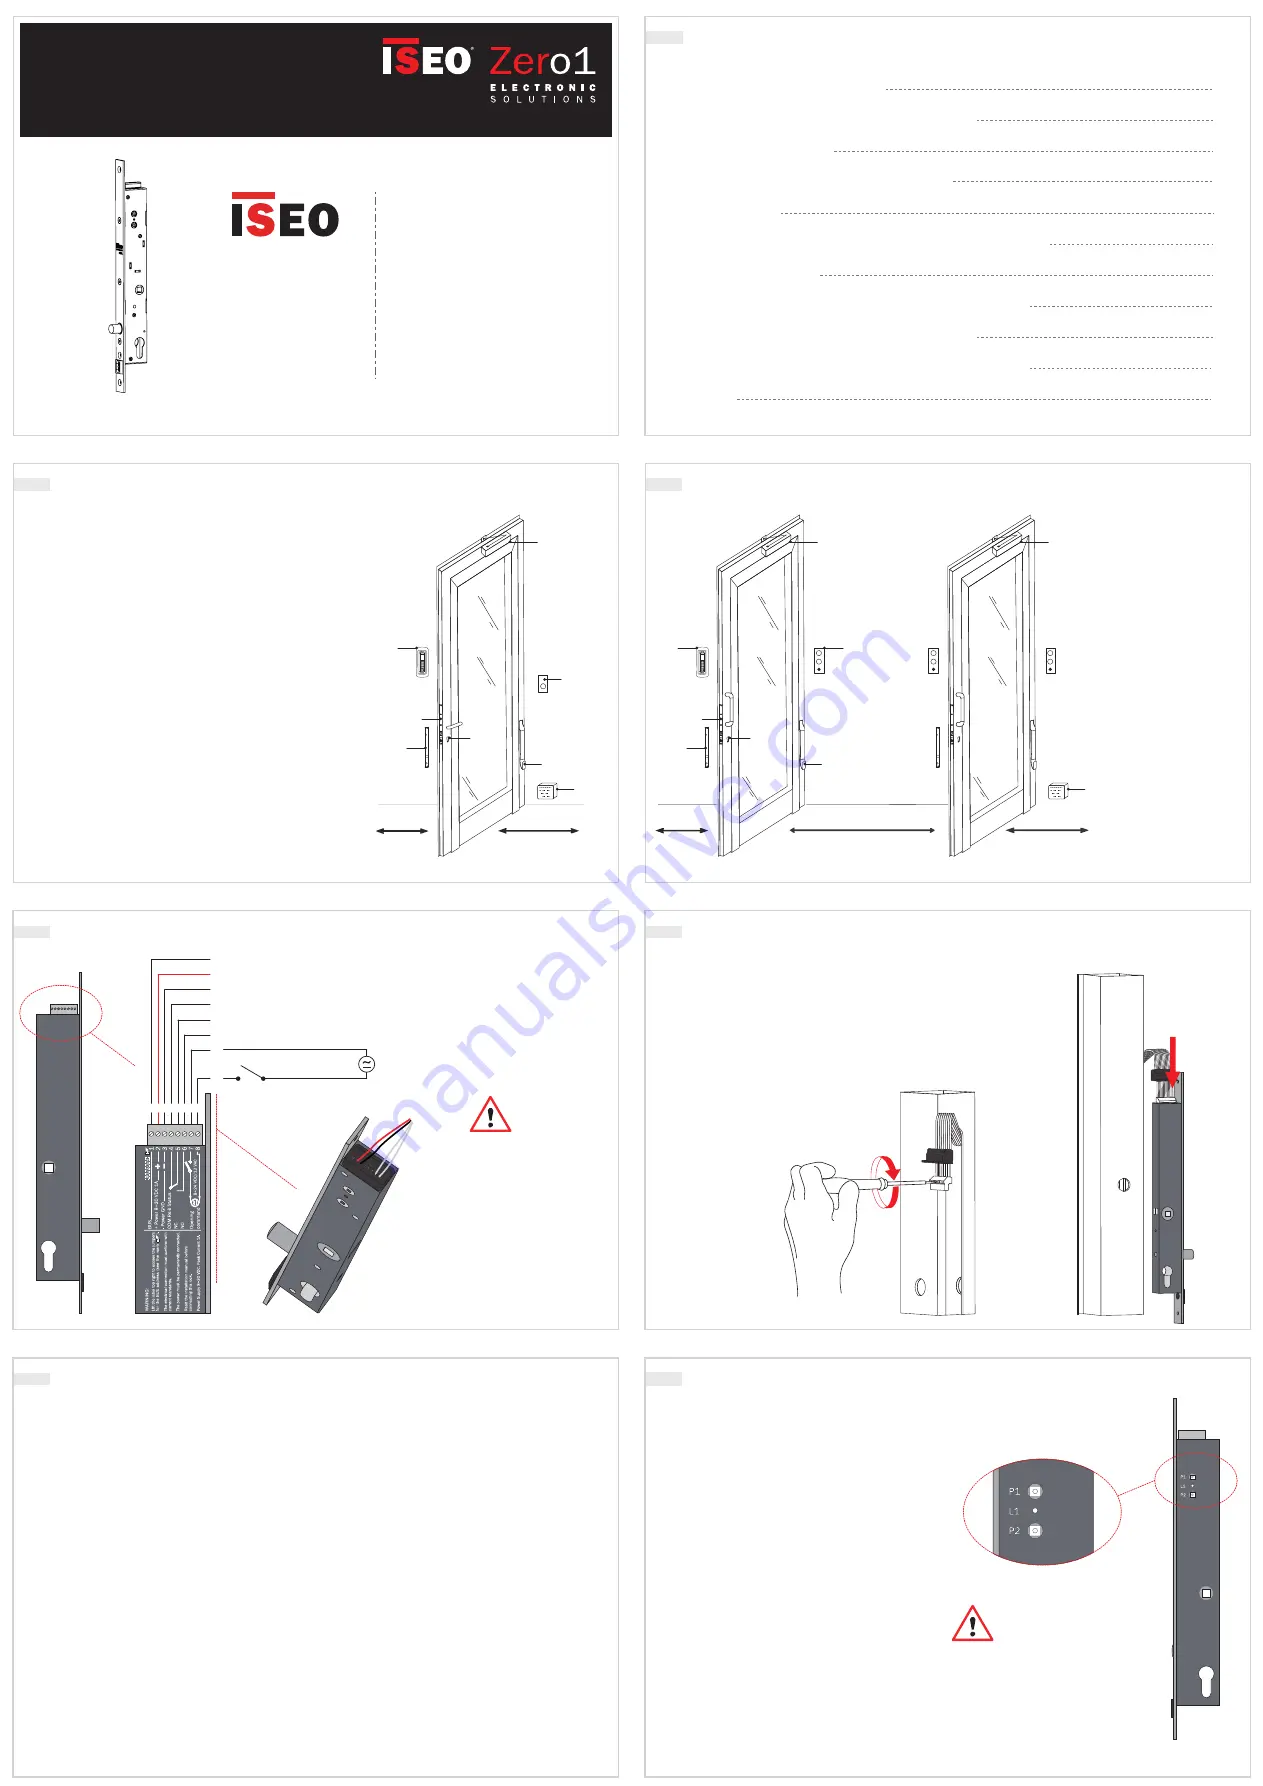
background image

3. ELECTRICAL CONNECTIONS

4. FASTENING THE CABLES AND THE CONNECTOR

5. FUNCTION MODES

WARNINGS

11

APPLICATION EXAMPLE (single door)

1

MANUAL OR AUTOMATIC INTERLOCKING EXAMPLES

2

ELECTRICAL CONNECTIONS

3

FASTENING THE CABLES AND THE CONNECTOR

4

FUNCTION MODES

5

RELAY CONFIGURATIONS

7

CONNECTIONS FOR MANUAL OR AUTOMATIC INTERLOCKING

8

CONFIGURATION OF THESIS 2.0 WITH STYLOS LINE

9

CONFIGURATION OF THESIS 2.0 WITH OFF - LINE SOFTWARE

10

SETTING THE “COURTESY” AND “DELAYED CLOSURE” TIMINGS

6

1. APPLICATION EXAMPLE (single door)

2. MANUAL OR AUTOMATIC INTERLOCKING EXAMPLES

Exterior

Interior

8

5

2

1

6

4

7

Exterior

Interior

interlocked opening

1.

 Thesis 2.0 lock

2.

 Lock striking plate

3.

 Cylinder

4.

 Stylos reader

5.

 Cable gland

6.

 Opening button

7.

 Spring-loaded damper

8.

 Power supply

The image on the left serves only as an example of 
this product in use.
Please consult the catalogue to see all available 
accessories for the series Thesis 2.o, or contact us 
for any technical or sales questions.

1.

 Thesis 2.0 lock

2.

 Lock striking plate

3.

 Cylinder

4.

 Stylos reader

5.

 Opening button

6.

 Cable gland

7.

 Spring-loaded damper

8.

 Power supply

ATTENTION

In the case that automatic 
interlocking is installed, the 
indicator lights at the openin-
gs 

(4.2)

 are not equipped 

with an opening button.

NOTE

The communication channel 
guarantees an encrypted 
exchange between the 
Thesis 2.0 locks.

1. Comunication channel (LOCKBUS)
2. Positiv - Power supply 8÷30 VDC 1A (+)
3. Negativ - Power supply GND (-)

8÷24 VDC/12 VAC

4. Relay common contact signal (COM)
5. Normally closed relay contact signal (NC)
6. Normally open realy contact signal (NO)

T1 opening button
     (not included)

Opening command
Optically isolated entry

7. 

8. 

1 2 3 4 5 6 7 8

CAUTION

Minumum cross-section of 
the power lines in relation to 
the installation length:

up to 10 m section: 0.5 mm
10÷40 m section: 0.75 mm
40÷50 m section: 1 mm
50÷75 m section: 1.5 mm
75÷100 m section: 2.5 mm

Take care not to damage the 
cables while fastening the 
lock to the frame.

CAUTION

To protect the electronic circuit from external factors, please place the 
black rubber cap between the cables and the green connector (the 
black rubber cap and the removable connector are both included).

After fastening the cables to the green removable connector 

(1)

insert the latter into the permanent connector on the upper part of 
the lock 

(2)

. Cover the connectors with the black rubber cap, 

anchoring it to the lock with the screw that is provided.

TOTAL functioning

If the opening command is of less than 1 second, the lock opens and stays open with 
the door shut for the duration of the preset courtesy time. If the door is opened before 
the courtesy time elapses, then the next time the door closes the lock will release the 
locking valve and will secure the passage.

FREE functioning

If the opening command is active (state), the lock ignores the preset courtesy time and 
holds back the unlocking bolt until the opening command is deactivated. In this mode, 
access to the passage is always ensured: each time the door closes the lock does not 
close (“daytime” mode).

4

3

6

2

1

5

7

3

8

7

6. SETTING THE “COURTESY” AND “DELAYED CLOSURE” TIMINGS

Setting the “opening time” (T1)

To modify the opening time of the lock, present by 
the manufacturer at 15 seconds, proceed as follows:

position the powered lock to be with the bolt in 

set back condition with the door open (both bolt 
and door in open position); 

press button P1 for the desired duration, between 

1 and 180 seconds (while programming, the L1 
LED will flash at 1 second intervals).

Setting the “delayed closure” at the closing of
the door (T2)

To modify the “delayed closure” at the closing of 
the locking door, preset by the manufacturer at 1 
second, proceed as follows:

position the powered lock to be with the bolt in 
set back condition with the door open (both bolt 
and door in open condition);
press button P2 for the desired duration, 
between 1 and 60 seconds (while programming, 
the L1 LED will pulse at 1 second intervals).

-

-

-

-

CAUTION

In the event that the interlocking lock 

is used with other devices through the 
communication channel LOCKBUS, do 
not set T2 at less than 1 second for 
proper functioning.

Non contractual document. Subject to change. Cod. 6000750P002.1, Rev. 001 - 16/07/2021

Thesis 2.0 Standard Installation Guide (EN) - © 2021  Iseo Serrature S.p.a. - www.iseo.com

INDEX

T

hesis 2.0

Standard

ELECTRONIC SUPPORT SERVICE

iseo.com

®

w w w.

i s e o

. c o m

Iseo Serrature s.p.a 
Via San Girolamo 13 
25055 Pisogne (BS) 
ITALY
Tel. +39 0364 8821 
iseo@iseo.com

ELECTRICAL CONNECTIONS (EN)

Summary of Contents for Thesis 2.0 Standard

Page 1: ...ratura minima e massima di funzionamento 20 C 60 C 4 F 140 F Temperatura di stoccaggio 25 C 70 C Sistema protettivo grado IP IP44 Normativa di riferimento EN 14846 2008 Classificazione 3 C 8 0 0 G 3 0 1 Dimensioni della confezione larghezza 38 5 cm profondità 10 cm altezza 4 cm Peso della confezione 1 4 kg Contenuto della confezione serratura contropiastra foglio istruzioni multilingue IT GB viti ...

Page 2: ...bile entrambi in dotazione Dopo aver fissato i cavi nel connettore verde estraibile 1 inserire il connettore stesso nel connettore fisso presente nella parte superiore della serratura 2 Coprire i connettori con il tappo nero in gomma fissandolo alla serratura con la vite in dotazione Funzionamento TOTAL Se il comando di apertura è inferiore ad 1 sec la serratura si apre e si mantiene in apertura a...

Page 3: ...3 JP2 JP1 JP4 JP3 JP2 JP1 JP4 JP3 JP2 JP1 JP4 JP3 JP2 JP1 INDIRIZZO 1 INDIRIZZO BUS JUMPERS INDIRIZZO 3 INDIRIZZO 5 INDIRIZZO 7 9 1 CONFIGURAZIONE DI THESIS 2 0 CON LA GAMMA STYLOS Accesso ai pulsanti di programmazione ATTENZIONE Predisporre la serratura in condizioni di pistone arretrato e anta non accostata I collegamenti elettrici sono descritti al paragrafo 2 LEGENDA P1 P2 Pulsanti di programm...

Page 4: ...13 F to 158 F Protection system IP grade IP44 Reference standards EN 14846 2008 Classification 3 C 8 0 0 G 3 0 1 Packaging dimensions width 38 5 cm depth 10 cm height 4 cm Package weight 1 4 kg Package contents lock striking plate multilingual instruction IT GB screws connector with rubber protection 8mm handle bracket if envisioned 4 LOCK AND CYLINDER INSTALLATION CAUTION Use only European profil...

Page 5: ...d the removable connector are both included After fastening the cables to the green removable connector 1 insert the latter into the permanent connector on the upper part of the lock 2 Cover the connectors with the black rubber cap anchoring it to the lock with the screw that is provided TOTAL functioning If the opening command is of less than 1 second the lock opens and stays open with the door s...

Page 6: ... 3 4 After completing this operation replace the label JP4 JP3 JP2 JP1 JP4 JP3 JP2 JP1 JP4 JP3 JP2 JP1 JP4 JP3 JP2 JP1 JP4 JP3 JP2 JP1 ADDRESS 1 BUS ADDRESS JUMPERS ADDRESS 3 ADDRESS 5 ADDRESS 7 9 1 CONFIGURATION OF THESIS 2 0 WITH STYLOS LINE Access to the programming buttons CAUTION Position the lock to be with the bolt and the door in opened position The electrical connectoins are described on ...

Page 7: ...m 8 30 VDC 15 W Kommunikationskanal serielle Mehrpunkt Schnitt stelle LOCKBUS 3 Drähte Plus Minus Daten Öffnungsbefehl optoisolierter Eingang 8 24 VDC 12 VAC Melderelais maximale anwendbare Spannungen und Stromstärken 24 VDC 1A 120 VAC 0 5A Riegel Rückhaltezeit Programmierbar von 1 180 sec 15 Sek default Schließzeit bei Anlehnen der Tür programmierbar von 1 60 sec 1 Sek default Minimale und maxima...

Page 8: ...em die Kabel im grünen herausnehmbaren Verbindungsstecker befestigt wurden 1 den Verbinder in den festsitzenden Verbinder im oberen Teil des Schlosses stecken 2 Den schwarzen Gummi pfropfen auf die Verbinder stecken Den Pfropfen mit der beiliegenden Schraube am Schloss festschrauben Betriebsart TOTAL Wenn der Öffnungsbefehl unter 1 Sek liegt öffnet sich die Tür und bleibt angelehnt geöffnet währen...

Page 9: ...ken Etikett entfernen s nebenstehende Abbildung um Zugriff zu den Konfigurationsbrücken zu erhalten JP1 2 3 4 Nach Beendung des Vorgangs Etikett wieder anbringen JP4 JP3 JP2 JP1 JP4 JP3 JP2 JP1 JP4 JP3 JP2 JP1 JP4 JP3 JP2 JP1 JP4 JP3 JP2 JP1 ADRESSE 1 BUS ADRESSE JUMPERS ADRESSE 3 ADRESSE 5 ADRESSE 7 9 1 KONFIGURATION DER THESIS 2 0 MIT STYLOS LINE Zugang zu den Programmiertasten ACHTUNG Das Schlo...

Page 10: ...ques minimales de l alimentation en courant continu 8 à 30 Vdc 15 W Canal de communication interface série multipoint LOCKBUS 3 fils alimentation données Commande d ouver ture entrée opto isolée 8 à 24 VDC 12 VAC Relais de signalisation tensions et courants maximum applicables 24 VDC 1A 120 VAC 0 5 A Délai de courtoisie programmable de 1 à 180 sec 15 sec default Délai de fermeture lors de la ferme...

Page 11: ...ant le passage en sécurité Fonctionnement FREE Si la commande d ouverture reste prèsente la serrure ignore le délai de courtoisie programmé et reste libre tant que la commande d ouverture n est pas désactivée Dans ce mode l accès au passage est toujours garanti après chaque fermeture la serrure ne se vérrouille pas accès libre 4 3 6 2 1 5 7 3 8 7 6 REGLAGE DES DELAIS DE COURTOISIE ET DE RETARD DE ...

Page 12: ...cavaliers de configuration JP1 2 3 4 Une fois l operation terminée replacer l étiquette JP4 JP3 JP2 JP1 JP4 JP3 JP2 JP1 JP4 JP3 JP2 JP1 JP4 JP3 JP2 JP1 JP4 JP3 JP2 JP1 ADRESSE 1 BUS D ADRESSE CAVALIERS ADRESSE 3 ADRESSE 5 ADRESSE 7 9 1 CONFIGURATION DE THESIS 2 0 AVEC STYLOS LINE Acces aux boutons de programmation ATTENTION Mettre la serrure dans une condition de piston et porte ouverts Les connex...

Page 13: ...nua 8 30 VDC 15 W Canal de comunicación Interface serial multipunto LOCKBUS 3 hilos alimentación datos Comando de apertura ingreso optoaislado 8 24 VDC 12 VAC Relé de señalización tensiones y corrientes máximas aplicables 24 VDC 1A 120 VAC 0 5 A Tiempo de cortesía Programable de 1 a 180 s 15 s por defecto Tiempo de cierre para el acoplamiento de la hoja Programable de 1 a 60 s 1 s por defecto Temp...

Page 14: ...ez concluida la operación reposicionar la etiqueta JP4 JP3 JP2 JP1 JP4 JP3 JP2 JP1 JP4 JP3 JP2 JP1 JP4 JP3 JP2 JP1 JP4 JP3 JP2 JP1 DIRECCIÓN 1 DIRECCIÓN BUS JUMPERS DIRECCIÓN 3 DIRECCIÓN 5 DIRECCIÓN 7 9 1 CONFIGURACIÓN DE THESIS 2 0 CON LA GAMA STYLOS Acceso a los pulsadores de programación ATENCIÓN Poner la cerradura alimentada en condiciones de pistón y puerta abiertos Las conexiones eléctricas ...

Page 15: ...a cerradura con el tornillo provisto Funcionamiento TOTAL Si el comando de apertura es inferior a 1 s la cerradura se abre y se mantiene abierta con la puerta cerrada durante el tiempo de cortesía configurado Si la puerta se abre antes del tiempo de cortesía establecido la próxima vez que la puerta se cierra la cerradura libera el pistón poniendo el paso en modo seguridad Funcionamiento FREE Si el...

Reviews: