


Chapter
4
Getting Started
4-7
Date / Time
The recorder is provided with a battery-buffered quartz clock with power reserve. The
lithium battery stores the correct time for years in case of power failure.
Setting of date and time is usually necessary only during commissioning of the
recorder.
The exact display of the current date is guaranteed by an integrated “eternal
calendar“.
The PERFECT 2040 can be operated in two different time modes.
- 12 hour range with use of the AM/PM abbreviation for morning/afternoon
- 24 hour range from 0.00 to 24.00 hours.
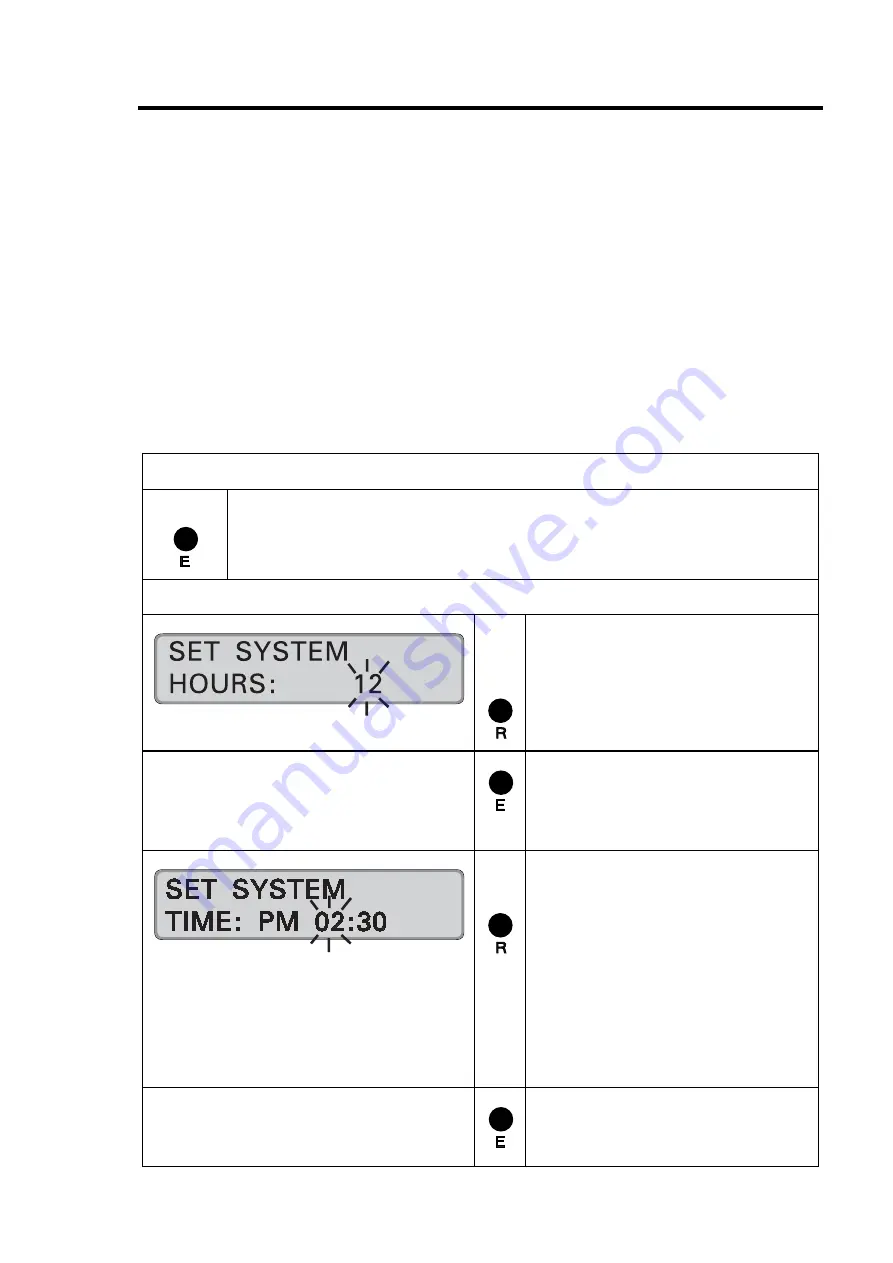
Calling up the setting routine
The recorder is switched on.
Press "
E
" (approx. 2 seconds) until display switches to "SET
SYSTEM".
Settings
The time mode has to be
determined before date and time
are set.
= Set the desired mode.
Range of values:
12 or 24
= Confirm setting.
Recorder changes to entry of
time.
Setting the time
Format: HH:MM
= Set desired hour
Range of values:
00 - 12
or
00 - 24
Hint:
If the 12 hour time mode
is selected, a change from AM
to PM is to be achieved by
scrolling the hour value.
= Confirm setting.
Recorder changes to minutes.
Summary of Contents for PERFECT 2030
Page 1: ...PERFECT 2030 Operating Manual ...
Page 2: ......
Page 10: ...0 4 Contents Chapter 0 ...
Page 20: ...2 6 Features Chapter 2 ...
Page 32: ...3 12 Installation Chapter 3 ...
Page 88: ...4 56 Getting Started Chapter 4 ...
Page 110: ...5 22 Operation Chapter 5 ...
Page 118: ...6 8 Trouble Shooting Chapter 6 ...
Page 123: ...Appendix A Technical Specifications A 1 Appendix A Technical Specifications ...
Page 125: ...Appendix B Default Program Settings B 1 Appendix B Default Program Settings ...
Page 128: ...B 4 Default Program Settings Appendix B ...
Page 129: ...Appendix C Program Settings C 1 Appendix C Program Settings ...
Page 133: ...Appendix D Conversion table D 1 Appendix D Conversion Table for Minute Print Formats ...
Page 135: ...Appendix E Sales and Service Dealer E 1 Appendix E Local Sales and Service Dealer ...
Page 137: ......


