3. Preparing the Scale
The following describes the procedure for preparing the scale
before operation.
1 Install Battery.
Open the lid on the bottom of the scale and install two
D-batteries.
Connect the AC Adaptor to the receptacle installed on the
bottom of the scale.
Warning: Do not connect the AC Adaptor, when using the
batteries.
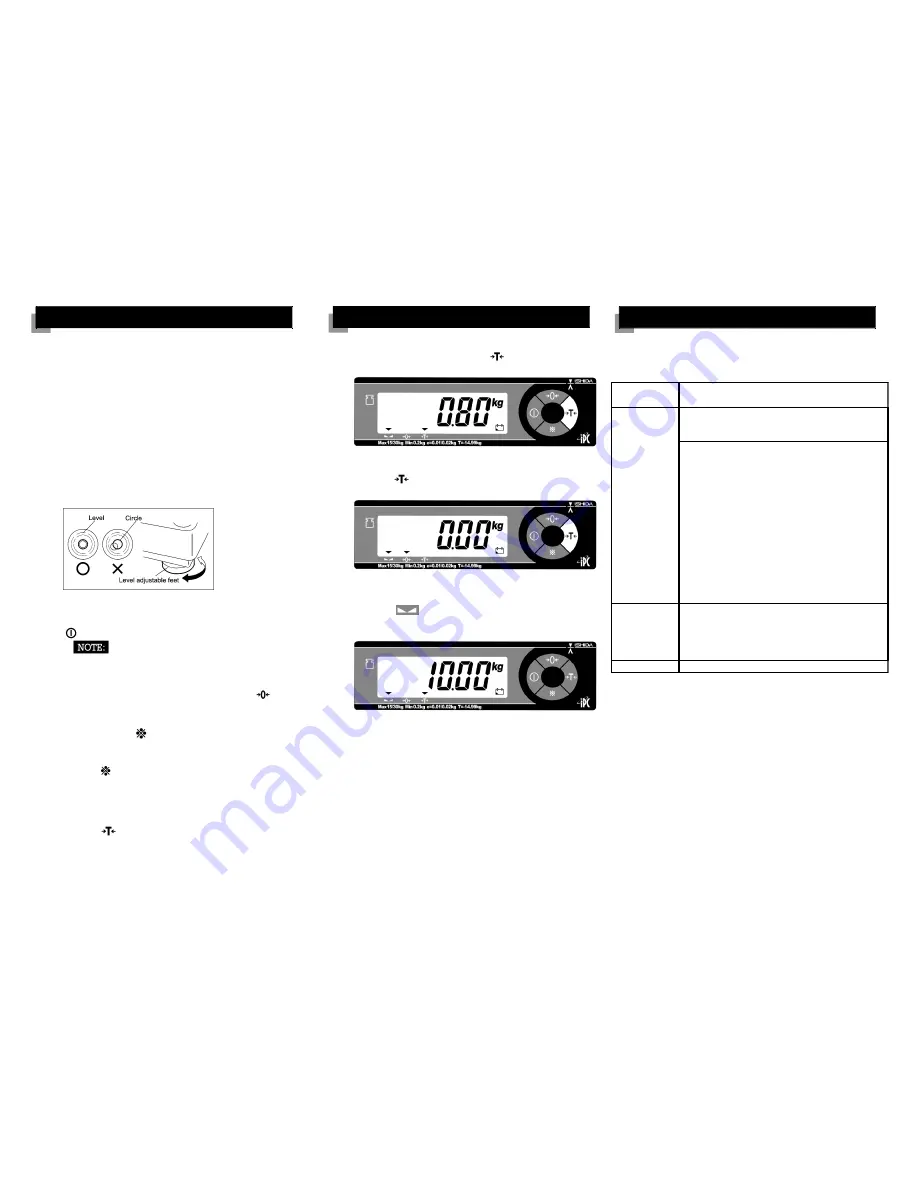
2 Level the Scale.
Adjust the level adjustable feet until the air bubble inside the
level remains at the center of the circle.
3. Turn on the Power Switch
With nothing placed on the weighing platter, press the
key to turn on the power.
Make sure that display indicates all “0”s.
4. Adjust the Zero Point.
If the zero-point mark is not displayed, press the
key.
5. Using Auto-power Off Function
Keep pressing the
key for 6 sec to change auto-power
function mode.
Press the
key to change the mode;
P 0: auto-power off
P 1: 20 min
P 2: 60 min (factory default)
Press the
to set the mode.
4. Weighing
1 Set Tare Weight (if necessary)
Place a tare weight, and press the
key.
2 Reset TARE Weight
Press the
key with nothing on a platter.
3 Weigh an Item
Place the item to be weighed on the weighing platter.
When the
marks stops flashing, the actual weight is
displayed.
6. Specifications
Platter Size
<SMALL>
230
×
200 mm
<LARGE>
280
×
280 mm
Capacity
and
minimum
graduation
APPROVAL SPEC.
NON
APPROV
AL SPEC.
<SMALL>
3 kg/1 g (0 - 1.5 kg),
2 g (1.5 - 3 kg)
3 kg/1 g
6 kg/2 g (0 - 3 kg),
5 g (3 - 6 kg)
6 kg/2 g
<LARGE>
15 kg/5 g (0 - 6 kg),
10 g (6 - 15 kg)
15 kg/5 g
30 kg/10 g (0 - 15
kg),
20 g (15 - 30 kg)
30 kg/10 g
POWER
Dry Cell 2 pieces (* can be operated for 300
hours with alkaline dry D-Type batteries) or AC
Adaptor
(No Dry Cell and/or AC adaptor are included in
the shipment)
APPROVAL
OIML, NTEP, CE conformity
Manual No. 0178A


