background image

March 2012

C. Installation

Once Genesis is positioned, connect the unit to a mains wall socket.
Plug the supplied Extreme power cable into the right C20 IEC and then
into the wall socket. For European customers please ensure that mains
phase is correct. Genesis has 4 output sockets at the rear. Connect
equipment to these with power cables, again ensure mains phase is
correct. Each outlet can supply a maximum of 150W, if the power
consumption of the connected units exceeds this Genesis will shut
down the power generation cell.

Turn on the RCBO on the left hand side of the back panel. Now turn on
the large button on the central front panel of Genesis. You will notice
that the LED display will show a powering up sequence.

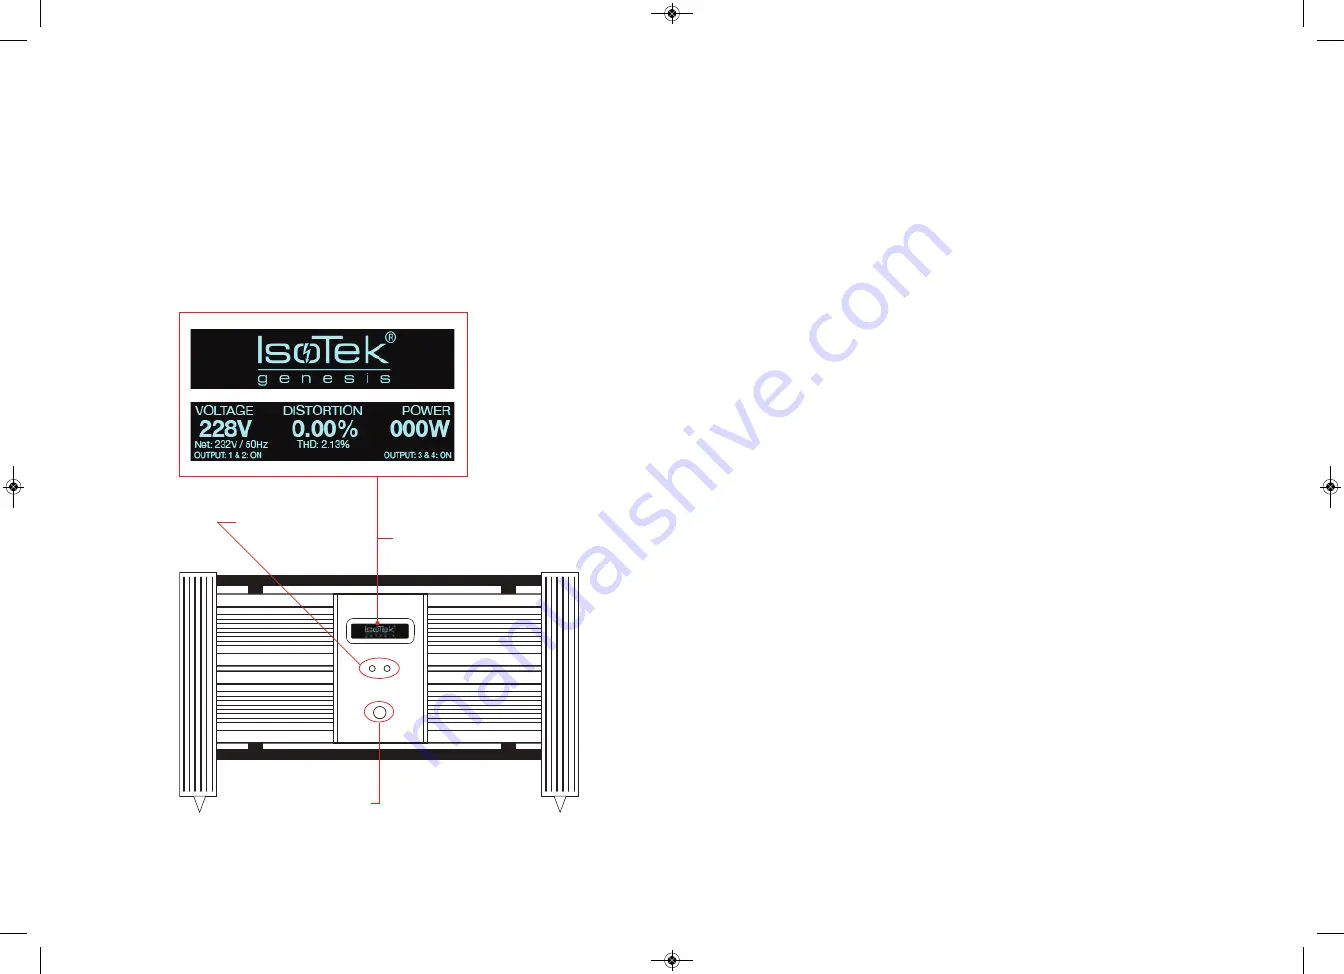
The display will now display Voltage, Distortion, Power. Below the
screen are two control buttons, with these you can turn on the two
power generation cells. Each controls two output sockets. To turn on
the cell hold the button in for 3 seconds. The screen will show
‘OUTPUT: 1&2: ON’. The screen will also update the input Voltage,
Distortion and Power, after 10 seconds the screen will display the
product name. If you wish to re-read the input and output data simply
press either of the control buttons. The left control button will show
information relating to outputs ‘1&2’, the right information about ‘3&4’.

You can also turn off the two banks of output sockets by holding down
the control button for 3 seconds.

Once the power cells are on and the output sockets are being supplied
with clean power you can turn on your connected front-end equipment
one by one.

The apparatus must be connected to an earthed mains
socket-outlet.

Equipment
coupling

Turning on

Cable connection & power on

Genesis display & product badge

Genesis control buttons

Power on button

EVO3-Genesis-Instructions_OLD-MiniSub-GII-Instruc.qxd  08/03/2012  11:01  Page 7

Summary of Contents for EVO3 GENESIS ONE

Page 1: ...Genesis Instruction Manual Multi award winning power management systems March 2012 EVO3 Genesis Instructions_OLD MiniSub GII Instruc qxd 08 03 2012 11 01 Page 1...

Page 2: ...Safety B 4 Placement C 5 Equipment coupling C 5 System integration C 5 Fault finding D 6 Dimensions sockets E 7 G 8 A Introduction B The product C Installation D Troubleshooting E Specifications G Wa...

Page 3: ...ngle component used in our designs is extensively tested for quality reliability and purpose Our circuit designs are extensively field tested before coming to market so we can guarantee the widest com...

Page 4: ...nlike and in total contrast to current products on the market classified as mains re generators Genesis rebuilds a completely new mains sine wave It is the world s first true audiophile mains generati...

Page 5: ...uropean standard is 230 10 Genesis features 4 high quality outlets at the rear These are grouped in pairs with each pair having a maximum VA loading of 300 The output sockets are designed for front en...

Page 6: ...ther items may be placed on top of the Genesis but only with an additional isolation platform this is available to purchase separately Genesis can also be stacked in multiple units or stacked on top o...

Page 7: ...these you can turn on the two power generation cells Each controls two output sockets To turn on the cell hold the button in for 3 seconds The screen will show OUTPUT 1 2 ON The screen will also upda...

Page 8: ...splay screen To turn on outputs 1 2 hold down the left control button for 3 seconds the screen will update and display this To turn on outputs 3 4 hold down the right control button for 3 seconds the...

Page 9: ...wer 230V 600W Dimensions 500mm x 500mm x 300mm WxDxH Weight 35 0Kg Please note the information given in this document is correct at the time of print Small production changes in the course of improvem...

Page 10: ...This service will automatically update your details and give confirmation of your registration via email within 24 hours IsoTek will not share your personal details with any third parties without your...

Reviews: