


Earth
Safe
2.1
About this translation of the original instructions
2.1.1
Revision status of the original instructions
2.1.2
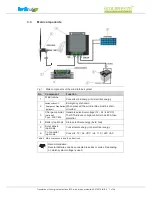
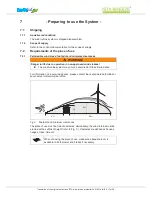
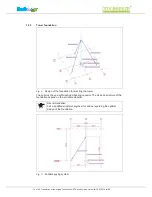
Conditions for installing and operating the wind turbine system
Please make sure that
•
The wind turbine system has been erected correctly by a suitably trained
person.
•
All operating personnel have read and fully understood this translation of the
original instructions
•
The wind turbine system is properly maintained and repaired.
2.1.3
Availability of the instructions
Keep this translation of the original instructions handy at all times, so that it can be
referred to by all persons working on or with the wind turbine system.
2.2
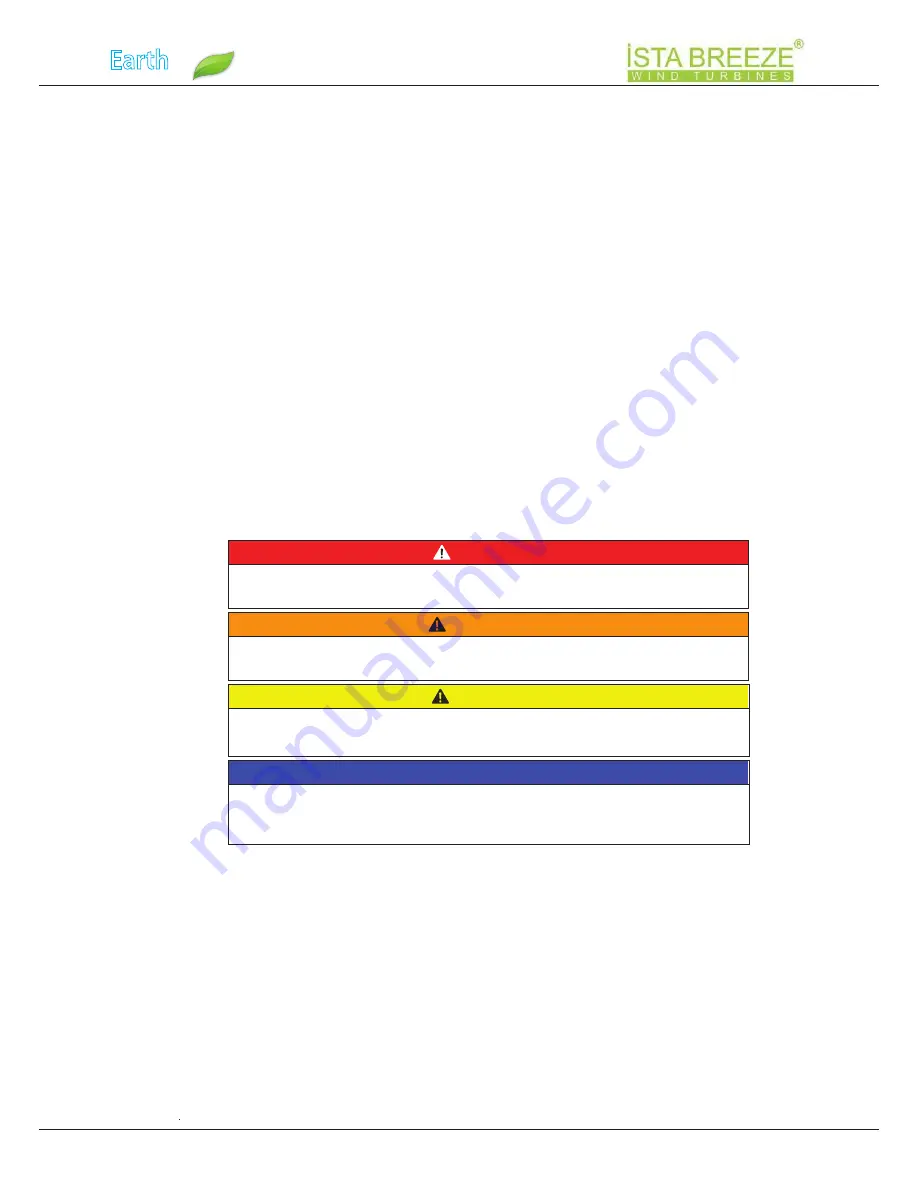
Conventions used in this translation of the original instructions
Safety information is always identified by a signal word and in some cases also by
a hazard-specific symbol.
DANGER!
Immediate danger!
Non-observance of the safety instructions will result in serious or fatal injury!
WARNING!
Potentially dangerous situation!
Non-observance of the safety instructions can result in serious or fatal injury!
CAUTION!
Potentially dangerous situation!
Non-observance of the safety instructions can result in minor or moderate injuries!
IMPORTANT!
Potentially dangerous situation!
Non-observance of the safety instructions can result in damage to property or
pollution of the environment!
Revision date: .......................................................................................... 2
4
.0
7
.201
8
Revision index: ....................................................................................................... 00
2
-
General
-
4 of 2
8
Translation of the original instructions iSTA wind turbine system
2
4
.0
7
.201
8
I00


