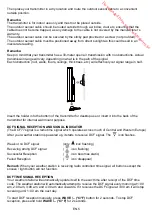
Then place your transmitter in a dry location and route the outdoor sensor cable to a convenient
outside position.
Remarks:
The transmitter is for indoor use only and must not be placed outside.
The outdoor sensor cable should be routed outside through a window, door etc, ensuring that the
cable does not become trapped, as any damage to the cable is not covered by the manufacturer’s
warranty.
The outdoor sensor cable can be secured by the sticky pad provided or a screw (not provided).
The outdoor sensor cable must be positioned away from direct sunlight as this could result in an
inaccurate reading.
Remarks:
Keep in mind that your transmitter has a 30-meter open air transmission with no obstructions. Actual
transmission range will vary depending on what is in the path of the signal.
Each obstruction (roof, walls, floors, ceilings, thick trees, etc.) will effectively cut signal range in half.
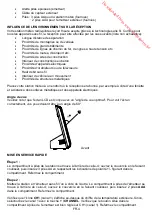
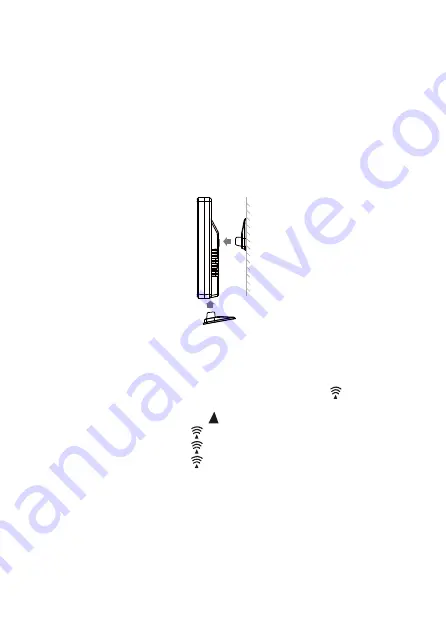
Insert the holder into the bottom of the transmitter for desktop use or insert it into the back of the
transmitter for internal wall mount purpose
DCF SIGNAL RECEPTION AND SIGNAL INDICATOR
(The DCF77 signal is a radio time signal which operates across much of Central and Western Europe)
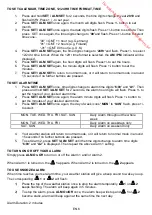
After your weather station is powered up, it starts to receive DCF signal. The
icon flashes.
Weak or no DCF signal
(only
icon flashing)
Receiving strong DCF signal
(
icon flashing)
Successful Reception
(
icon becomes static)
Failed Reception
(
icon disappear)
Remark
: When your weather station is receiving radio controlled time signal, all buttons except the
snooze / light button will not function.
DCF TIME SIGNAL RECEPTION
Your weather station will automatically update itself to the exact time after receipt of the DCF time
code. The weather station will automatically attempt to receive the DCF signal every
morning at 1:00
am, 2:00 am, 3:00 am, and 4: 00 am and onwards. If it receives the DCF signal at 3:00 am it will stop
receiving until 1: 00 am the next day.
To start DCF reception manually, press
WAVE / – (°C/°F)
button for 2 seconds. To stop DCF
reception, press and hold
WAVE / – (°C/°F)
for 2 seconds.
EN.5
Downloaded from www.vandenborre.be
Summary of Contents for SUNW2
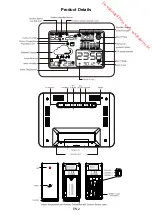
Page 3: ...Product Details EN 2 D o w n l o a d e d f r o m w w w v a n d e n b o r r e b e...
Page 12: ...D tails du produit FR 2 D o w n l o a d e d f r o m w w w v a n d e n b o r r e b e...
Page 21: ...Productdetails NL 2 D o w n l o a d e d f r o m w w w v a n d e n b o r r e b e...
Page 30: ...Dettagli sul prodotto IT 2 D o w n l o a d e d f r o m w w w v a n d e n b o r r e b e...
Page 39: ...Popis v robku CZ 2 D o w n l o a d e d f r o m w w w v a n d e n b o r r e b e...
Page 48: ...Podrobnosti o pr stroji SK 2 D o w n l o a d e d f r o m w w w v a n d e n b o r r e b e...
Page 57: ...Detalles del Producto ES 2 D o w n l o a d e d f r o m w w w v a n d e n b o r r e b e...
Page 65: ...D o w n l o a d e d f r o m w w w v a n d e n b o r r e b e...

