ENGLISH
FRANÇAIS
MAINTENANCE
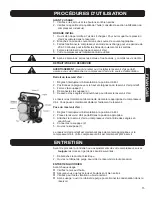
OPERATING INSTRUCTIONS
INITIAL BREAK-IN
1. Open to permit air to escape, so no air pressure builds up in the air tank.
2. Plug power supply cord into correct power source.
3. Run the compressor in this no-load condition for 20 to 30 minutes to lubricate
the bearings and pistons.
4. Close the air tank drain cock.
5. Your compressor is now ready for use.
After 2 weeks, tighten all nuts and bolts, including head bolts.
TANK REMOVAL/INSTALLATION
WARNING:
Before removing or installing the portable air tank, be sure to
disconnect air compressor unit from power source.
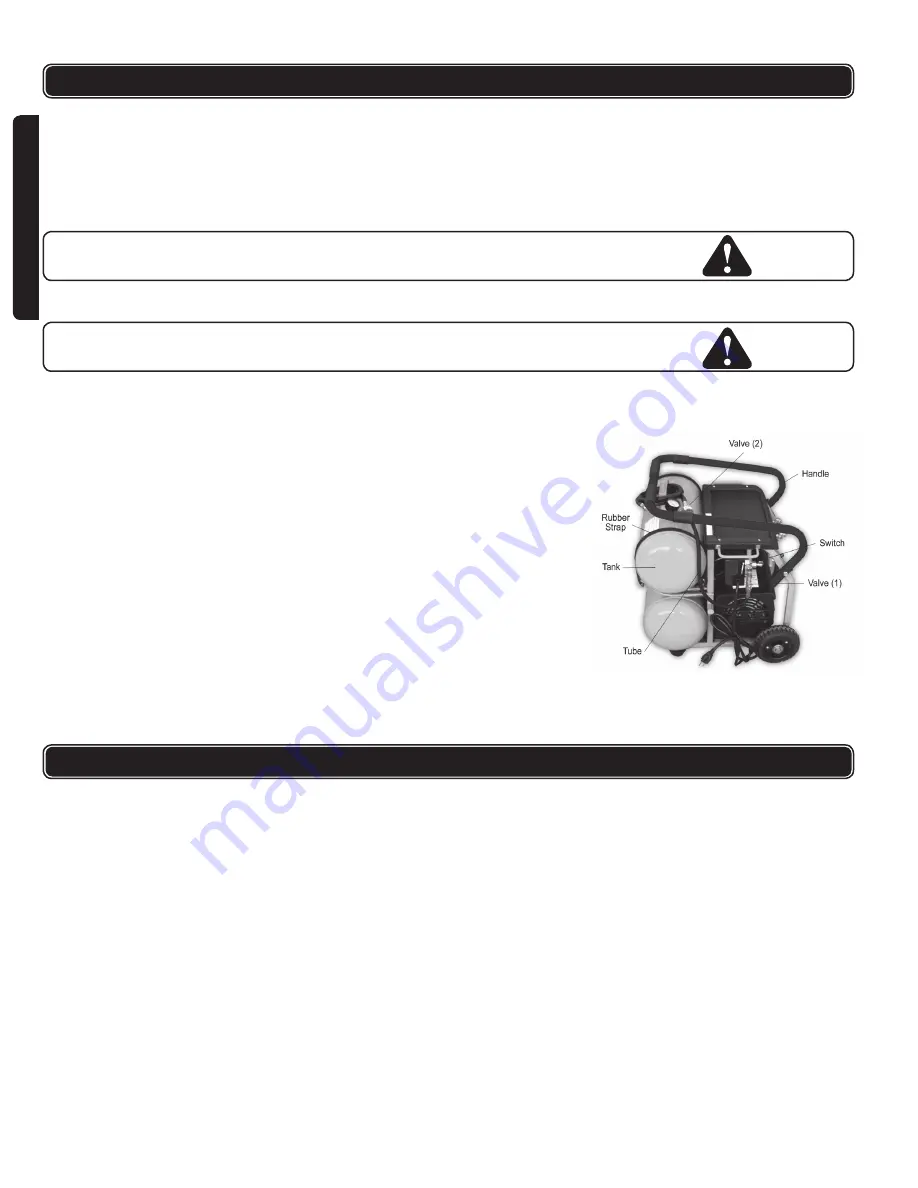
Removing the Air Tank:
1. Turn the power switch off.
2. Lift the carry handle up and away from the portable air tank.
3. Close the valve (1).
4. Disconnect the valve (2).
5. Loosen the rubber straps to release the air tank.
The tank has now been properly disconnected from the air compressor unit. You
can now move the tank freely.
Installing the Air Tank:
1. Turn the power switch off.
2. Place the portable air tank in the appropriate position.
3. Fix the air tank to the compressor unit using the rubber straps.
4. Reconnect the valve (2).
5. Open the valve (1).
The portable air tank has been properly installed and connected to the air
compressor unit. Your air compressor is now ready for use.
Before any maintenance or adjustments to your air compressor,
always
take the
following safety precautions:
1. Disconnect electrical power.
2. Open the drain cock to drain air tank of pressure.
DAILY MAINTENANCE
Before each use:
Check the oil level
Be sure all nuts and bolts are tight
Check for any unusual noise or vibration
After use: open the air tank drain cock to drain condensation from tank
MONTHLY MAINTENANCE:
Inspect air system for leaks by applying soapy water to all joints.
Tighten those joints if leakage is observed.
Check that all nuts and bolts stay tight.


