5
FRANÇAIS
ENGLISH
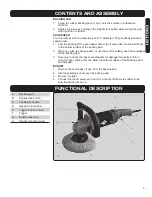
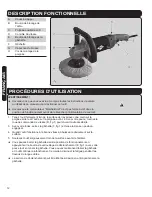
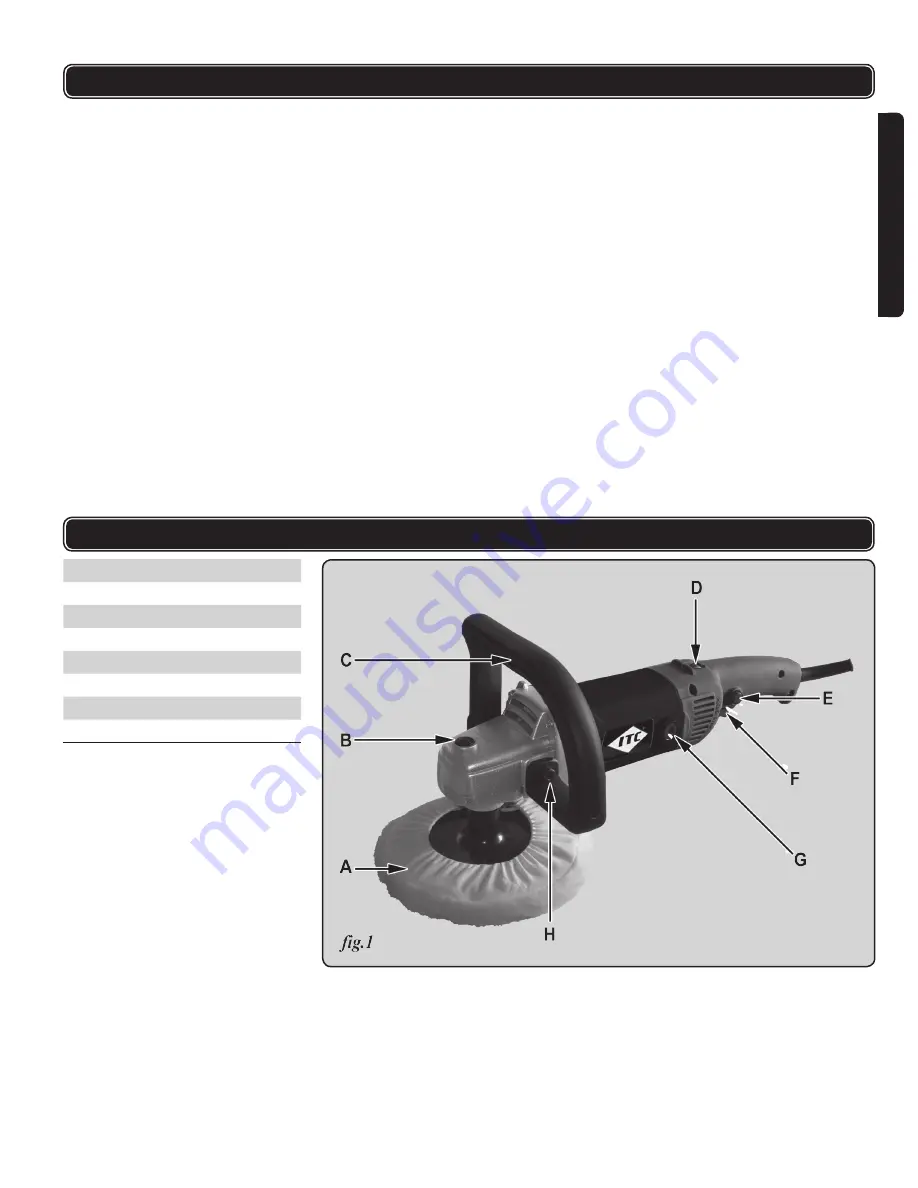
A
Backing pad
B
Spindle lock button
C
Auxiliary D-handle
D
Speed control wheel
E
Trigger lock-on button
F
Trigger
G
Brush holder cap
H
Handle mounting screw
FUNCTIONAL DESCRIPTION
BACKING PAD
1. Screw the rubber backing pad (
A, fig.1
) onto the spindle in a clockwise
direction.
2. Tighten it in place by holding in the Spindle lock button while turning the pad
until it will turn no further.
SAND PAPER
Your tool comes with one sample piece of 7" diameter 120 grit adhesive-backed
sanding disc.
1. Peel the backing off the sand paper disc. Align it and press it to stick it directly
to the bottom surface of the sandng pad.
2. When you wish to change paper, or use the tool for buffing, peel the sandpaper
off the backing pad.
3. Take care to check the paper sanding disc for damage frequently. A torn or
worn-through sanding disc can allow the bottom surface of the backing pad to
be damaged.
BONNET
1. Remove the sand paper, if any, from the backing pad.
2. Slip the polishing bonnet over the backing pad.
3. Be sure it is tight.
4. Connect the tool to power and run it for a minute off the work surface to be
sure the bonnet is secure.
CONTENTS AND ASSEMBLY


