Acceptance
and Installation
Copyright ©ITECH Electronic Co., Ltd.
3
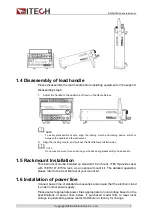
1.4 Disassembly of load handle
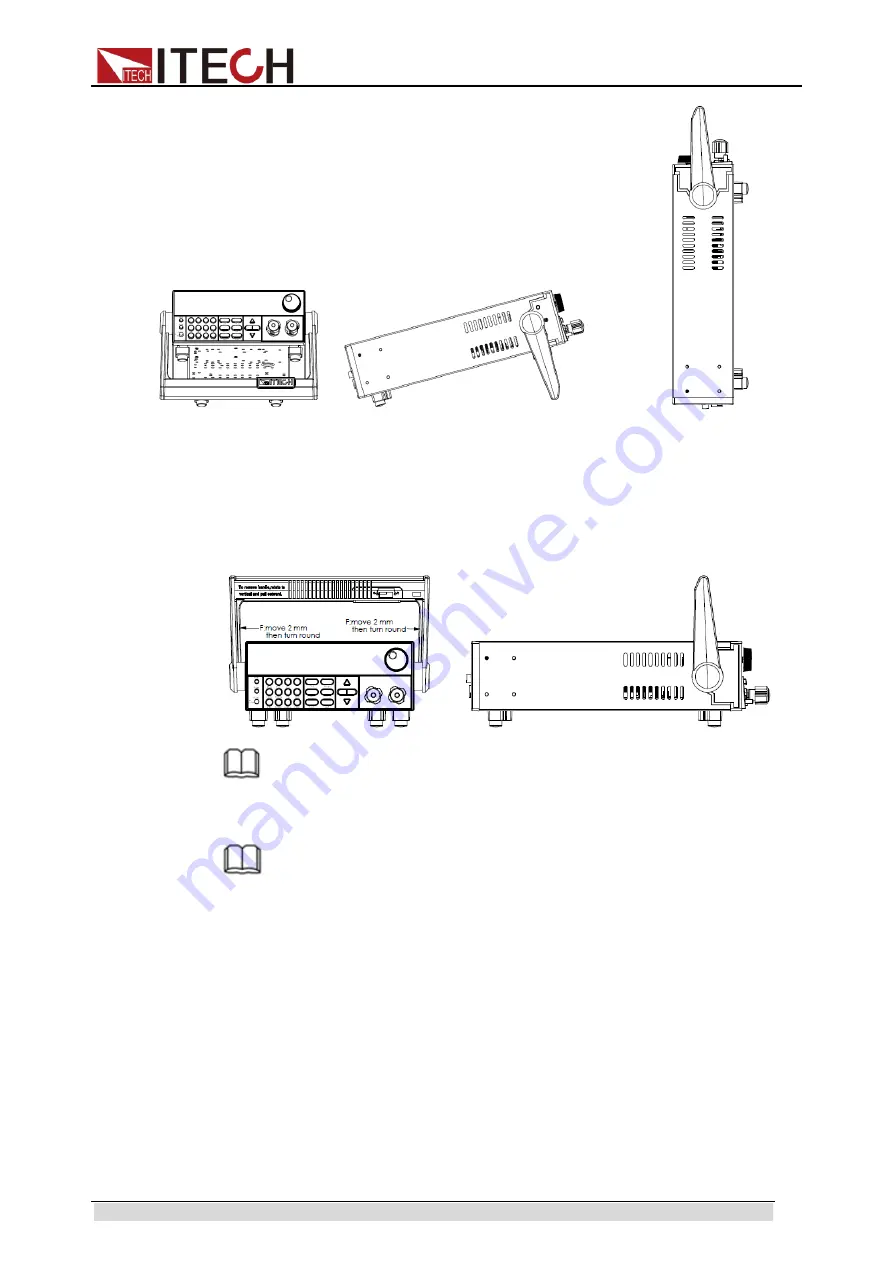
Please disassemble the load handle before installing equipment on the support.
Disassembly steps:
1.
Adjust the handle to the position as shown in the figure below.
NOTE
To easily disassemble handle, align the locking mouth and locking device, which is
between the handle and the instrument.
2.
Align the locking mouth, and pull out the handle towards two sides.
NOTE
Do not use too much force and mind your hands during disassembly of load handle.
1.5 Rackmount Installation
This instrument can be installed on standard 19-inch rack.
ITECH provides user
with IT-E151/IT-E151A rack, as an optional mount kit. The detailed operation,
please refer to the User Manual of your mount kit.
1.6 Installation of power line
Connect power line of standard accessories and ensure that the electronic load
is under normal power supply.
Please select appropriate power lines appropriate to local voltage based on the
specifications of power lines below. If purchased model fails to meet local
voltage requirements, please contact distributor or factory for change.


